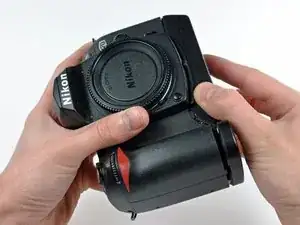
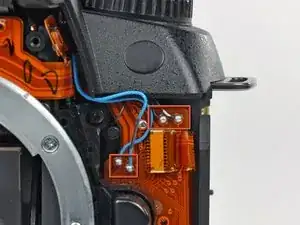
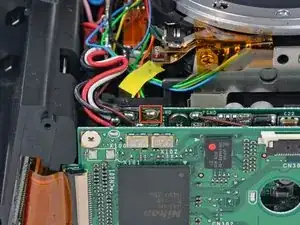
Introduction
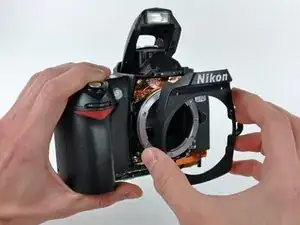
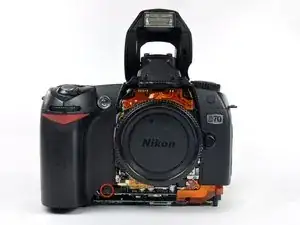
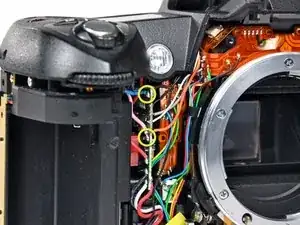
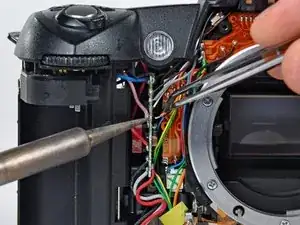
Removing the top cover requires a fine-tipped soldering iron and knowledge of surface mount soldering.
Tools
-
-
Use your finger tip to pull the battery release tab toward the center of the D70.
-
Open the battery door and rotate it away from the bottom cover.
-
-
-
Remove the following eight screws securing the bottom cover to the D70:
-
Six 5.8 mm Phillips screws
-
One 10.7 mm Phillips screws
-
One 8.2 mm Phillips screws
-
-
-
Carefully pull the bottom cover to separate it from the body of the D70.
-
Remove the bottom cover from the D70.
-
-
-
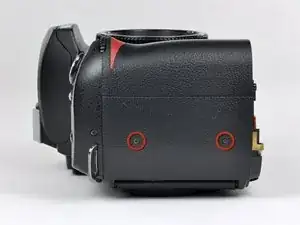
Remove the two 4.8 mm Phillips screws securing the battery side of the rear cover to the D70.
-
-
-
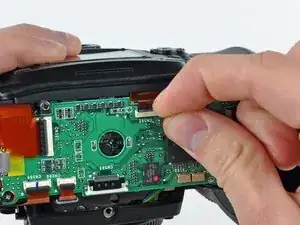
Use your fingernail to flip up the ZIF locking flap on the LCD ribbon cable socket.
-
Pull the LCD board ribbon cable out of its socket.
-
-
-
Pull the rear cover off the body of the D70, minding the LCD board ribbon cable that may get caught.
-
-
-
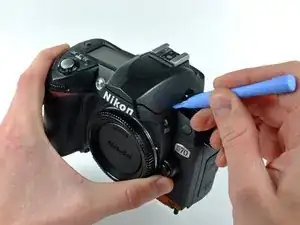
Use a plastic opening tool to carefully pry up the flash unit at the point shown in the picture.
-
-
-
Remove the two 4.3 mm Phillips screws securing the top edge of the front cover to the top cover.
-
-
-
Use the sharp end of a metal spudger or a razor blade to peel the sticker out of the center of the automatic/manual focus switch.
-
-
-
Remove the 6.3 mm shouldered Phillips screw from the center of the automatic/manual focus switch.
-
Pull the automatic/manual focus switch away from the front cover.
-
-
-
Remove the 4.2 mm Phillips screw securing the lower edge of the grip to the front of the D70.
-
-
-
Remove the silver Phillips screw securing the port cover to the side of the D70.
-
Remove the port cover from the D70.
-
-
-
Touch the bare leads of a capacitor discharge tool to the pink and blue capacitor leads soldered to the circuit board near the AF lamp.
-
At this point, the capacitor should be discharged. Avoid touching the bare leads to prevent a shock if the capacitor is still partially charged.
-
-
-
Carefully de-solder the black, grey, white, and orange leads (boxed in red) from the side of the circuit board near the AF lamp.
-
Lightly heat the joint of each lead with a soldering iron as you apply slight tension to the wire with a pair of tweezers.
-
-
-
Use your fingernail to flip up the ZIF retaining flap.
-
Pull the ribbon cable straight out of its socket.
-
-
-
Remove the following two screws securing the top cover to the D70 near the shutter button:
-
One black 4.8 mm Phillips screw
-
One silver 4.2 mm Phillips screw
-
-
-
Carefully lift the top cover near the mode dial as you pull the mode dial ribbon cable away from the lens base.
-
Remove the top cover from the D70, minding any cables that may get caught.
-
To reassemble your device, follow these instructions in reverse order.
2 comments
Thank you. Andrew your post are so clear I wonder you were hear in India. I'm, having exactly the same camera. It feel down with the lens on it. And since then it didn't work. Y taken to many Nikon center but to no success.
Thanks once again
Great internet site.
Roland Paingaud.


