Introduction
If you notice the camera shutter button isn't depressing or is too easily pressed, you may have to adjust or replace the button or button assembly. This guide will show you how to repair the individual parts that comprise the shutter button.
Tools
-
-
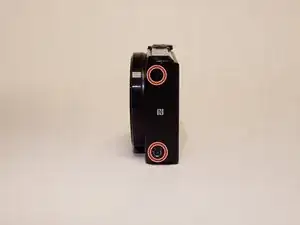
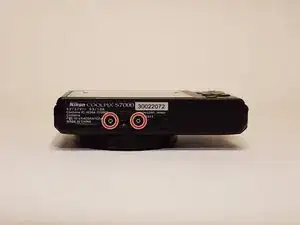
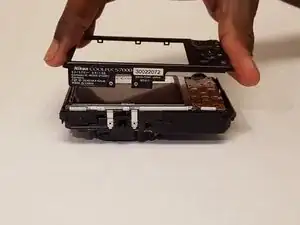
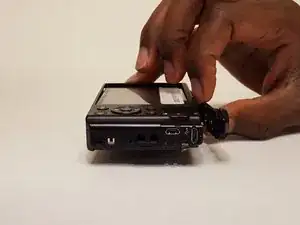
Remove the outer frame of the camera by unscrewing the screws around its sides with a JIS J000 screwdriver.
-
Screw locations.
-
-
-
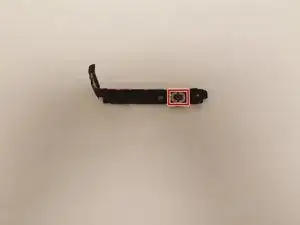
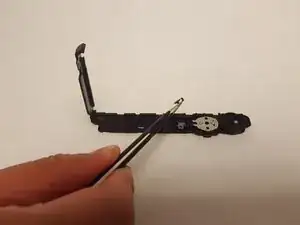
Once the shutter button assembly is removed from the camera shell, carefully remove the black tape on the underside of the metal plate.
-
Black tape.
-
-
-
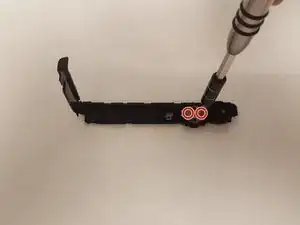
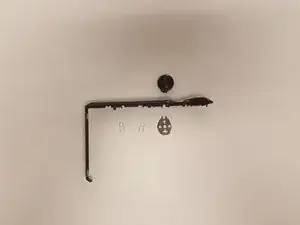
Unscrew the two screws on each side of the metal plate to remove the plate and springs underneath it.
-
Push the button through the assembly to release it and then carefully remove the button cover to reveal the coiled spring and bottom cover.
-
Locations of the two screws.
-
To reassemble your device, follow these instructions in reverse order.
One comment
shutter keeps trying to open. clicks slighly and does not open
Beatrix -
