Introduction
Tools
-
-
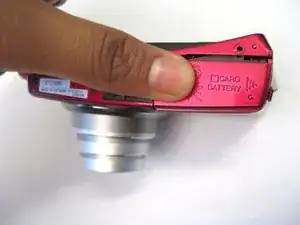
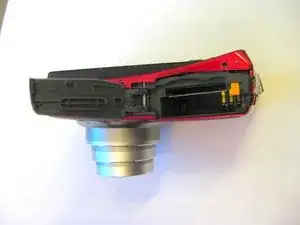
The battery compartment is located on the bottom of the camera.
-
Place your thumb on the battery door.
-
Slide the door away from the camera in the direction the arrow points to.
-
-
-
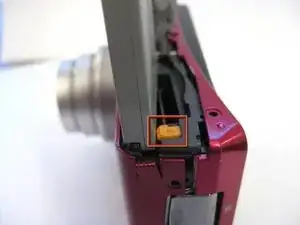
Slide the yellow tab towards the back of the camera.
-
The battery should pop out.
-
Remove the battery.
-
-
-
Press the memory card down into the camera.
-
The memory card should pop out.
-
Remove the memory card.
-
-
-
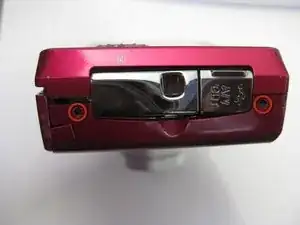
Unscrew the two 3.5mm Phillips screws from the side with the AV outlet.
-
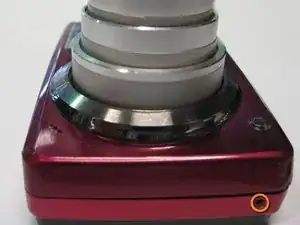
Unscrew the 3.5mm Phillips screw from the opposite side of the camera.
-
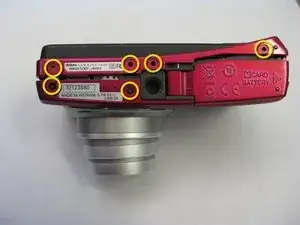
Unscrew the six 3.5mm Phillips screws from the bottom of the camera.
-
-
-
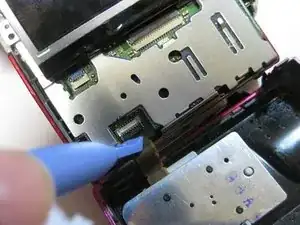
Place the plastic opening tool underneath the ribbon tab as shown. Gently lift the tab up.
-
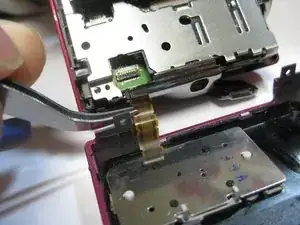
Gently pull the ribbon from the logic board with tweezers.
-
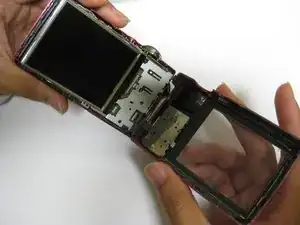
With the ribbon disconnected, the back casing should now be detached from the rest of the camera.
-
-
-
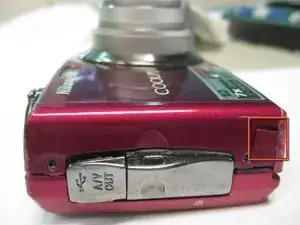
Locate a small, rectangular flap above the battery cover door.
-
Push the small, rectangular flap back through the hole.
-
-
-
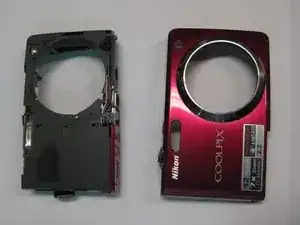
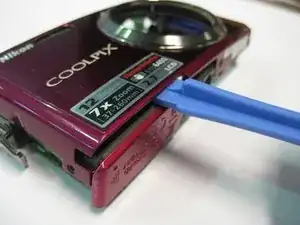
Using the plastic opening tool, gently pry open the front cover. Gently remove the front cover.
-
To reassemble your device, follow these instructions in reverse order.
