
Introduction
If the sound in your camera is distorted or there is no sound in videos, the speaker may need to be replaced. This guide will show how to remove the speaker and insert a new one.
-
-
Remove all four T5 Torx screws from the exterior of the camera.
-
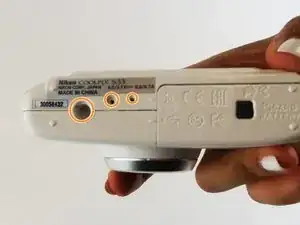
Remove all three T5 Torx screws located at the bottom of the camera next to the battery compartment.
-
-
-
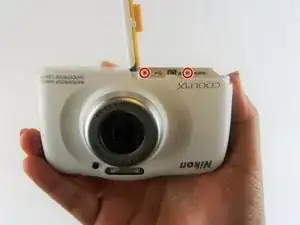
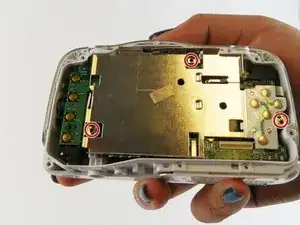
Remove the two screws located above the HDMI and USB logos that are inside the camera's battery compartment using a JIS000 screwdriver.
-
-
-
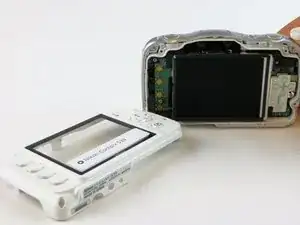
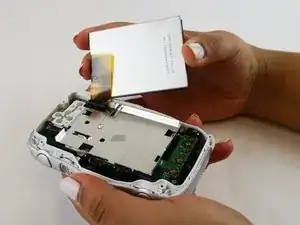
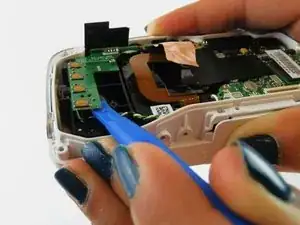
Before pulling the LCD Screen out of the camera, you will need to disconnect the ribbon connector that attaches the screen to the camera.
-
Gently pull the ribbon connector out of it's slot. You should be able to remove it without the need of any tools.
-
-
-
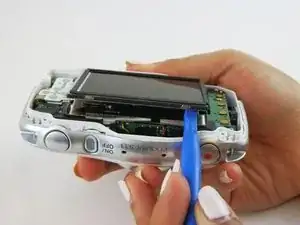
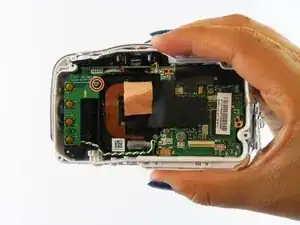
After removing the LCD holder, you can begin the process of removing the speaker from the camera.
-
Remove the 15'' Phillips screw using a PH#00 screwdriver.
-
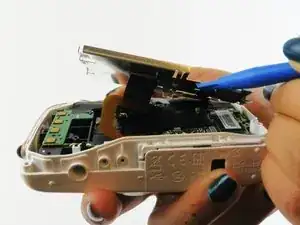
Gently pry off the green flap to get access to the speaker port.
-
-
-
Gently pull out the speaker using the green and white wires.
-
Disconnect these wires from the motherboard.
-


To reassemble your device, follow these instructions in reverse order.
Der große Kreis an der Unterseite ist keine Schraube. Hier gehört einfach das Stativ festgeschraubt;-)
Lolos Allerlei -