Introduction
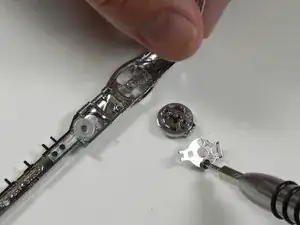
The shutter button seems to malfunction whether it is not turning or not working. This guide will help you understand the problem.
Tools
-
-
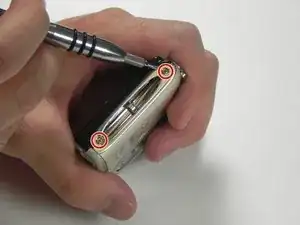
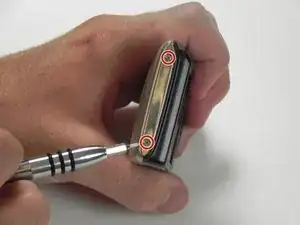
Remove 8-2.46 mm screws from both sides and bottom of camera using a #000 Phillips screwdriver.
-
Remove 2 screws from left side. (picture 1)
-
Remove 4 screws from bottom. (picture 2)
-
Remove 2 screws from right side. (picture 3)
-
-
-
Remove black cover pulling up with left thumb. Hold silver cover with right thumb.
-
Remove silver cover lifting up with left thumb. Hold the camera with right thumb.
-
-
-
Remove 2-2.10mm screws in the front of the camera using a #000 Phillips screwdriver.
-
Remove the two screws.
-
Gently pull up to detach the frame. (picture 2)
-
-
-
Turn and hold the shutter bottom to the left and using a tweezer carefully remove the spring.
-
To reassemble your device, follow these instructions in reverse order.


