Introduction
To reach internal components of the Nikon Coolpix L830 such as the motherboard and shutter button, first removing the back outer surface component is necessary. Following the steps of this prerequisite-only guide will allow you to remove the back casing and access internal components.
-
-
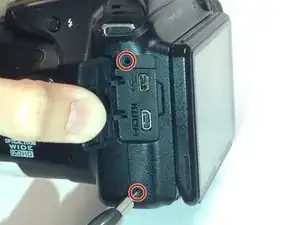
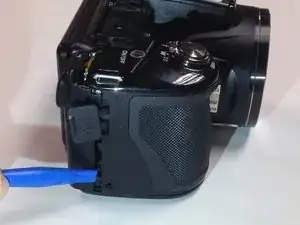
Use a Phillips #000 screwdriver to unscrew the two 3.0mm Phillips screws located on the side of the camera with the HDMI port.
-
-
-
Unscrew the five 3.0mm Phillips #000 screws that are located on the bottom side of the camera.
-
-
-
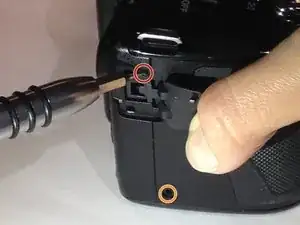
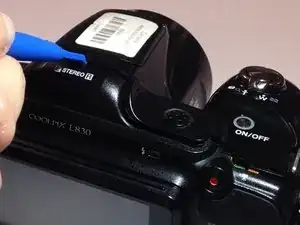
Unscrew the 4.0mm Phillips #000 screw located underneath the grey flap on the side of the camera with the "DC IN 5.0 V" marker.
-
Unscrew the exposed 3.0mm Phillips #000 screw on the same side.
-
-
-
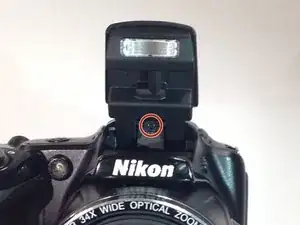
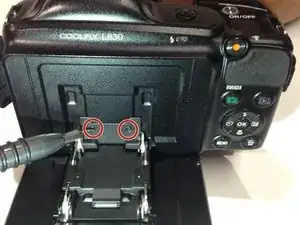
Press the flash button to open the flash component.
-
Remove the 3.0mm Phillips #000 screw located directly in-between the two arms.
-
-
-
Open the LCD monitor to reveal two 2.0mm Phillips screws.
-
Remove the 2.0mm Phillips #000 screws.
-
-
-
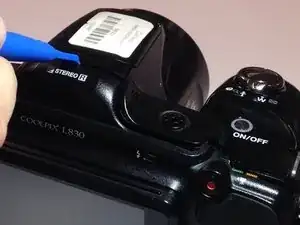
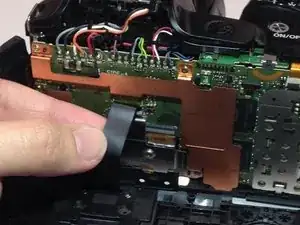
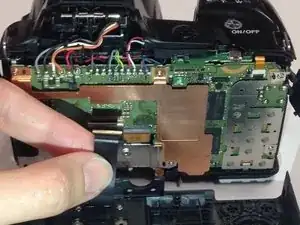
Insert a plastic opening tool between the back and front surface components of the camera.
-
Wiggle the plastic opening tool backwards and forwards along the top edge until the back surface comes off.
-

To reassemble your device, follow these instructions in reverse order.