Introduction
This repair guide follows the back cover guide and requires the use of the spudger tool and Phillips screwdriver.
Tools
-
-
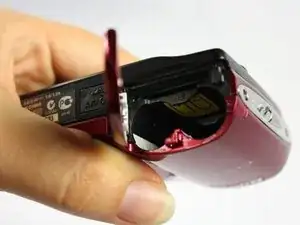
Remove the batteries from the battery compartment by sliding the white battery compartment switch up and then move the panel toward the right.
-
-
-
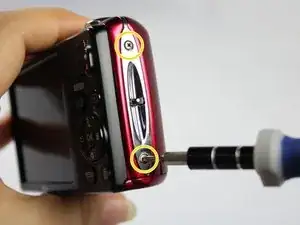
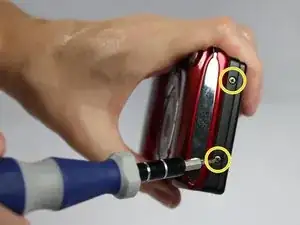
Using the Phillips #000 screwdriver, unscrew the two 2mm screws next to the battery compartment on the right side of the camera.
-
-
-
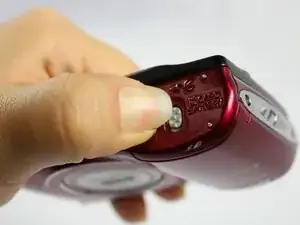
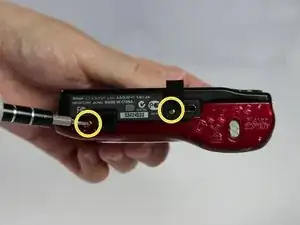
Flip over the rubber AV cover at the bottom of the camera. Unscrew the last two 2mm screws on the bottom of the camera.
-
-
-
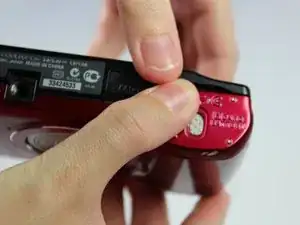
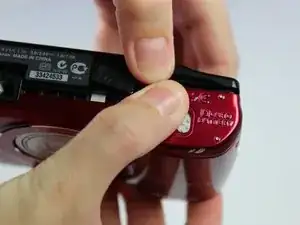
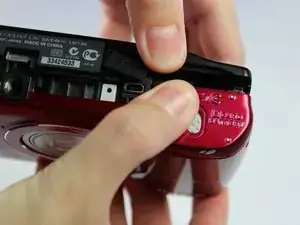
Using your hands, open the camera slightly by using the indentation above the camera compartment.
-
-
-
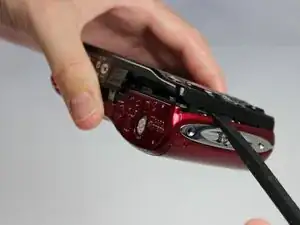
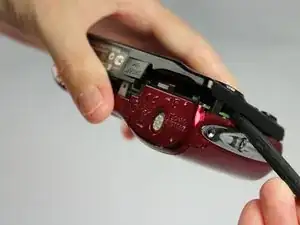
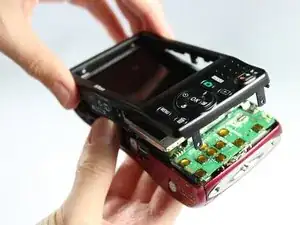
Wedge the flat end of the spudger in between the front and back cover. Carefully push the spudger downward, which will lift the back cover off the camera.
-
-
-
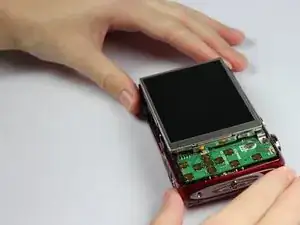
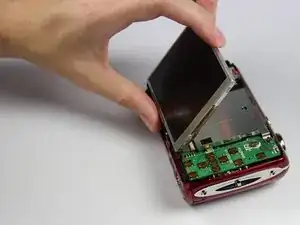
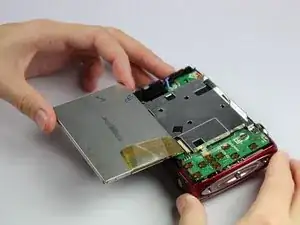
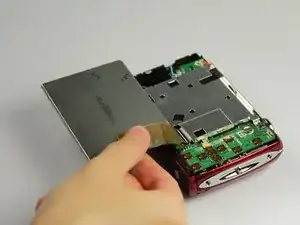
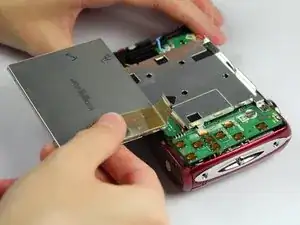
Carefully flip over the LCD screen onto its front. Pull the top of the LCD screen toward you keeping the bottom of it inside the camera.
-
-
-
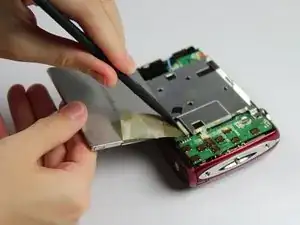
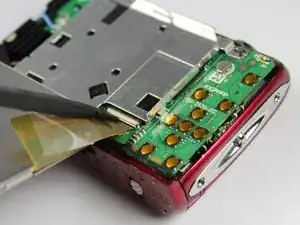
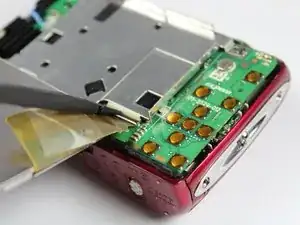
Use the flat side of the spudger to flip the white switch on the motherboard. You should hear a light click.
-
To reassemble your device, follow these instructions in reverse order.
