Introduction

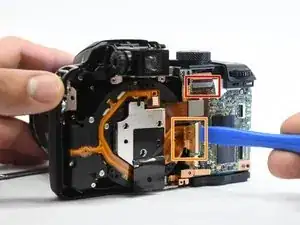
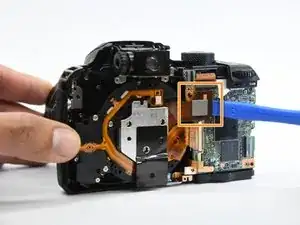
To perform most replacements in the Nikon Coolpix B700, the back cover must be removed and the internal metal bracket needs to be released. This is required before replacing the motherboard, lens, button assembly, or other components.

  1. FWwYIxPABwtRGjfr
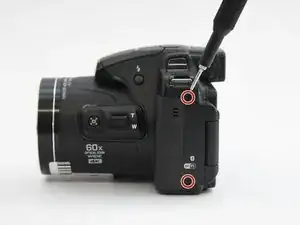
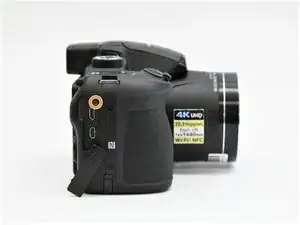
    • Use the Phillips screwdriver to remove the two 5.5 mm screws on the left side of the camera.

  2. axZfFJwADD4MZZ13
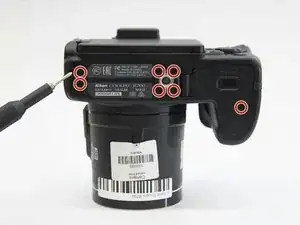
    • Use the Phillips screwdriver to remove seven 5.5 mm screws from the bottom of the camera.

  3. cKJZGZXOTjlQKgIH
    cKJZGZXOTjlQKgIH
    WUnBwFRwOgPcHTCP
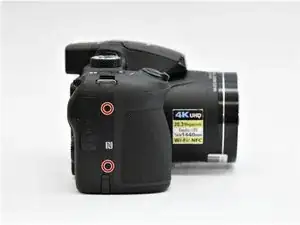
    • Use the Phillips screwdriver to remove the two 5.5mm screws on the right side of the camera.

    • Open the HDMI flap to remove a 5.5mm screw.

    • Don't forget to replace the hidden screw under the HDMI flap during reassembly.

  4. MQRUuyjmFIiosqel
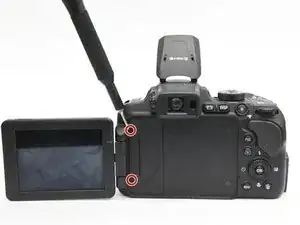
    • Use the Phillips screwdriver to remove the two 5.5mm screws under the LCD panel.

  5. NsJogSxYdUbp2SNi
    NsJogSxYdUbp2SNi
    NhZWMV6s1Y5ZPeok
    RXAgOIGGxOw6JOsT
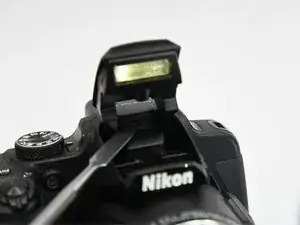
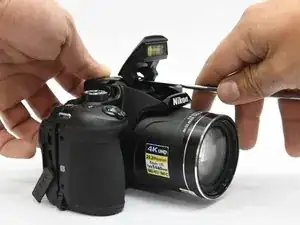
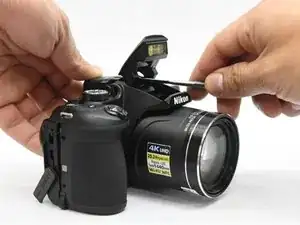
    • Open the flash assembly and insert the spudger into the slot under the flash unit and twist.

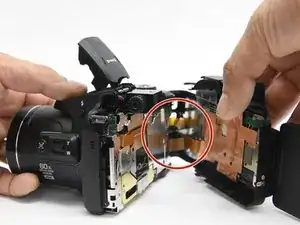
    • While twisting, pry apart the shell to split the camera in half.

    Here the HDMI cover also comes off by itself.

    Tim T -

  6. 4fjJEvEryguNeyHT
    • Be careful not to damage the ribbons that connect the halves together.

  7. X3RKYMpOOJPLHbFJ
    X3RKYMpOOJPLHbFJ
    DncgOUTfKghBKXXe
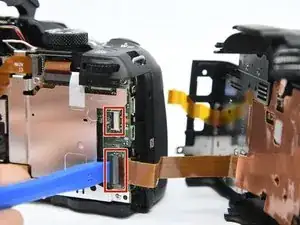
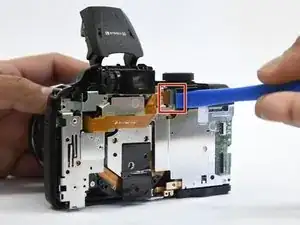
    • Place the pry tool under the black latch. Lift gently until the latch flips up.

    • Gently pull the ribbon away from the latch.

    • Be gentle when taking ribbons out and apart because they are fragile.

    How to check the rear part my b700 will turn ON when i disconected the 2 ribbons

    josesalgado74 -

  8. avOorBdsOvxFZxAL
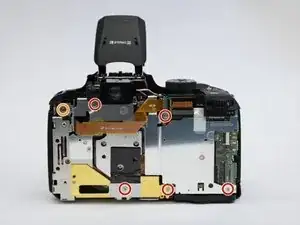
    • Use the Phillips screwdriver to remove the remaining five 5.55mm screws.

    • Remove the single 6mm screw.

    The screw to unscrew on the bottom left seems to not exist or is covered by a foam which is as large as the grey area around in the picture.

    Tim T -

    Also from this step to the next the golden cover got removed it seems.

    Tim T -

    I removed the left screw on the golden cover as well.

    Tim T -

  9. XtovVKMymfjQRfoA
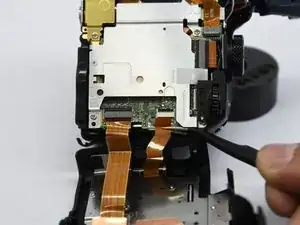
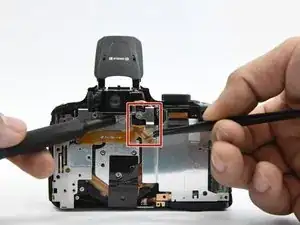
    • Insert the pry tool under the latch and gently lift up to remove the ribbon.

  10. MKgbtUoZ5xl62sEW
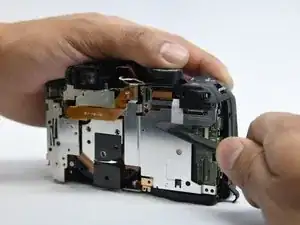
    • Move the ribbon out of the way to reveal the hidden screw.

    I think the revealed 4mm screw has to be removed.

    Tim T -

  11. OMnhkBaUeVVnZKOo
    • Lift the button assembly gently to give access to remove the 4mm screw.

  12. BmmYMQ3vHplPeGmJ
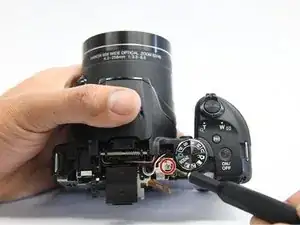
    • On the top of the camera, remove the 6mm screw.

  13. JAMm4O1TjrAcfyNF
    JAMm4O1TjrAcfyNF
    rYCXDcW3ZBEfsTF3
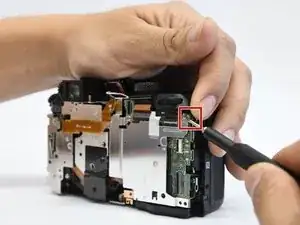
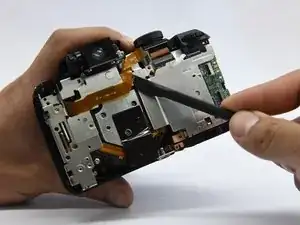
    • With the spudger tool gently pry off the white tap holding in the bracket.

    • Use the same tool to remove the glued-on ribbon.

  14. nHDmivIIMhO5gWBo
    nHDmivIIMhO5gWBo
    6OFCjLeRD6Yy5igm
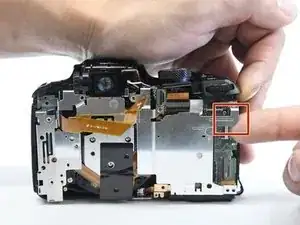
    • Gently lift up the button assembly to slide the bracket out.

  15. DcA4OyxScKPTNEvb
    DcA4OyxScKPTNEvb
    sEpgUuFVMNOg4hgy
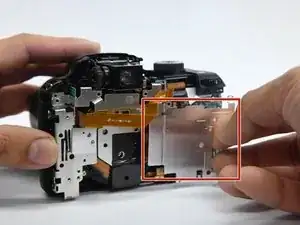
    • With the pry tool gently lift up the latch and pull the cable toward the lens assembly.

    • Use the pry tool again and place it under the ribbon and lift straight up to disconnect the ribbon.

Carlos Salgado

Member since: 27/02/19

1411 Reputation

0 comments