Introduction

This guide shows how to remove the back frame assembly of the Nikon Coolpix B700 digital camera. This provides access to the internals of the device.

  1. FWwYIxPABwtRGjfr
    • Use the Phillips screwdriver to remove the two 5.5 mm screws on the left side of the camera.

  2. axZfFJwADD4MZZ13
    • Use the Phillips screwdriver to remove seven 5.5 mm screws from the bottom of the camera.

  3. cKJZGZXOTjlQKgIH
    cKJZGZXOTjlQKgIH
    WUnBwFRwOgPcHTCP
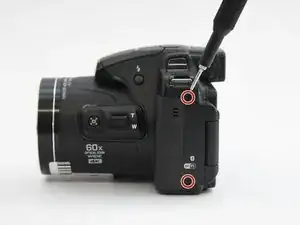
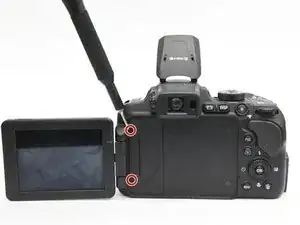
    • Use the Phillips screwdriver to remove the two 5.5mm screws on the right side of the camera.

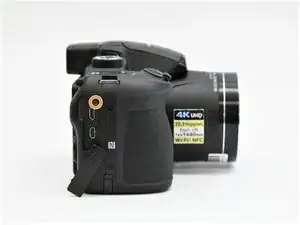
    • Open the HDMI flap to remove a 5.5mm screw.

    • Don't forget to replace the hidden screw under the HDMI flap during reassembly.

  4. MQRUuyjmFIiosqel
    • Use the Phillips screwdriver to remove the two 5.5mm screws under the LCD panel.

  5. NsJogSxYdUbp2SNi
    NsJogSxYdUbp2SNi
    NhZWMV6s1Y5ZPeok
    RXAgOIGGxOw6JOsT
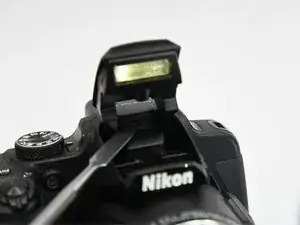
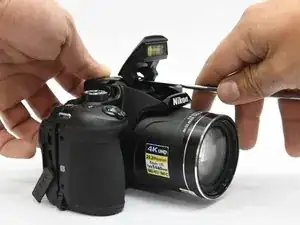
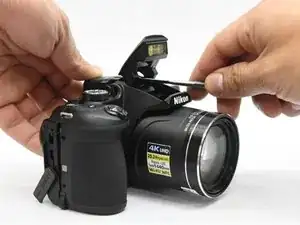
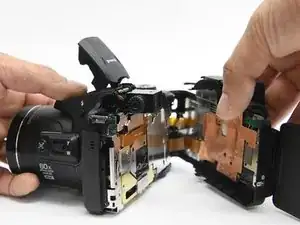
    • Open the flash assembly and insert the spudger into the slot under the flash unit and twist.

    • While twisting, pry apart the shell to split the camera in half.

    Here the HDMI cover also comes off by itself.

    Tim T -

  6. 4fjJEvEryguNeyHT
    • Be careful not to damage the ribbons that connect the halves together.

  7. X3RKYMpOOJPLHbFJ
    X3RKYMpOOJPLHbFJ
    DncgOUTfKghBKXXe
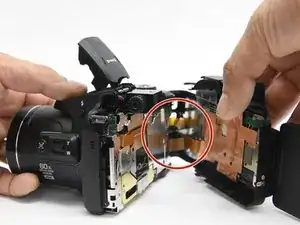
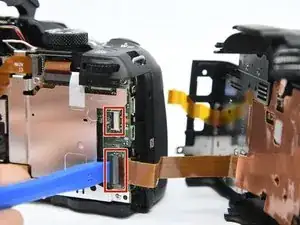
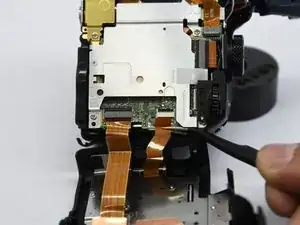
    • Place the pry tool under the black latch. Lift gently until the latch flips up.

    • Gently pull the ribbon away from the latch.

    • Be gentle when taking ribbons out and apart because they are fragile.

    How to check the rear part my b700 will turn ON when i disconected the 2 ribbons

    josesalgado74 -

Carlos Salgado

Member since: 27/02/19

1411 Reputation

0 comments