Introduction

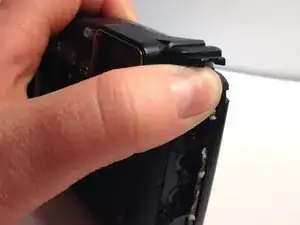
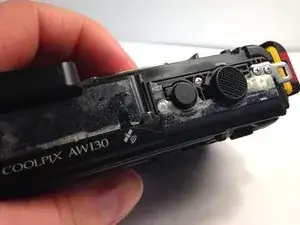
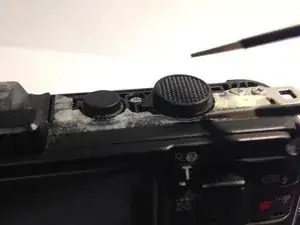
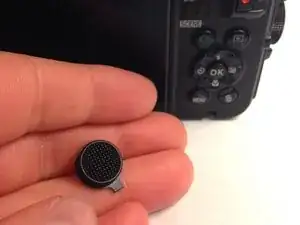
The shutter button can oftentimes get caked with mud. Because it isn't fixed with screws or glue, it can also become stuck from constant use. Simply replacing the entire button, after removing the front panel and side buttons, is a simple fix.

  1. umDn1gRfdGucQY2K
    umDn1gRfdGucQY2K
    NxSNFhVAn11yLI4h
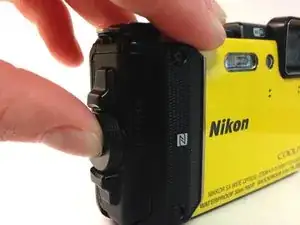
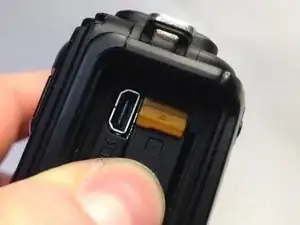
    • Using your thumb and pointer finger, open the card/battery hatch by pressing the center button of the wheel and turning the entire wheel to the left.

    • When reassembling, you must turn this wheel to the right until it clicks.

  2. cI6sfrYbWBmSqwTv
    cI6sfrYbWBmSqwTv
    j5KCm6vri5qU6OYN
    • You should feel the door begin to loosen. Carefully pull the hatch open.

  3. JJcpmE4malbmhh3x
    • Push the yellow battery/charger compartment tab up using your thumb nail.

    This yellow tab spring broken, how I can repair

    Surendra kumar -

    From where I can get this yellow tab, and how I can replace

    Surendra kumar -

  4. uImQZfV6vxeMJoGr
    uImQZfV6vxeMJoGr
    E6yLMH3WYoQehFcD
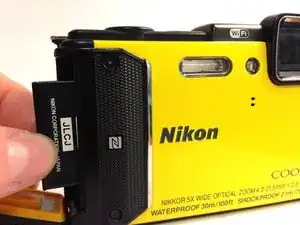
    • After pressing the yellow tab, the battery should loosen.

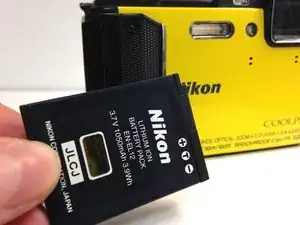
    • Slowly pull the battery completely out.

  5. m4WYyXiipQjFu65K
    m4WYyXiipQjFu65K
    AQUn2OteXtJSmZqM
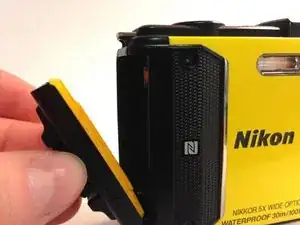
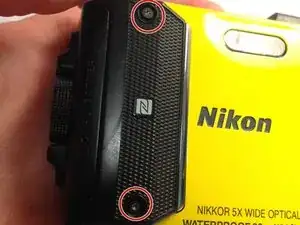
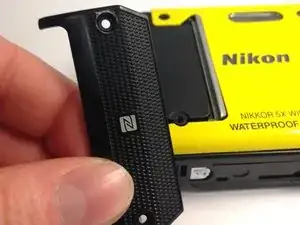
    • Using the T4 Torx Screwdriver, remove the 2, 4mm screws holding the N-Mark plate in place.

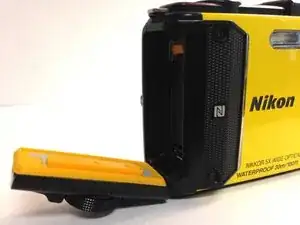
    • Carefully pull the plate off of the face.

    ChK 2022_01_27: There is no need to remove the front panel in order to get to the main board. Skip this step.

    Christoph Kunz -

  6. x1OGeJpCALJjZ23Z
    x1OGeJpCALJjZ23Z
    BXoWRqYl6JyyieiR
    • Using the metal spudger tool, pry the colored face from the camera body.

    • Avoid bending or scratching the front face.

    I think this step is unnecessary, and it´s very hard to take off this metal plate without damage

    Mauricio Almeida -

    ChK 2022_01_27: There is no need to remove the front panel in order to get to the main board. Skip this step.

    Christoph Kunz -

  7. JUcFtn2QYegL3hr1
    JUcFtn2QYegL3hr1
    itBWMuPXpIOgTVKl
    • Using your thumb, separate the top piece of plastic from the camera.

    • If this piece does not come loose easily, try using the nylon spudger.

  8. ZunxCuYwulJ1mvCS
    ZunxCuYwulJ1mvCS
    MHhRrV53H2SGOSCy
    oL3FxDXKDLwxIpCD
    • Using tweezers from the precision tweezer set, carefully loosen the shutter button.

    • Atop the camera, there are two buttons. The shutter button should be the largest of the two.

Conclusion

To reassemble your device, follow these instructions in reverse order.

Lauren Stepp

Member since: 29/01/16

1251 Reputation

0 comments