Introduction
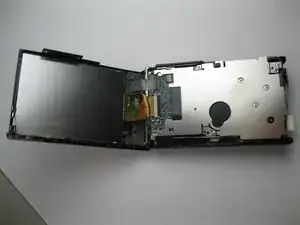
If camera no longer works at all, then it might be time to replace the motherboard. Follow this guide to remove the motherboard from your camera.
Tools
-
-
Remove the 4x3mm on the opposite side near the selector wheel.
-
Remove the 2x2mm and 3x2mm screws underneath the a/v flap.
-
-
-
Pry the back panel away from the body of the camera, using the space you just opened up.
-
A small piece of the frame of the camera may fall off, but it can be easily put back into place during reassembly.
-
-
-
Remove the two 3x2 screws and two 3.5x2.5 screws attaching the rear panel to the motherboard.
-
-
-
Detach the ribbon cable from the motherboard by flipping up the latch on the ribbon connector.
-
-
-
Once the lens assembly has been removed, the mother board cannot be disassembled any further.
-
To reassemble your device, follow these instructions in reverse order.


