Introduction

  1. lGOwJFgfLs4GDZNH
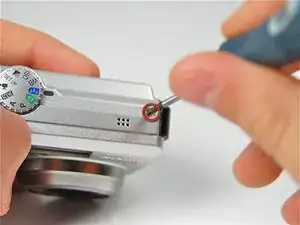
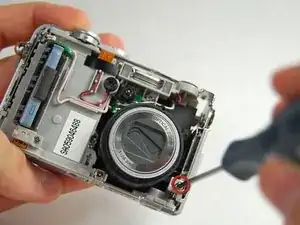
    • Remove the screw located near the speaker port using a Phillips 00 screwdriver.

  2. ZD3ja13ACMXH2L2d
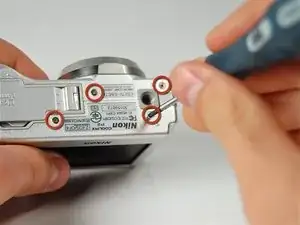
    • Turn camera upside down so that the battery compartment is facing you.

    • Remove all four screws from the bottom of the camera with a Phillips 00 screwdriver.

  3. V4tuHIcW5dnG6Wkf
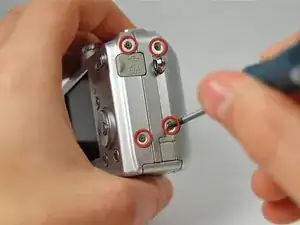
    • Rotate the camera to the opposite side where the A/V outlet is located.

    • Unscrew and remove all four screws with a Phillips 00 screwdriver.

  4. 3TKhcM12BSfCDxHh
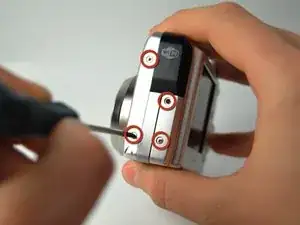
    • Turn the camera so that the Wi-Fi adapter is facing you.

    • Unscrew and remove all four screws with a Phillips 00 screwdriver.

  5. UcYJWq6wbpITK62O
    UcYJWq6wbpITK62O
    rGRCBSRrPDINKonM
    cvpLWOFPvEVpLUn5
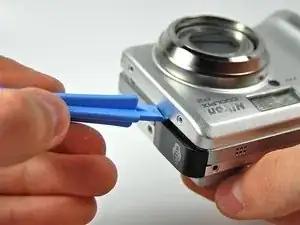
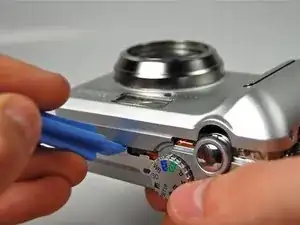
    • Using a plastic opening tool, pry the front casing of the camera.

    • Continue this motion all around the front casing of the camera.

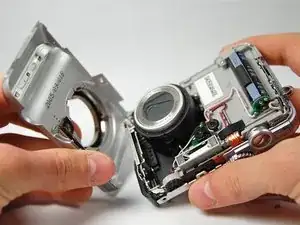
    • Gently pull apart the front casing from the rest of the camera.

  6. OxqaoEDNDY1jSda1
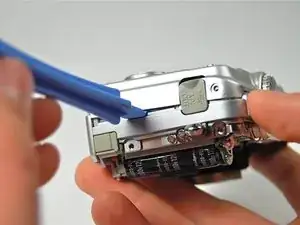
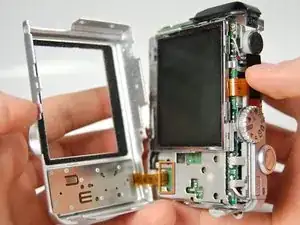
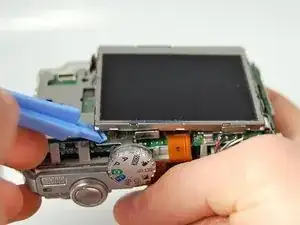
    • Using the plastic opening tool pry the back casing of the camera.

  7. BbNiYTfwK4QaSBlX
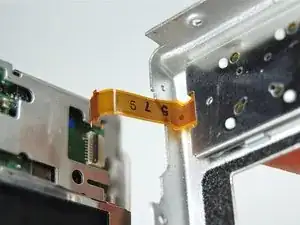
    • Orange ribbon is fragile

    • Carefully pull apart the back casing of the camera from the front of the camera without tearing the orange ribbon.

  8. tDsgQiEEjFeFsk26
    tDsgQiEEjFeFsk26
    RyKxiobBOgr4WSg6
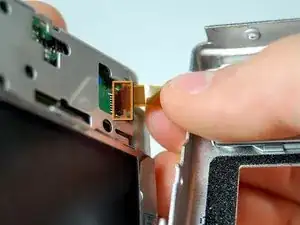
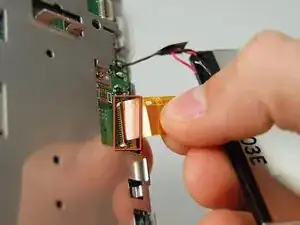
    • Pull down the on the black latch to carefully separate the orange ribbon from the motherboard.

    • Pull apart the orange ribbon and front casing from the rest of the camera.

  9. GkCiPBE6OH41Fb2G
    GkCiPBE6OH41Fb2G
    3ukc6SjXcERuO2UH
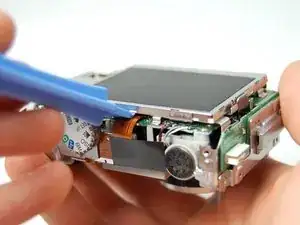
    • Use plastic opening tool to carefully pry the LCD Screen from the camera.

  10. KXHDWyNvFiAKJgJO
    KXHDWyNvFiAKJgJO
    foOeR3SBS32qHBvi
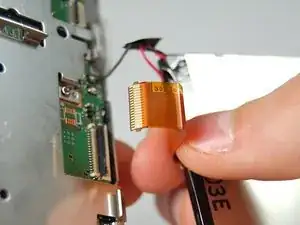
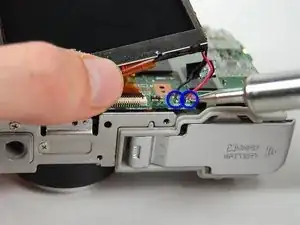
    • Gently pull the ribbon cable down to release the latch, then pull up to remove it from the motherboard.

  11. n6SyJK6Rvs4gMDqO
  12. KH4WGwgFNEU3HCOP
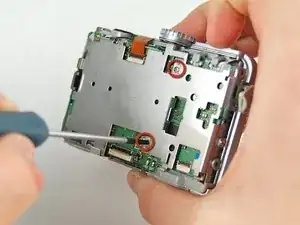
    • Continue by removing two screws from the back of the camera body.

  13. BtwAPIXApu3h6IKR
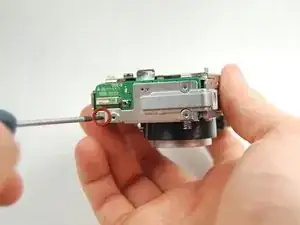
    • Remove the screw connecting the wifi card cover to the front of the camera.

  14. VXSHArcERkUDBKh6
    • Remove the final screw connecting the Wifi card cover to the case.

  15. MQhSd1gQLQcjbGPA
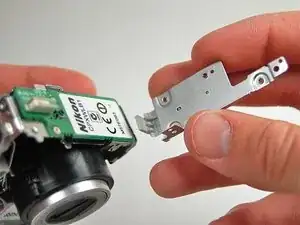
    • Gently pull the Wifi card cover off of the camera body.

  16. kkPIWEGStRJL2nmJ
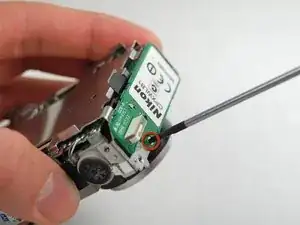
    • Remove the screw holding the Wifi Card to the camera body.

  17. 3NPOOvVekNQALp4J
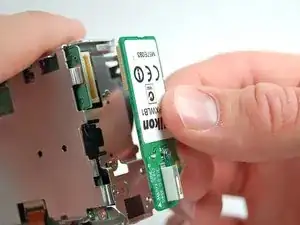
    • Gently pull the WiFi card out of the camera.

Conclusion

To reassemble your device, follow these instructions in reverse order.
Joshua Avery

Member since: 23/01/12

31 Reputation

0 comments