Introduction
This repair might be needed if your NikePlus Sportband screen has been damaged due to being drop or stepping on the device.
Tools
-
-
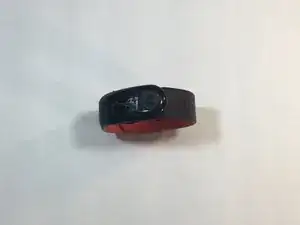
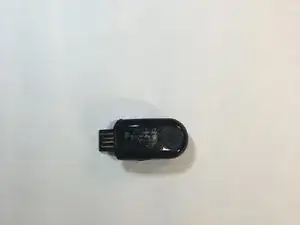
To begin the disassembly of your NikePlus Sportband, first remove the device from the rubber wristband.
-
-
-
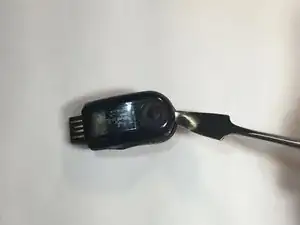
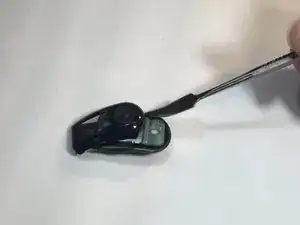
Finish the disassembly of your NikePlus Sportband by utilizing the metal spudger tool on the short edge to pry the external body pieces apart.
-
-
-
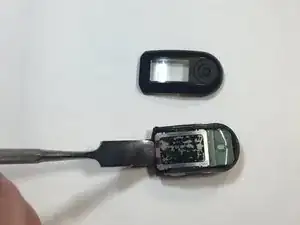
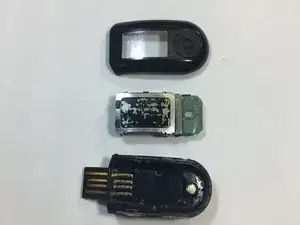
After the cover had been removed, use the metal spudger tool to remove the body of the device from the casing.
-
-
-
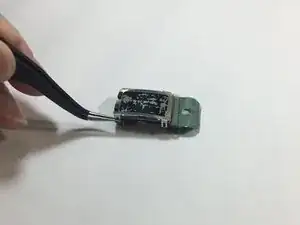
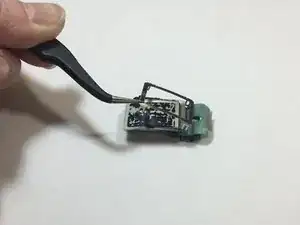
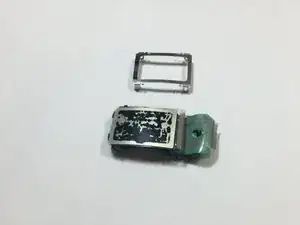
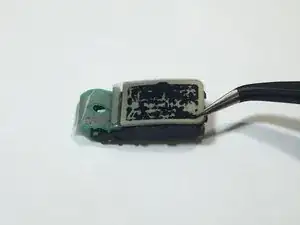
Use the metal tweezers to pry the screen casing from the body of the device.
-
The screen casing is fastened to the body of the device by four clips located in each corner of the casing.
-
-
-
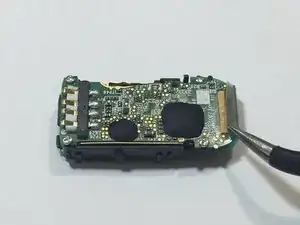
Flip the body of the device over so that the screen is now on the bottom.
-
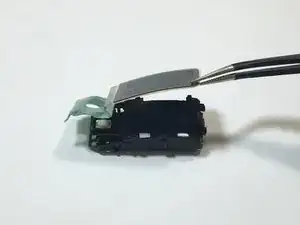
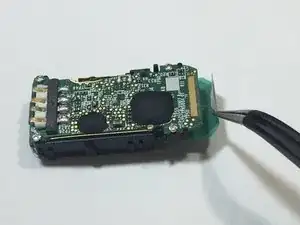
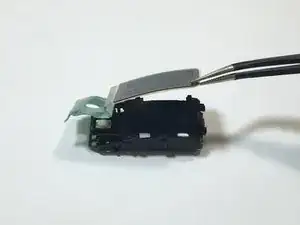
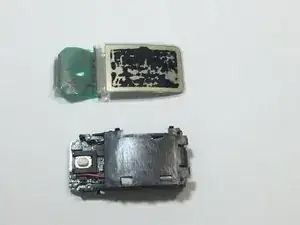
The display ribbon cable is soldered to the motherboard. We were able to peel up the ribbon cable with a pair of tweezers.
-
-
-
Flip the body of the device back over so that the screen is facing up.
-
Using the tweezers, gently lift the screen from body of the device.
-
To reassemble your device, follow these instructions in reverse order.
