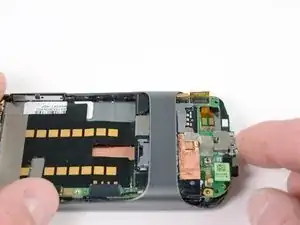
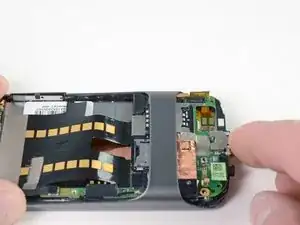
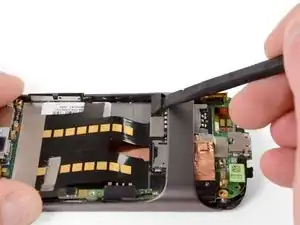
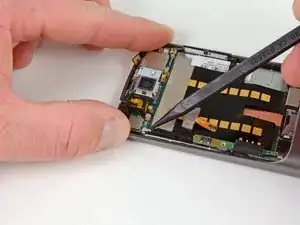
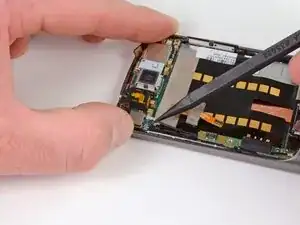
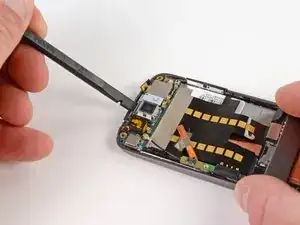
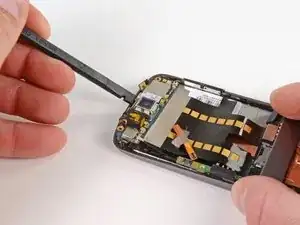
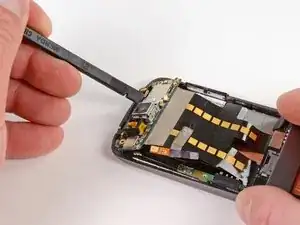
Introduction
Tools
-
-
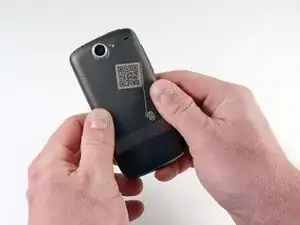
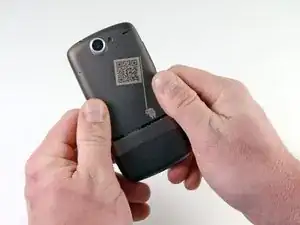
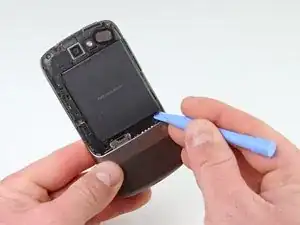
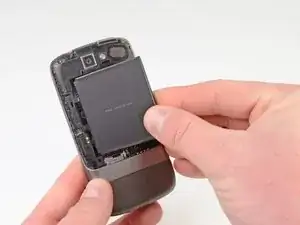
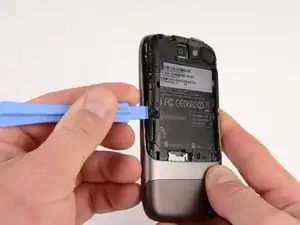
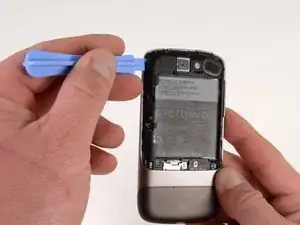
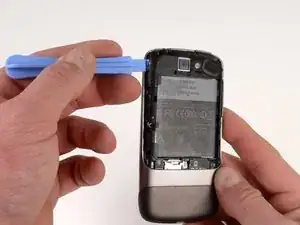
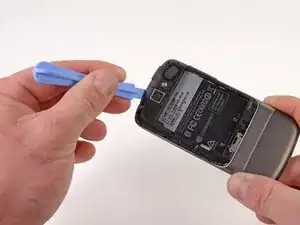
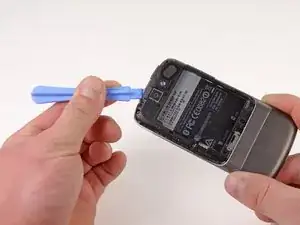
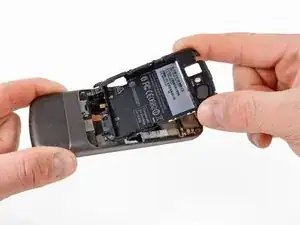
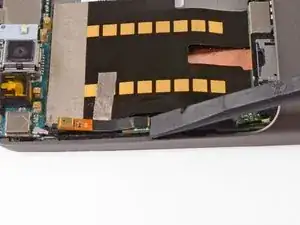
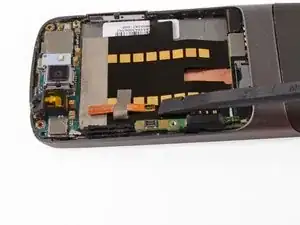
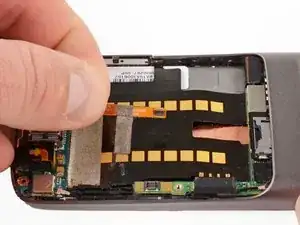
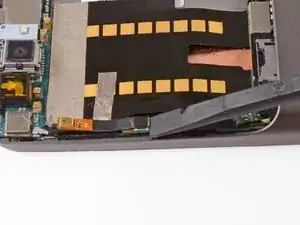
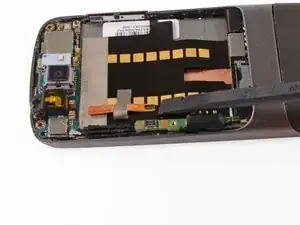
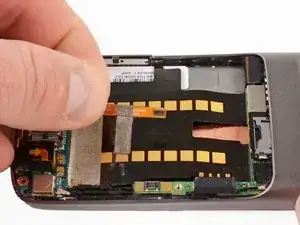
Using the plastic opening tool, pry up the battery housing upwards.
-
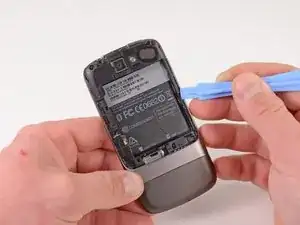
Push pry tool down, undoing the plastic tab.
-
-
-
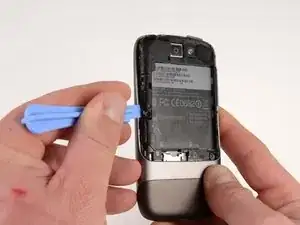
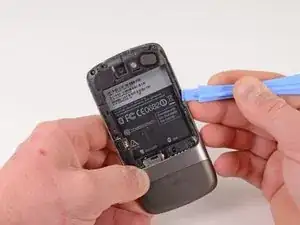
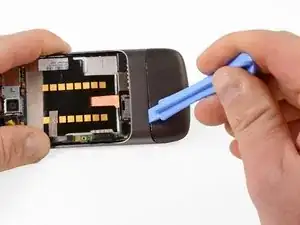
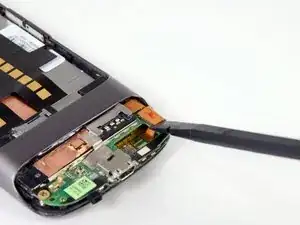
Using the plastic opening tool, push the blade into the space between the case and lower cover.
-
Turn the opening tool slightly, the lower cover will detach on that side.
-
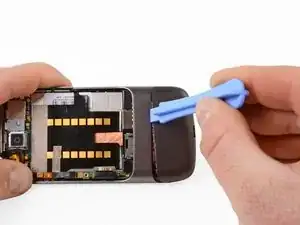
Repeat on other side of the seam.
-
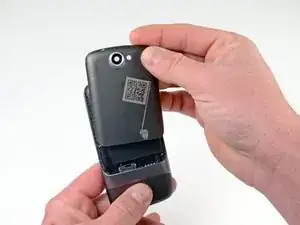
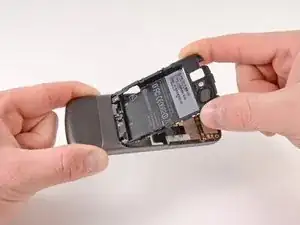
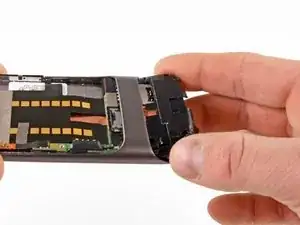
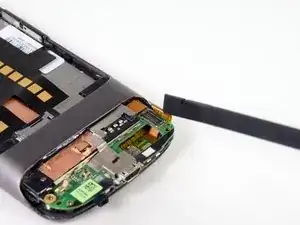
The lower cover will slide off.
-
-
-
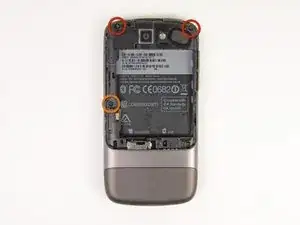
Remove the one T5 Torx screw
-
Remove the one #00 Philips screw
-
Lift up the end of the antenna housing and slide it outwards.
-
-
-
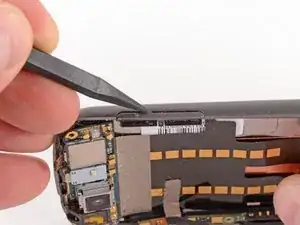
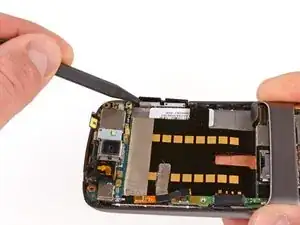
Insert the spudger under the connector.
-
Push the spudger up and twist to release the connector.
-
Repeat for the next connector.
-
-
-
Push on the USB port to expose the black connector.
-
Use the spudger to pry the connector upwards.
-
-
-
Insert the spudger into tab above the camera.
-
Slide upwards until the board detaches from the case.
-
-
-
Press the pointed tip of the spudger into the space below the button assembly.
-
Wiggle the spudger tip towards the outside of the button.
-
-
-
Push the pointed tip of the spudger into the base of the side button board.
-
Lift up, the board will disconnect from the case.
-
-
-
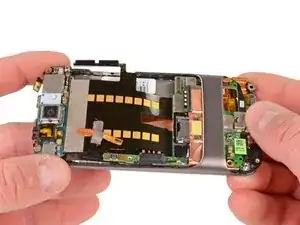
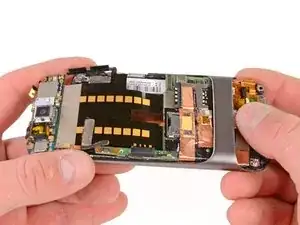
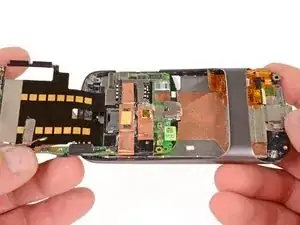
Push on the lower motherboard until it slides under the case support.
-
The motherboard assembly comes out as a single piece.
-
Save the small black rubber rectangular sound guide under the motherboard, to replace over the microphone.
-
-
-
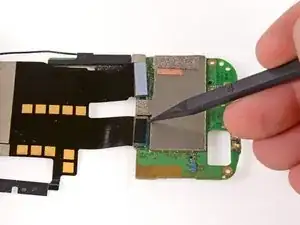
Using the spudger, lift the blue colored connector.
-
Use the supdger to lift the black connetor up as well.
-
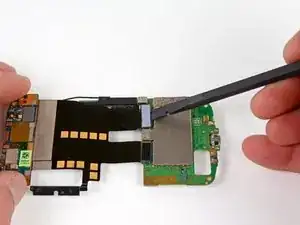
Detach the upper motherboard from the lower motherboard.
-
To reassemble your device, follow these instructions in reverse order.
