Introduction
Use this guide to replace the two speakers on your Nexus 9.
Tools
-
-
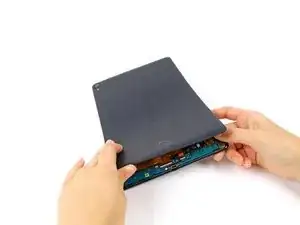
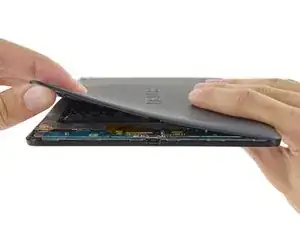
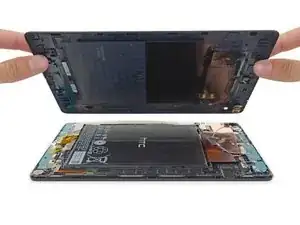
With your fingers, carefully pry off the back plastic casing. Starting at the corners is usually the easiest.
-
-
-
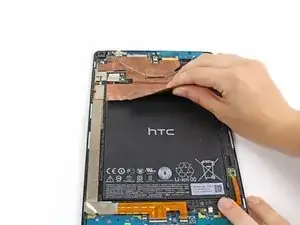
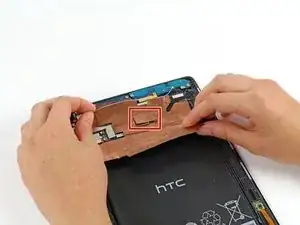
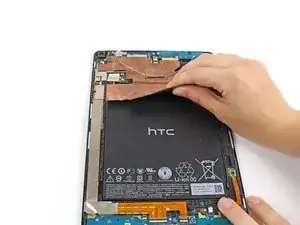
Carefully peel up the copper shielding with your fingers.
-
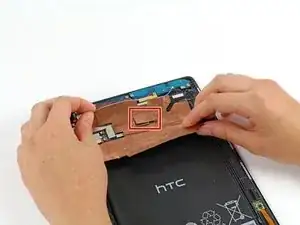
Before fully removing the copper shielding, make sure that the blue antenna cable is out of the way of the copper tab.
-
-
-
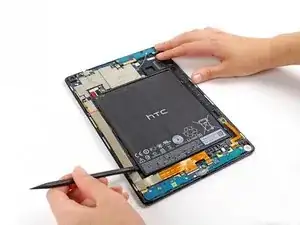
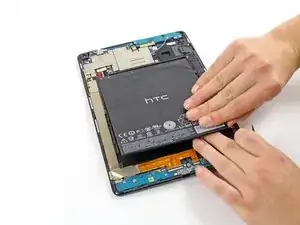
Using the spudger tool, carefully remove the bottom of the battery from it's location below the logic boards.
-
The battery is attached to the motherboard with some adhesive, so you may need an iOpener to loosen up the adhesive. Check out the iOpener guide for info on how to do it.
-
Do not pull the battery from the tablet yet, as it is still connected to the motherboard.
-
-
-
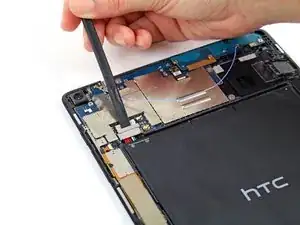
Now remove the metal clip covering the battery's connector cable located above the top left of the battery with the spudger.
-
After the metal clip is wiggled free, the battery's connector cable can be easily removed by just gently tugging it free.
-
-
-
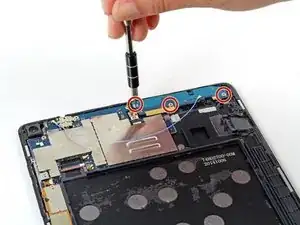
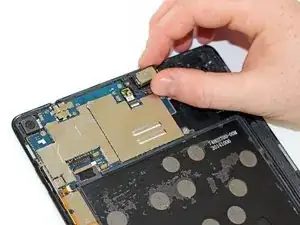
Carefully peel up the copper shielding with your fingers.
-
Before fully removing the copper shielding, make sure that the blue antenna cable is out of the way of the copper tab.
-
-
-
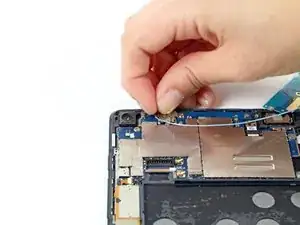
Use your fingers or a pair of tweezers to disconnect the blue antenna cable from the motherboard.
-
The antenna board should now lift free of the motherboard.
-
-
-
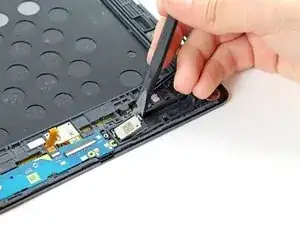
Use a spudger or your fingers to remove the first speaker. The speaker may be heavily glued in and require heat to lift. Be careful as you can pull the speaker apart.
-
-
-
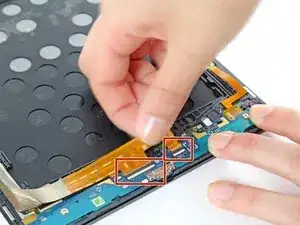
Disconnect the two ZIF connectors attached to the daughterboards.
-
Gently pull on the ribbon cable to remove it.
-
-
-
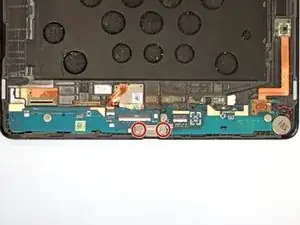
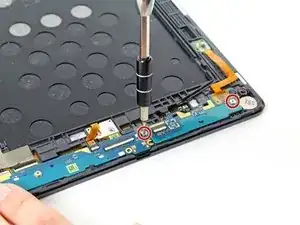
Remove the two 3mm T5 Torx screws securing the metal USB port bracket.
-
Use your fingers or a pair of tweezers to remove the bracket.
-
-
-
Unscrew the two 3mm T5 Torx screws securing the daughterboard to the device.
-
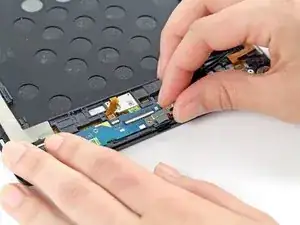
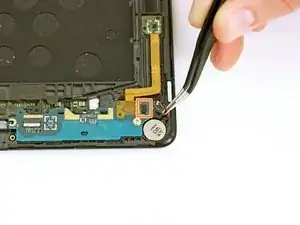
Use a pair of tweezers to disconnect the vibrator cable. It will lift straight up from the daughterboard connector.
-
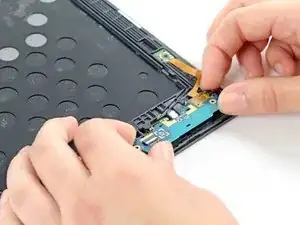
Use your fingers to lift the daughterboard upward and out of the device.
-
-
-
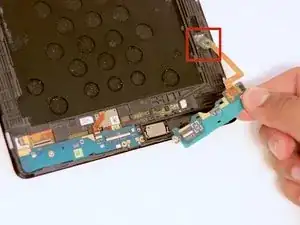
The daughterboard has an orange ribbon cable that is adhered to the device. Gently pull the ribbon up and remove the daughtboard.
-
To reassemble your device, follow these instructions in reverse order.

Just removed the cover. On mine, there is a piece of double sided tape, 2"x1", bottom middle, sticking the back cover to the battery. The battery pack's black skin ripped as I pulled the cover off. I was able to peel the skin from the tape and reposition on the batteries. Don't think this black skin is nothing more then a way to print branding and other texts onto the batteries.
Sccoaire -
Same here. Ridiculous!
rexograph143 -