Introduction
Replacing the battery on your Nest couldn't be easier. The only tools required are tweezers, a Phillips #0 screwdriver, Phillips #2 screwdriver, and the opening tool
-
-
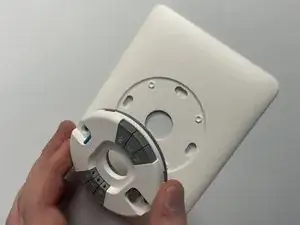
Grasp the display's outer ring with your fingers and pull directly away while rotating clockwise to remove the thermostat from the wall.
-
Go to the electrical panel and turn off the circuit to make sure no power is running to the thermostat.
-
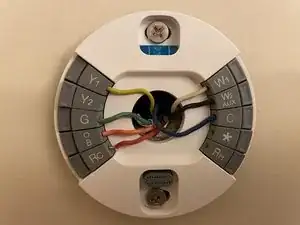
Once the power is off, disconnect the Y1, G, R, W1, C, and OB wires.
-
-
-
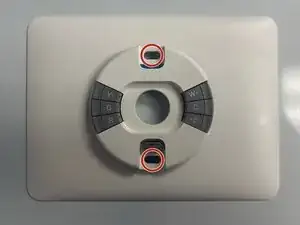
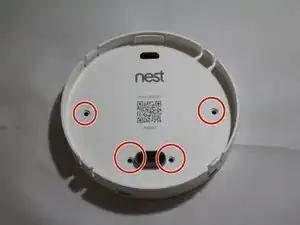
Remove the two 1 ¼” drywall screws holding the base display and base plate in the wall using a Phillips #2 screwdriver.
-
Remove the base plate and base display.
-
-
-
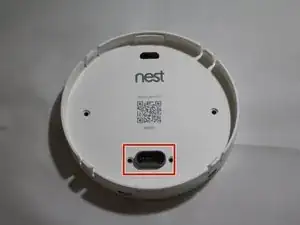
Grab the pin connector and gently pull up to remove the thermostat backplate from the thermostat.
-
-
-
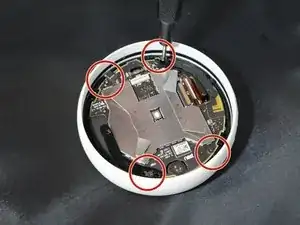
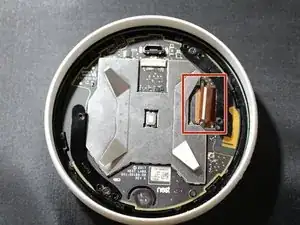
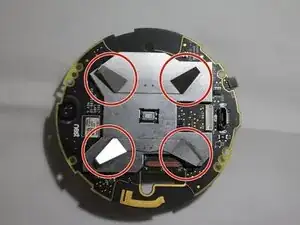
Grasp the orange tab with tweezers and gently pull the ribbon cable directly away from the motherboard.
-
-
-
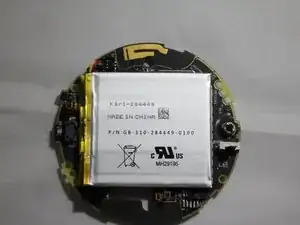
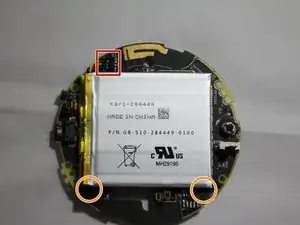
Disconnect the battery connection identifiable by the black, yellow, and red wire.
-
Pull down the two pull tabs on the battery.
-
Grasp the battery with your fingers.
-
Pull gently directly away from the display to unplug the battery from the display motherboard.
-
To reassemble your device, follow these instructions in reverse order.
