
Introduction
This guide will help you replace a leaky O-Ring caused by exposure to the elements or damage during disassembly. All you will need to access this are iFixit opening picks. It is recommended that this is replaced anytime the device is opened as it can be pinched or torn during removal of the face plate or device housing.
-
-
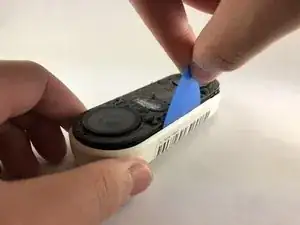
Insert the pick between the black faceplate and white casing of the Nest Hello.
-
Pry the faceplate away from the device with the opening pick.
-
Completely remove the faceplate from the device, do not be afraid to pull hard.
-
-
-
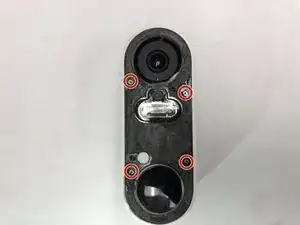
Peel back the cover stickers and use the Phillips #000 screwdriver to remove the four screws.
-
-
-
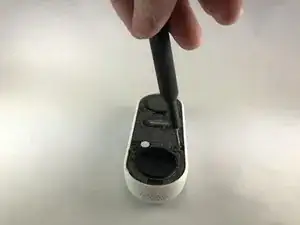
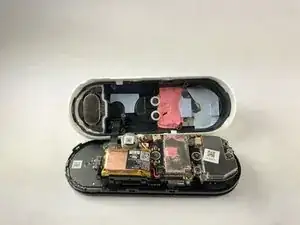
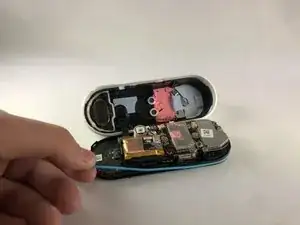
Insert opening pick between the white casing and the black internal circuitry and pry it out.
-
-
-
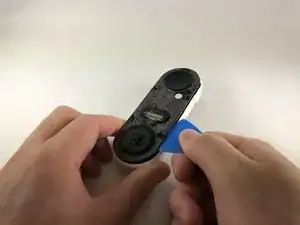
Remove the O-Ring (colored blue) from the device. It is placed around the edge of the motherboard.
-

To reassemble your device, follow these instructions in reverse order.

2 comments
Is there a link available for spare replacement parts? I can’t seem to find anything other than replacement internal batteries . Thanks!
Also looking for this replacement part. Googling did not produce results.
KB_KB -
I had to use a metal spudger tool to start and then used guitar picks.
Joel Lundi -
Be afraid to pull hard. The faceplate will break in two.
B Bremer -
I did the JerryRigEverything method and slipped a razor under the faceplate to separate it carefully from the body. Worked perfectly and nothing was damaged
There I Fixed It -
Be careful with the wiring and the heater element. I must have shorted something together when it put it back together and now it will no longer power up. It is probably best to cut the wires to the heater and deal with the consequences in the cold temperatures.
Joe I. Fabritz -