Introduction
This guide is needed to replace the Micro-USB port if the Nest Dropcam Pro is plugged in but not receiving power. Make sure the device is unplugged before opening.
Tools
-
-
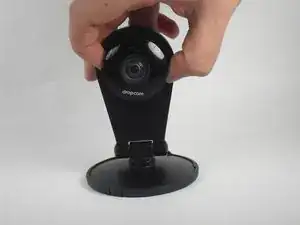
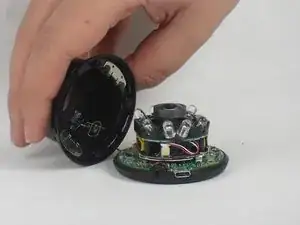
Lift the front of the case slowly, as there is an antenna cable attached to the motherboard.
-
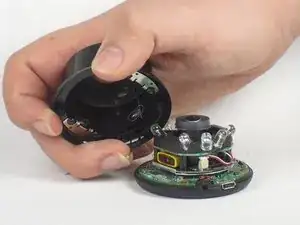
Carefully disconnect the antenna cable from the motherboard. You will feel this cable "pop" out of place when disconnected.
-
-
-
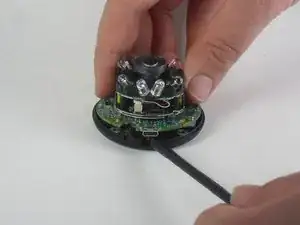
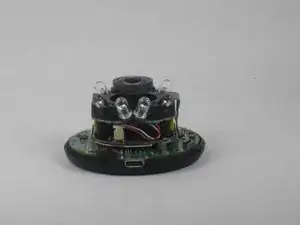
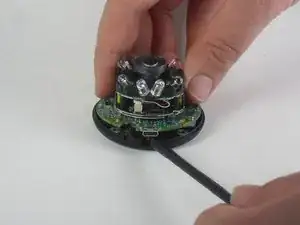
Insert a spudger tool under the micro-USB port and lift to separate the motherboard from the back case.
-
-
-
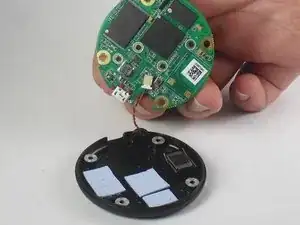
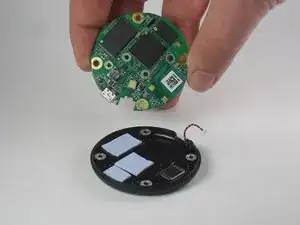
Pull the motherboard away from the back case.
-
Unplug the red and black cable connecting the motherboard to the back case.
-
-
-
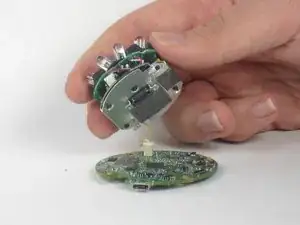
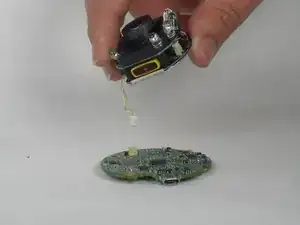
Lift the lens and LED assembly away from the motherboard.
-
Unplug the yellow and white cable from the motherboard.
-
-
-
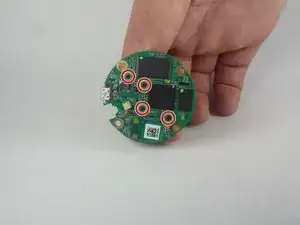
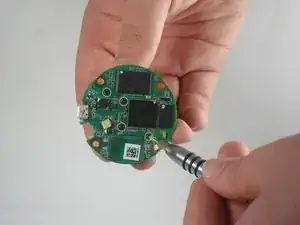
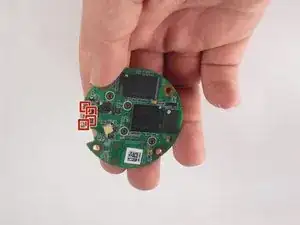
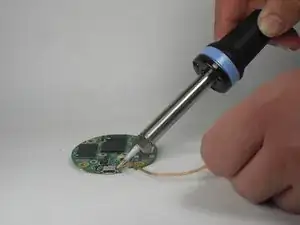
Using a soldering station and desoldering braid, desolder the four points surrounding the Micro-USB port.
-
Lift the Micro-USB port away from the motherboard.
-
To reassemble your device, follow these instructions in reverse order.
4 comments
I don't have the soldering tools but I used lazerbond to reattach the old port. I hope all the conductors are touching their counter parts. I haven't plugged it back in yet. Wish me luck.
Did it work for you?
Where can you order the micro-usb charge port for this cam?
Not sure where you get them but according to one site it uses a Micro USB 2.0 Type B Receptacle.
Debbie -
Where do you purchase drop cam pro motherboard?
Geo -