Introduction

  1. WLIQT2yeRhESSSk1
    WLIQT2yeRhESSSk1
    pvUTHgAqlMuZsFOM
    gtg2rcUftvY3enYw
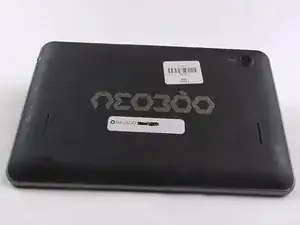
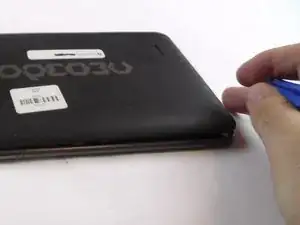
    • Turn the Neo3DO face down so that the logo is facing toward you.

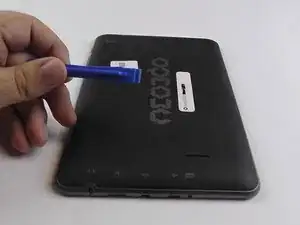
    • Insert the plastic opening tool between the metal frame and the plastic back panel, as shown.

  2. SiCUBXXuSMphNXfy
    SiCUBXXuSMphNXfy
    jXu5HqcAmvxpLDEs
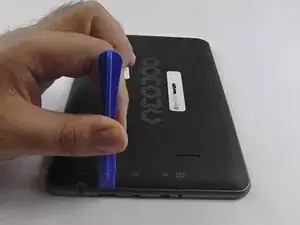
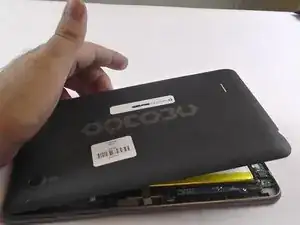
    • Gently pry the back panel upwards.

    • Ensure the tool does not slip into the device and damage the internals.

  3. 6TVZZnRjWJfOD3DV
    6TVZZnRjWJfOD3DV
    c6XchieU5seNnCTu
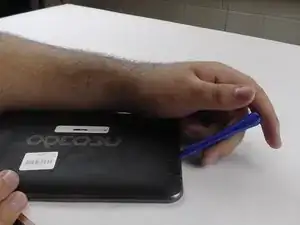
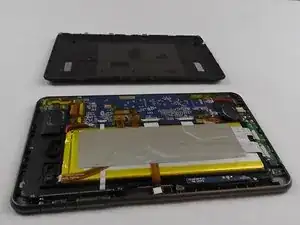
    • Once the back panel has been pried away from the bottom and sides of the Neo3DO, lift the back panel up and away from the tablet.

  4. CbBVdF3VirOerJuG
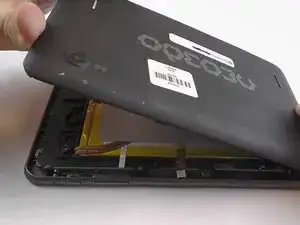
    • When replacing the back panel, place the top edge of the back panel against the top edge of the Neo3DO, as shown.

    • The top edge of the device is the edge closest to the camera. The top of the back panel is the side with the hole for the camera.

  5. AtN2aOvtDrCNdvRx
    AtN2aOvtDrCNdvRx
    l454pI6myVgF3mOA
    62XjIG53fxEE1M5m
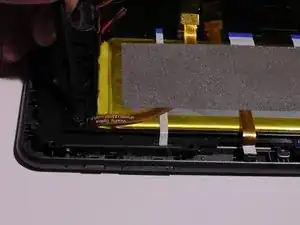
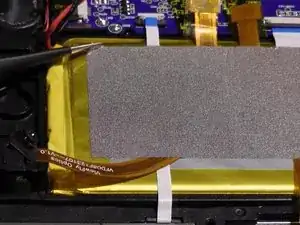
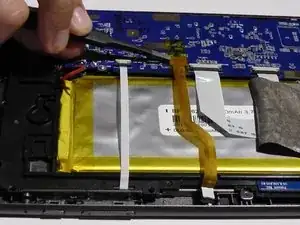
    • Remove the front and back camera from their sockets.

    • Remove the silver tape from the battery.

  6. w3yY5Ji4BrXXjZRa
    w3yY5Ji4BrXXjZRa
    kLJvuPDKkWoqgBa2
    v4XVbZJHhQiGsERC
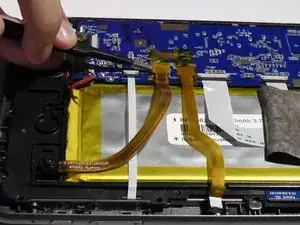
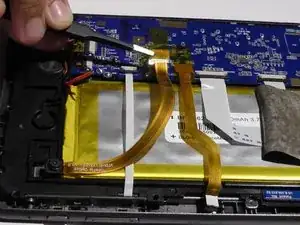
    • Remove the ribbon wire from the socket.

    • Gripping the wire belt and pulling upwards may cause damage, be sure to avoid it.

Conclusion

To reassemble your device, follow these instructions in reverse order.
Daniel Evans

Member since: 26/09/16

431 Reputation

0 comments