Introduction
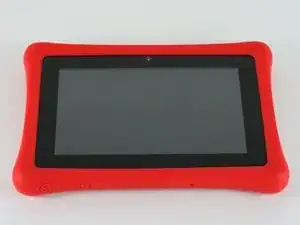
Some users of the tablet have faced problems with their headphone jack. If the headphone jack is not working, this repair guide can be used to remove and replace it. Please note that this guide should be used if cleaning the headphone jack fails to resolve your audio problems.
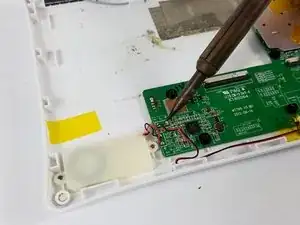
It is important to note that this guide will involve soldering and desoldering. When soldering, make sure that you do not touch any metal parts of the soldering iron. It gets very hot, very quickly.
Tools
-
-
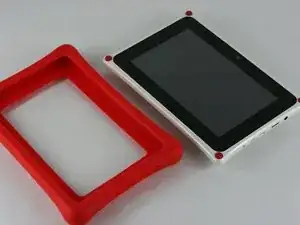
Carefully, insert a plastic opening tool into the seam of the device and begin gently prying the two plastic pieces apart.
-
Work the tool all the way around the device. Small plastic clips should release. If they do not, gently apply outwards pressure until the clips give.
-
-
-
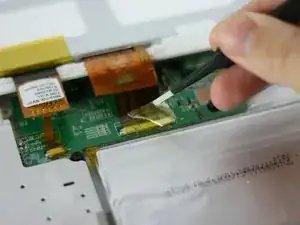
Using a spudger, slide the brown tab forward on each side of the connector
-
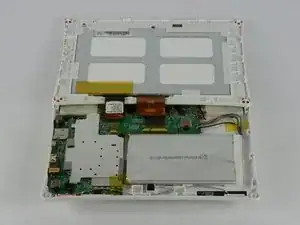
Slide until the connector is completely loose, then separate the screen from the bottom half of the tablet
-
If the screen is not working correctly, you will need to replace the entire display assembly
-
-
-
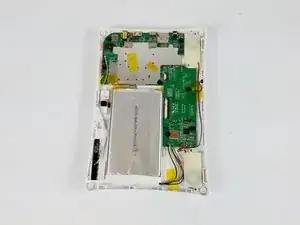
Desolder the battery connection and remove the battery completely
-
Note the color order for future replacemement
-
-
-
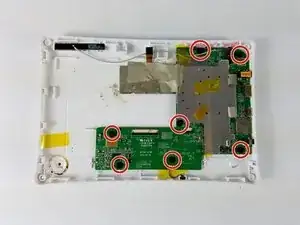
Using a Phillips PH 000 screwdriver, unscrew the two 3 mm Phillips #000 screws on each side of the speakers that hold the speakers in place.
-
-
-
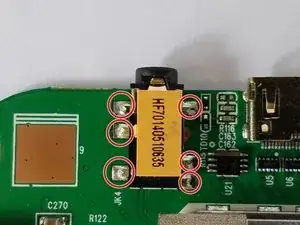
Desolder the six pins attaching the headphone jack to the motherboard
-
Remove headphone jack from motherboard
-
To reassemble your device, follow these instructions in reverse order.
