Introduction
If the speakers not working, or they are only making a static noise, then replacing them will fix the sound of the NABI XD.
Tools
-
-
Next slide the plastic opening tool across the sides of the Nabi. It will slowly open.
-
There are small plastic clips that need to be release. Gently apply outwards pressure until the clips give.
-
Go around the NABI XD and separate the rear panel from the device.
-
-
-
Place your fingernails on both sides of the connector and pull it straight back away from the holder.
-
-
-
Remove the two 4mm Phillips screws with the PH#0 screwdriver.
-
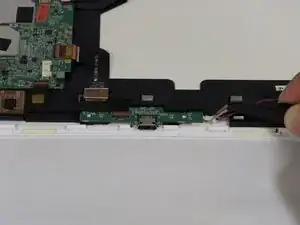
Disconnect the left (L) speaker wire from the charging port by grabbing it on both sides with the tweezers and pulling straight back.
-
-
-
Use your fingernails or a spudger to flip up the small retaining flap, then pull the ribbon straight back to remove
-
Lift the charging port from the NABI XD.
-
-
-
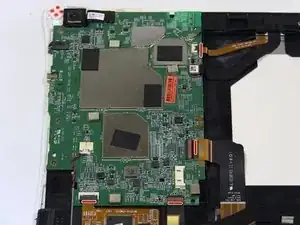
To remove the marked ribbons, use your fingernails or a spudger to lift up small tab
-
Use the Precision Tweezers to gently pull the ribbons straight out of the connectors.
-
-
-
Disconnect the camera by lifting the ribbon straight up. Also disconnect the remaining ribbon by lifting up gently.
-
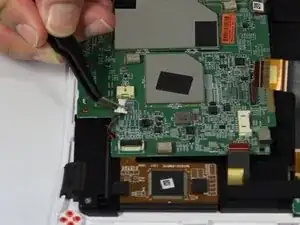
To disconnect antenna wire, use the tweezers to pry connector straight from the board.
-
-
-
Disconnect the Right speaker by grabbing the wire head by its sides and pulling it back from the connector.
-
-
-
Right (R) speaker removal:
-
Remove one 4mm Phillips screw.
-
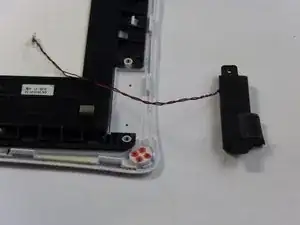
Use the metal spudger to separate the speaker from the frame.
-
-
-
Left (L) speaker removal:
-
Remove two 4mm Phillips screws.
-
Use the metal spudger to separate the speaker from the frame.
-
To reassemble your device, follow these instructions in reverse order.


