Introduction

If the camera is not working correctly follow this guide to replace it.

  1. GV5515spihyTBxYH
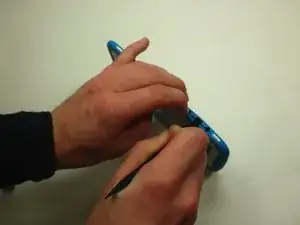
    • Insert spudger into the USB Micro slot and pry the case apart.

    • Be careful not to go too deep and bend the prong inside the Micro USB port.

  2. 3GgUIQkjOrhgogyf
    3GgUIQkjOrhgogyf
    ykdtIQOPIE6CcOCT
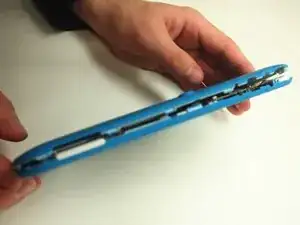
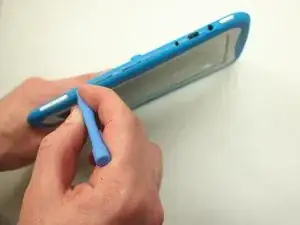
    • Slide the wide plastic opening tool across the seem, separating it if you can't pry the device open using just the spudger.

    • Gently separate the case so none of the cords inside are disconnected

  3. WioZRpJ1bpXaNS4N
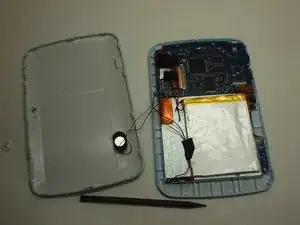
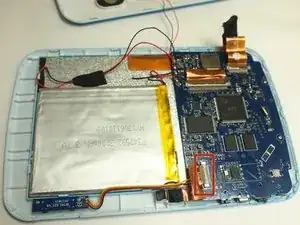
    • After prying the device apart, it should look like this.

  4. D2T1CvLiuXOmfCvl
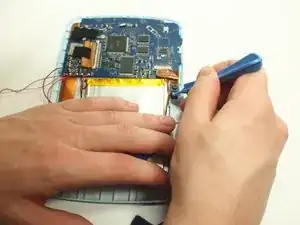
    • Use the slim plastic opening tool to pry the camera from its initial position.

  5. ggRN1QmfO2RnvWh1
    • Use the precision tweezers to gently disconnect the camera ribbon that is connected to the motherboard.

Conclusion

To reassemble your device, follow these instructions in reverse order.
David Wood

Member since: 06/02/15

440 Reputation

0 comments