Introduction

Do you have a cracked, shattered, or unresponsive touch screen? This guide will help you replace your screen! You will need to purchase a new screen before beginning.

  1. aYSSjG5fJJVp6UXJ
    aYSSjG5fJJVp6UXJ
    MJjoFw4MdSUwOsPl
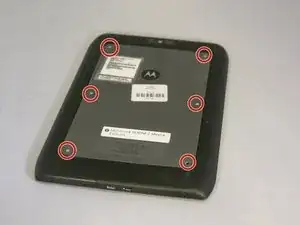
    • Power off the device before beginning disassembly.

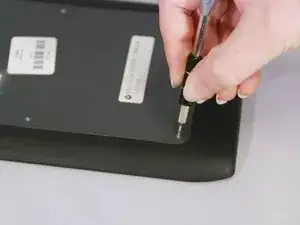
    • Remove six 2.7mm Torx #3 screws.

  2. 2T4efOVfiQQATokE
    2T4efOVfiQQATokE
    JNWRwp1mE6ywHNIR
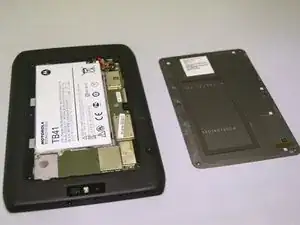
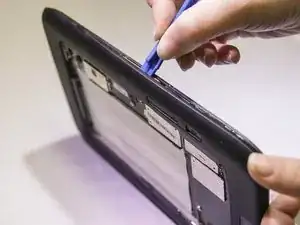
    • There is adhesive attached to the underside of the back panel. Gradually lift the panel to avoid bending it out of shape.

    • Pry off the back panel using a plastic opening tool.

    • Using a plastic opening tool, slide the tool gently around the back cover to lift the cover off.

  3. 4mEaSTtVQEvXHhii
    4mEaSTtVQEvXHhii
    VJ3XcfRHgfenEVbh
    JsWUvDJeEKrdfcyo
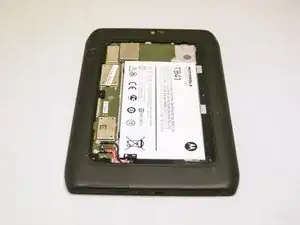
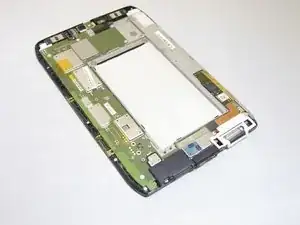
    • Pry off the black cover gradually using a plastic opening tool.

  4. GacfgIajGCKbuUFo
    GacfgIajGCKbuUFo
    6eqgGLryIACPnSdp
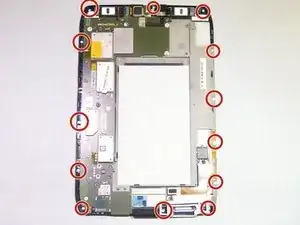
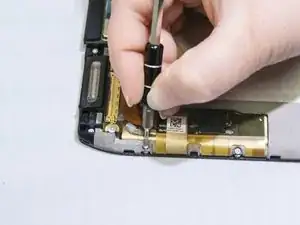
    • Remove thirteen 2.55mm Torx #4 screws with Torx T4 screwdriver.

  5. q3afxUo4B2YECuMk
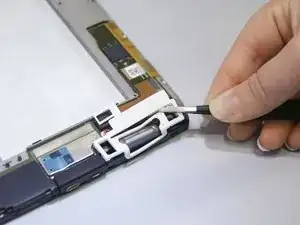
    • Use tweezers to pull up the white rubber cover.

  6. 4NfdaPqTIKmBBMGt
    4NfdaPqTIKmBBMGt
    BWspmFJsLOGPRsdw
    Ti4bvAT1CTIiVpVv
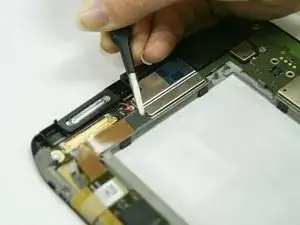
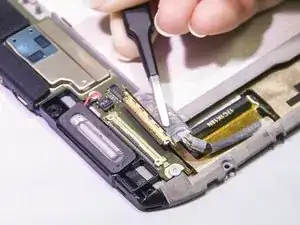
    • Use the tweezers to pull up the small chip from its receiver.

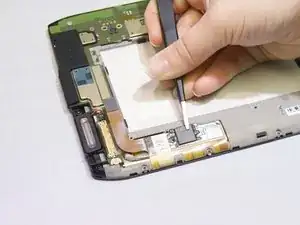
    • Use the tweezers to pull up the larger chip from its receiver.

    • There is adhesive attached to the back of the larger chip on the touchscreen controller strip.

    • Use the tweezers to pull up one end of the small piece of tape that is holding the touchscreen controller.

  7. SfUAD4nUkmDUfoGE
    SfUAD4nUkmDUfoGE
    VcKBHWDU1TtrZSLL
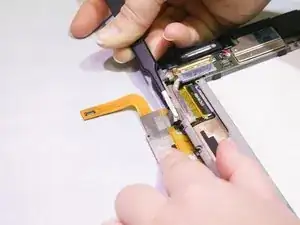
    • Use the tweezers to pull up and release the thin handle that is attached to the LCD connector.

    • Use the tweezers to pull out the LCD connector from its receptor.

  8. vAHTD4XNB2vxOYWE
    vAHTD4XNB2vxOYWE
    DHGIceJe6IikUyCH
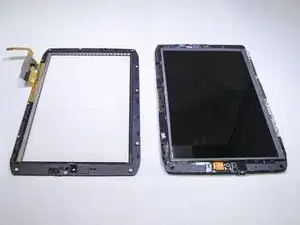
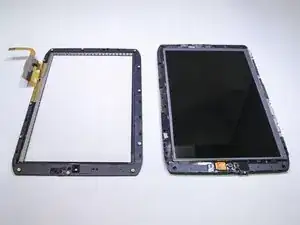
    • Use a plastic opening tool to gradually separate the screen from the device.

Conclusion

To reassemble your device, follow these instructions in reverse order.
Lacie Broten

Member since: 28/09/16

271 Reputation

0 comments