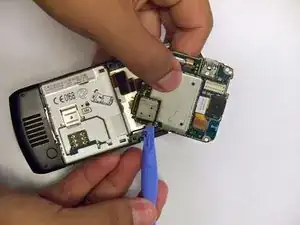
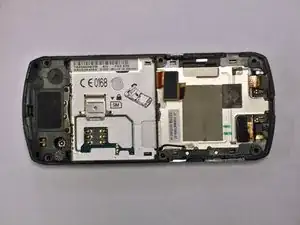
Introduction
Tools
-
-
Turn off your phone before beginning disassembly.
-
To replace the camera, first begin by removing the battery.
-
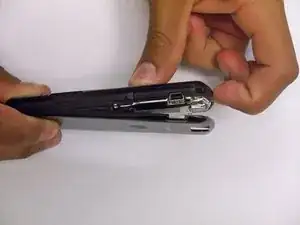
Push down on the black tab at the Motorola phone’s top center to detach the back phone cover and access the battery.
-
-
-
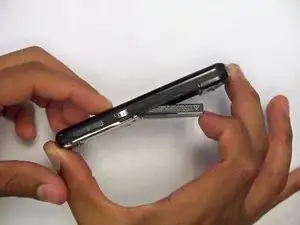
Remove the battery on the back of the Motorola phone by pulling it away from the back of the phone.
-
-
-
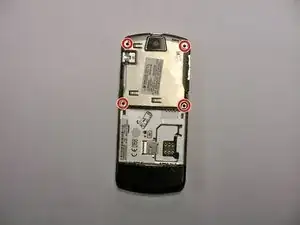
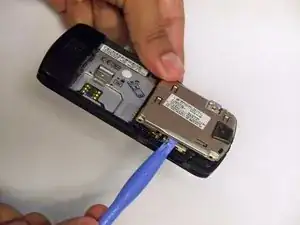
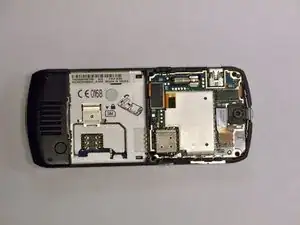
Remove the metal cover by inserting the flat end of the iFixit Opening Tool under the side of the cover, prying it away from the phone.
-
-
-
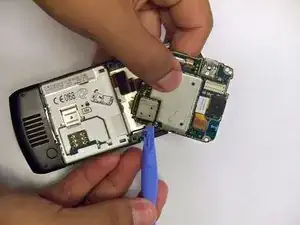
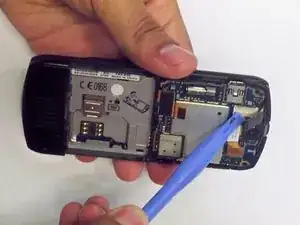
Carefully separate the two connectors from their sockets on the motherboard using the flat end of the iFixit Opening Tool, so the two connectors are open.
-
-
-
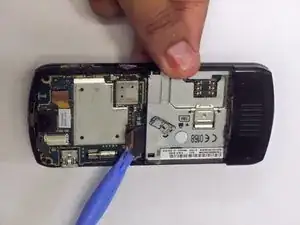
Use the flat end iFixit Opening Tool to pry the antenna cable connectors from their respective sockets on the motherboard.
-
Pull the antenna cable out to de-route it from the phone.
-
To reassemble your device, follow these instructions in reverse order.
