Introduction
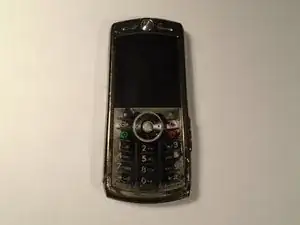
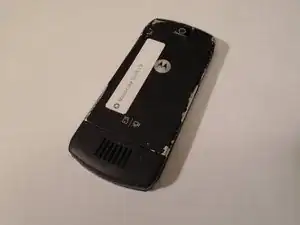
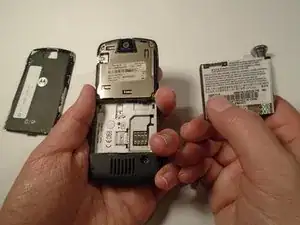
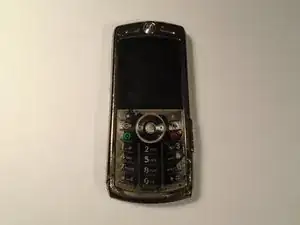
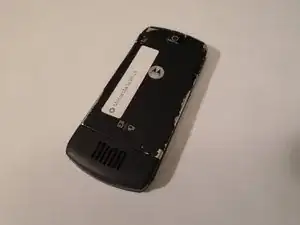
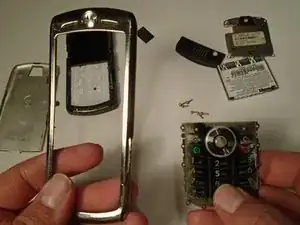
The Keypad Replacement Guide provides a list of the tools and parts that you need to replace the keypad on the Motorola SLVR L9. As you begin the replacement process, look for the pictures provided with each step to better guide you.
Tools
Parts
-
-
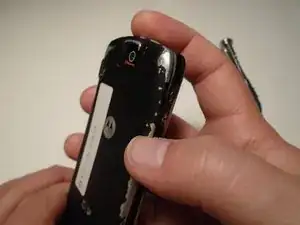
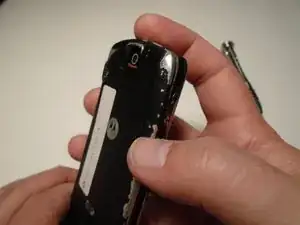
Press down on the silver battery cover latch located at the top of the phone.
-
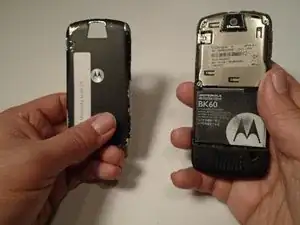
Pull the battery cover down and away from the latch; then lift it up to remove the battery cover.
-
-
-
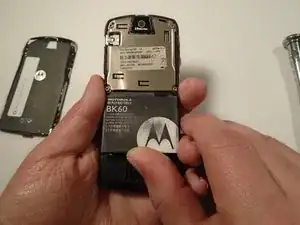
Press down on the battery cover latch located at the top of the phone.
-
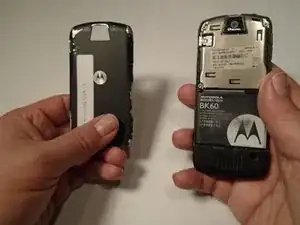
Pull the battery cover down and away from the latch; then lift it up to remove the battery cover.
-
-
-
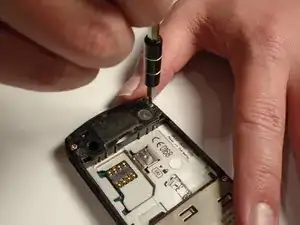
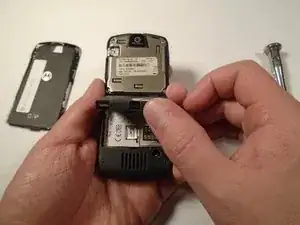
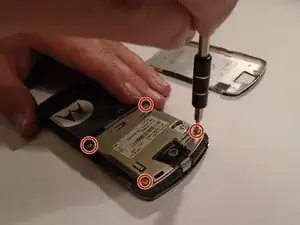
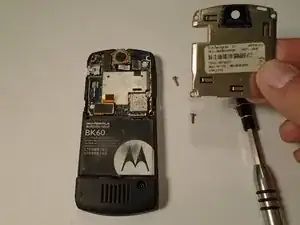
Remove the four housing screws (1/8") from each corner of the transceiver PC board shield. Use a screwdriver with a T6 Torx screwdriver head to turn the screws counter-clockwise (left).
-
-
-
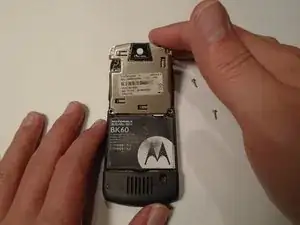
Once you have removed all of the screws, lift the transceiver PC board shield up to remove it.
-
-
-
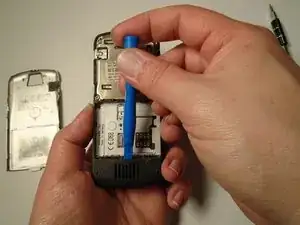
Use the plastic opening tool to loosen the cover latch.
-
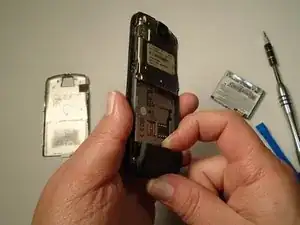
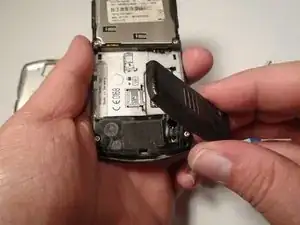
Once the cover latch has been loosened, gently pull the cover latch off of the device.
-
-
-
Use a screwdriver with a T6 Torx screwdriver head to remove both screws (1/8") from the speaker housing. Turn the screw counter-clockwise (left).
-
-
-
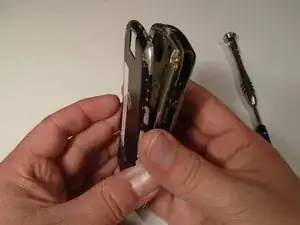
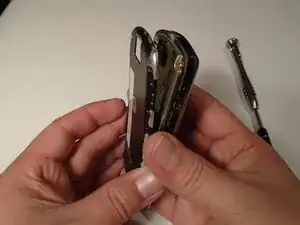
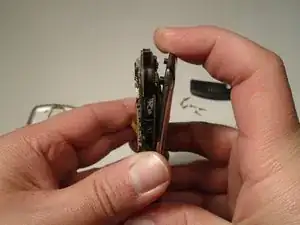
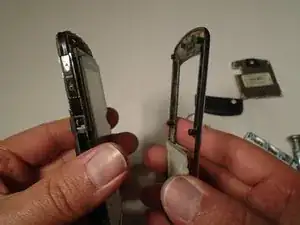
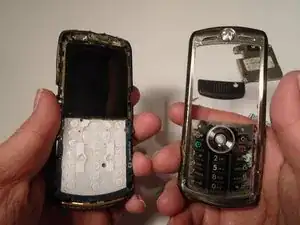
Using the grooves around the edge of the phone, gently pull the front plate away from the phone until it is fully removed from the device.
-
To reassemble your device, follow these instructions in reverse order.
