Introduction

The purpose of this guide is to help you replace your keypad cover.

  1. LsYKdNXvaQmcrGpg
    LsYKdNXvaQmcrGpg
    GN2C5FcbV156AXMJ
    dLyAYBRKKmCHONcJ
    • Press down on the the rear panel release button while simultaneously prying the rear panel straight away from the V3c.

    • Lift and remove the rear panel away from the V3c.

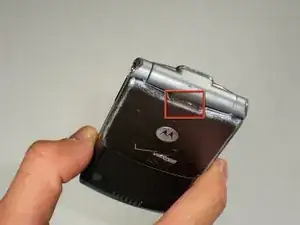
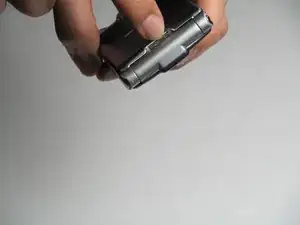
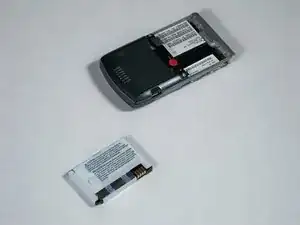
    With the phone closed, press the silver button shown with a fingernail or such. Tilt and lift the battery cover and put aside.

    walltoall -

  2. Jvw5t42gRRgChDWm
    Jvw5t42gRRgChDWm
    NOieVuYp4564XPJD
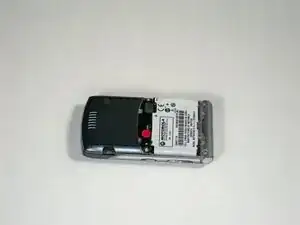
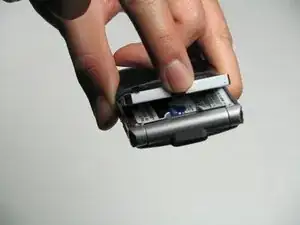
    • Remove the battery by pushing in the top of the battery and lifting it away from the phone.

    The Motorola V3 battery has a notch in one corner to ensure it can only go in one way. Fit the replacement battery by offering its bottom edge to the device, then tilt and click using thumb pressure.

    walltoall -

  3. wWrDtVYJKd1gsgn5
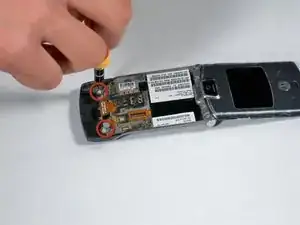
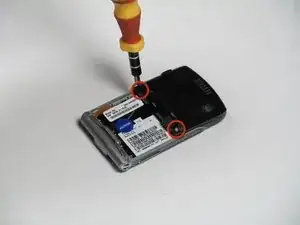
    • Remove the two T6 screws on the back of the phone.

  4. V2D3jCfPsqUtaBq5
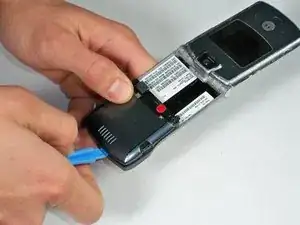
    • Use the plastic opening tool to pop the bottom part of the back case out.

    • The back case is connected to the phone with a ribbon cable; take care not to pull too hard or violently on the cable.

  5. aF4DHpkjvRZYyHcu
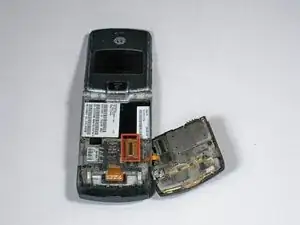
    • Gently pull back case out and lay it over to the side.

    • Now pull up on the cable attaching the back case to the phone body to separate the two parts. Lay the back case aside for now.

  6. 4UTcCLgdyaPohSZk
    • Remove the two T6 screws securing the plastic speaker cover to the phone.

  7. vPyMIVOaBmppd4KO
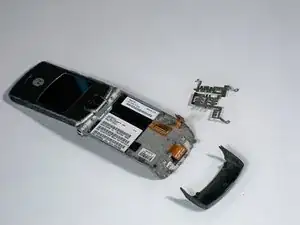
    • Pull off the lower front casing.

    • The metal shield will come off when the lower front casing is removed. Make sure to replace this when reassembling the lower bottom casing.

  8. yNNqan3H1oniUTaQ
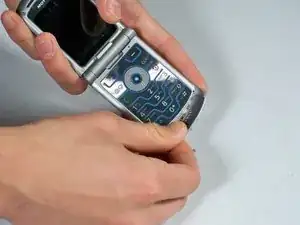
    • Pull the silver plastic cover down away from the rest of the phone.

  9. Z22Dy3CdGwMVPwJF
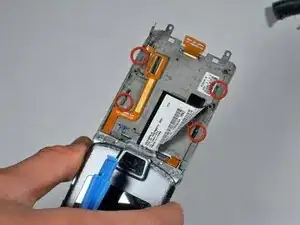
    • Push the metal tabs along the perimeter of the device through towards the keyboard with your fingers.

  10. SxtH4e61glIoOVjF
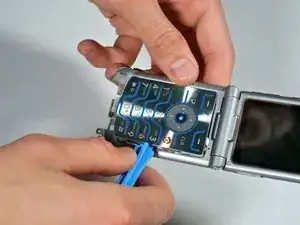
    • Gently lift up on the keypad with the plastic opening tool while being careful not to bend the thin metal portion lining the keypad.

Conclusion

To reassemble your device, follow these instructions in reverse order.
krisko

Member since: 15/01/10

104 Reputation

0 comments