Introduction
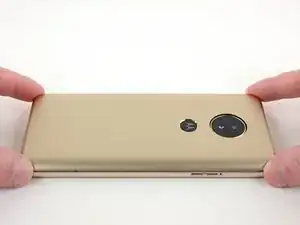
Use this guide to replace a worn-out battery in the Motorola Moto E5. If your battery is swollen, take appropriate precautions.
Before you begin, download the Rescue and Smart Assistant app to backup your device and diagnose whether your problem is software or hardware related.
For your safety, discharge your existing battery below 25% before disassembling your phone. This reduces the risk of a dangerous thermal event if the battery is accidentally damaged during the repair.
Replacing the back cover adhesive after your repair is optional. If you choose to replace it, you’ll need to purchase pre-cut double-side tape.
-
-
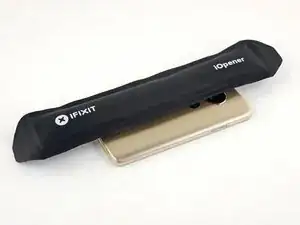
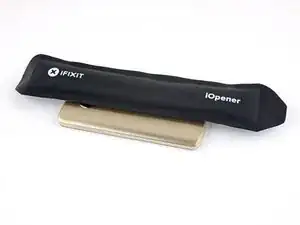
Prepare an iOpener and heat the back of the phone along one edge for about two minutes, or until it's slightly too hot to touch. This will help soften the adhesive securing the back cover to the phone.
-
-
-
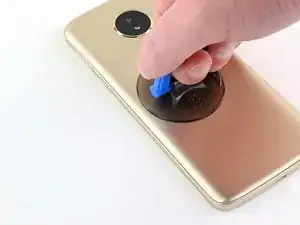
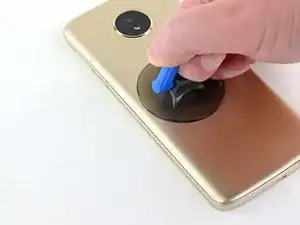
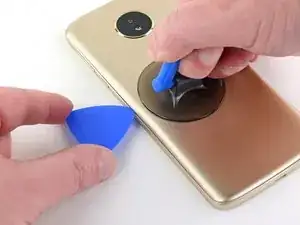
Apply a suction handle to the back cover, near the middle of the edge you heated up.
-
Pull the suction cup with firm, constant pressure to create a slight gap between the phone's frame and the back cover.
-
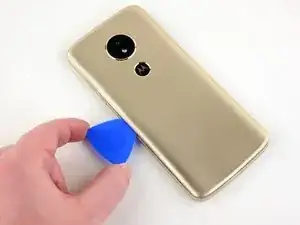
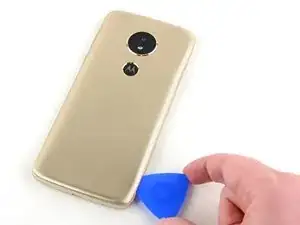
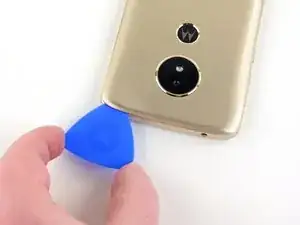
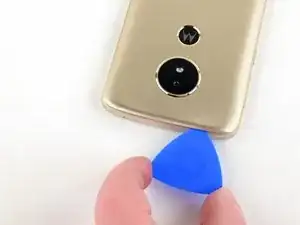
Insert an opening pick into the gap.
-
-
-
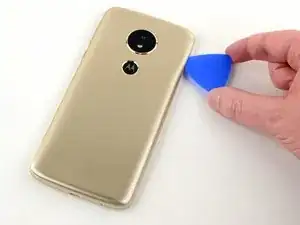
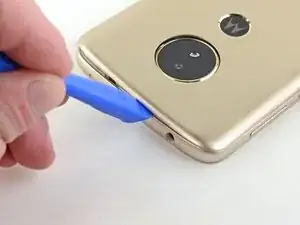
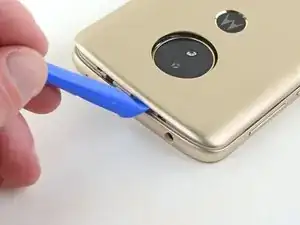
Slide the opening pick along the edge of the phone, cutting through the adhesive securing the back cover to the phone's frame.
-
-
-
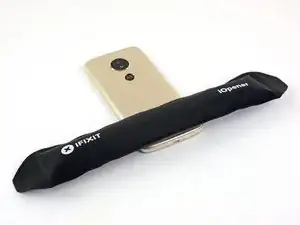
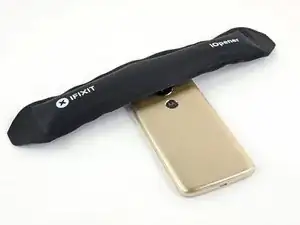
Use the iOpener to heat the back of the phone along its bottom edge for about two minutes, or until it's slightly too hot to touch.
-
-
-
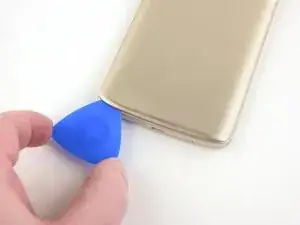
Continuing sliding the opening pick down and cut the adhesive around the bottom of the phone.
-
-
-
Use the iOpener to heat the back of the phone along the other edge for about two minutes, or until it's slightly too hot to touch.
-
Continue cutting through the adhesive along the side of the phone.
-
-
-
Use the iOpener to heat the back of the phone along its top edge for about two minutes, or until it's slightly too hot to touch.
-
Continue cutting through the adhesive along the top edge of the phone.
-
-
-
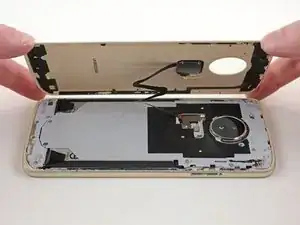
There are some areas around the edge that are held down with plastic clips. The opening pick should detach most of the clips. If not, insert an opening tool into the gap and pry the back cover up to release the clips.
-
-
-
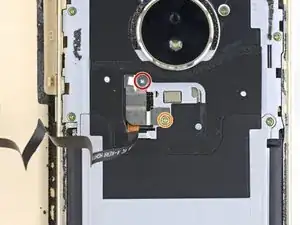
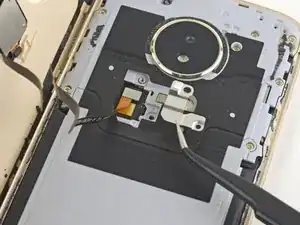
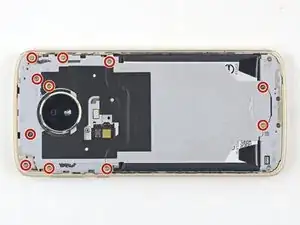
Remove the following Phillips screws securing the fingerprint sensor cable cover:
-
One 1.6 mm screw.
-
One 3.8 mm screw.
-
-
-
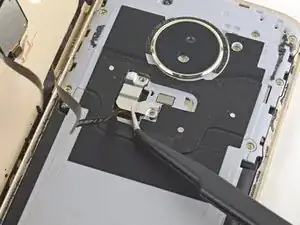
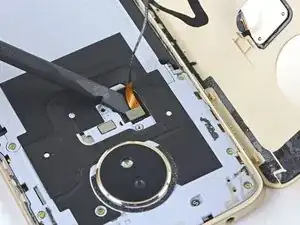
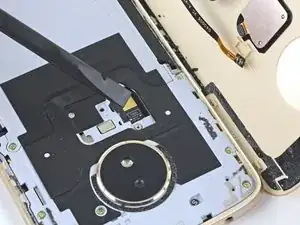
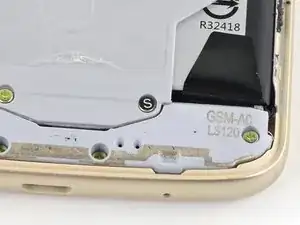
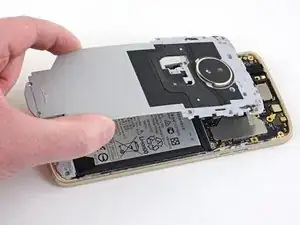
Insert your fingernail or the flat end of a spudger into the notch at the bottom of the midframe.
-
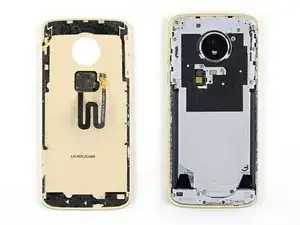
Pry up with your fingernail or the spudger to loosen the midframe and remove it.
-
-
-
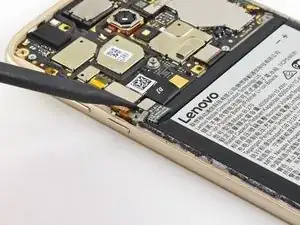
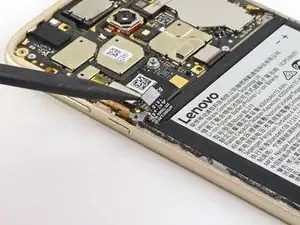
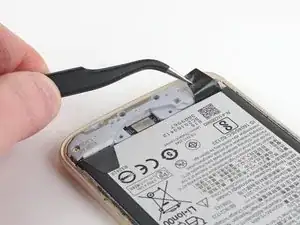
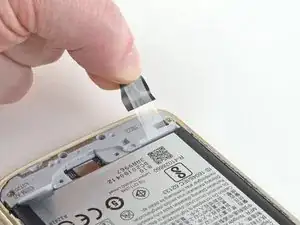
Use a pair of tweezers to peel up the two battery adhesive tabs at the bottom of the battery.
-
-
-
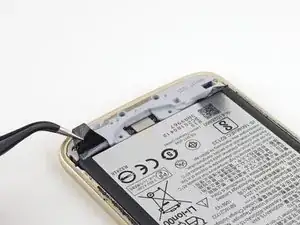
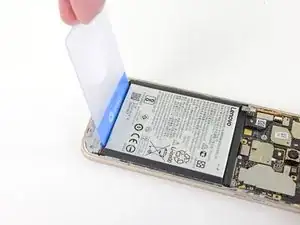
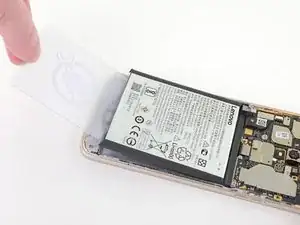
If the adhesive strips broke and you can no longer access them, insert a plastic card in between the bottom of the battery and the phone's frame.
-
Carefully push the card down and inward to wedge it underneath the battery and pry it up.
-
-
-
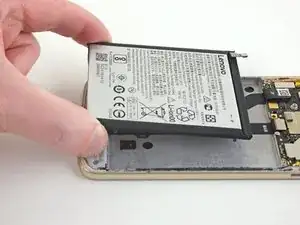
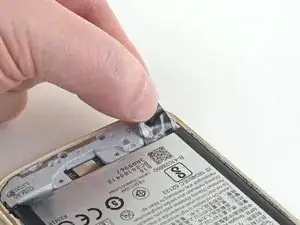
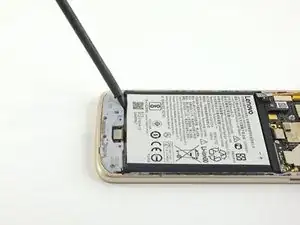
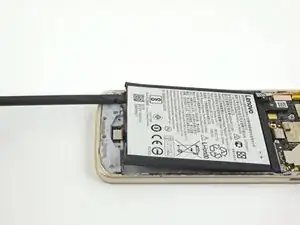
If you successfully removed the adhesive strips, insert the flat end of a spudger in between the bottom of the battery and the phone's frame.
-
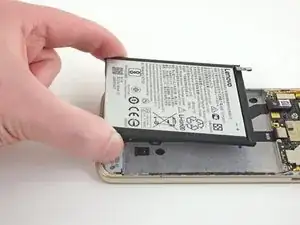
Lift up the battery to free it from its recess and remove it.
-
-
-
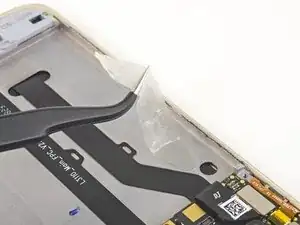
Before installing the new battery, be sure to remove any broken adhesive strips that were left behind.
-


Compare your new replacement part to the original part—you may need to transfer remaining components or remove adhesive backings from the new part before installing.
To reassemble your device, follow the above steps in reverse order.
Take your e-waste to an R2 or e-Stewards certified recycler.
Repair didn’t go as planned? Check out our Motorola Moto E5 Answers community for troubleshooting help.

3 comments
отлично! долго не хотел его делать без инструкции.
For step #14, I had 15 screws on my midframe as it covered the entire bottom of the phone and didn’t taper down like yours did. Otherwise, the guide was great with no surprises, thanks.
Danke für die gute Anleitung. Zwar mußte ich einiges am Anfang anders machen, da der Akku schon hie Rückwand aufgesprengt hatte. Aber es hat sich gelohnt.
Anzumerken sei nur, das beim Werkzeug eine kleine selbsthaltende Pinzette günstig währe. Ich hatte eine solche in meinem Bestand und die hat mir beim Zusammenbau gut geholfen.
Mal sehen ob das Handy nach dem Akkuschaden wieder voll funktioniert.
Danke allen die so eine gute Beschreibung geliefert haben.
So what is the temperature Fahrenheit or Celsius that is too hot for the battery? There must be a maximum degree temp. in place… wouldn't you think? please speak/txt. in specific terms. That would be a great help. thank you
m. callo -
Hello! When you heat the device with the iOpener, the iOpener is designed to never get hot enough to damage the battery. Anything above 200°F is too hot for a lithium-ion battery and will heavily damage it in a very short amount of time. You can often set the phone on a heat pad at 170°F (~80°C) for a few minutes without issue.
Arthur Shi -