Introduction
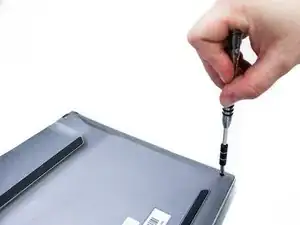
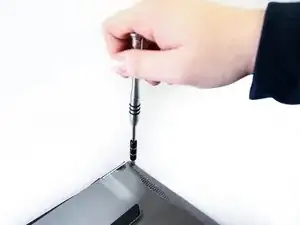
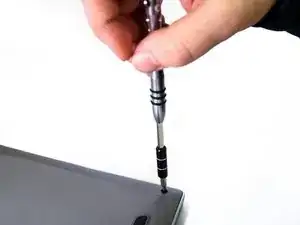
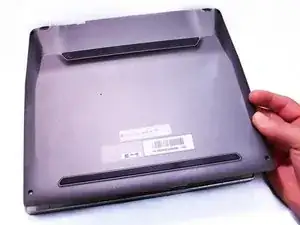
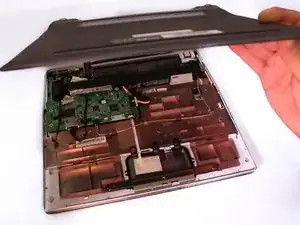
To start your lapdock disassembly, you will need to start by removing the keyboard. After this is completed, you will need to remove the screws located underneath the keyboard. Then you will remove the four screws underneath the lapdock to remove the bottom case. This will give you access to the internal components of the device.
Tools
-
-
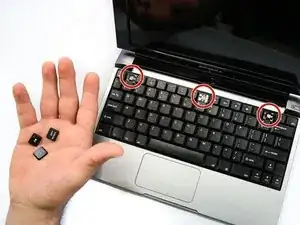
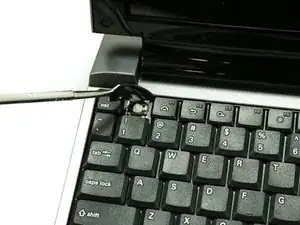
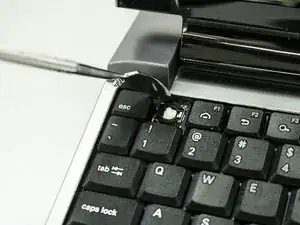
To take off the Keyboard there are three tabs at the top of the Keyboard in the locations shown in the picture that you must press and unclip. They are located behind each of the keys that are removed.
-
-
-
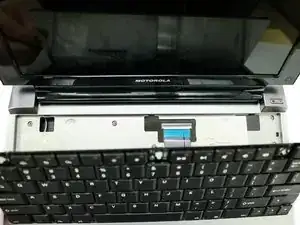
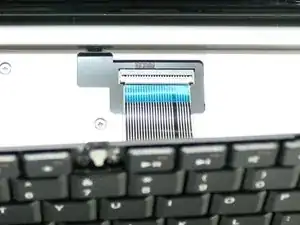
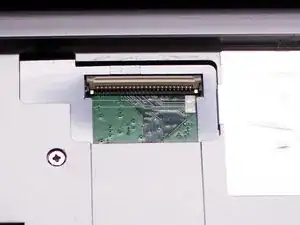
Flip up the ZIF connector holding the ribbon cable on the contact as shown in the two pictures and then gently disconnect the ribbon cable.
-
-
-
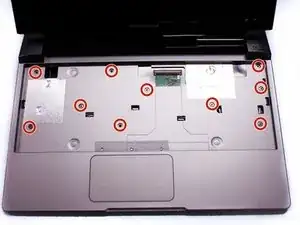
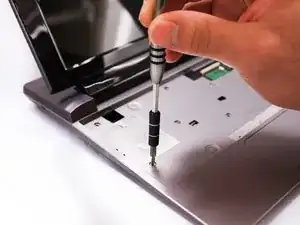
After we remove the Keyboard, you can clearly see the screws under it. Remove the ten 3mm long phillips head screws.
-
-
-
Use a plastic prying tool to take off the bottom case. Make sure that all of the clips are unclipped before trying to remove the case.
-
To reassemble your device, follow these instructions in reverse order.
One comment
This helps with the opening up but what about inside? I need to replace the charging port and can find no part number or a decent marking.
