Introduction

  1. vTG1uYleWDOsiZHc
    • Objective: remove the rear case from the Motorola Droid X phone.

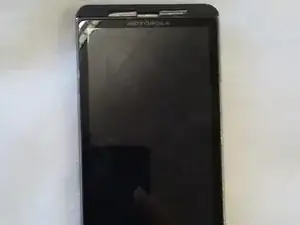
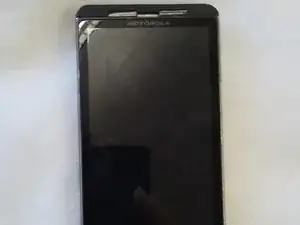
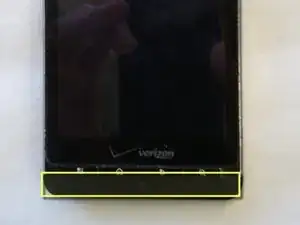
    • This is what the Motorola Droid X looks like before disassembly. In the front, there is a large LCD touch screen.

  2. nd1SjIt4L1XTiVeO
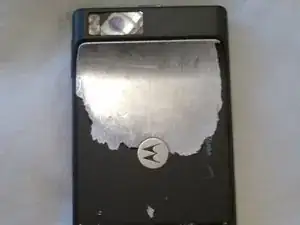
    • INSTRUCTION: Turn the phone over so that the back faces up.

  3. SYrsNIUU2kmhlSkO
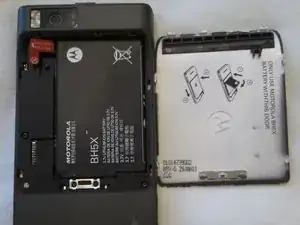
    • Objective: remove the battery casing plate.

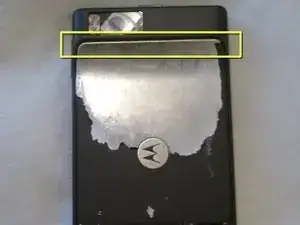
    • The case plate has a push and slide mechanism.

  4. 2aH5DwaSVirtoKgW
    • INSTRUCTION 1: Push on the upper side of the casing located under the camera lens.

    • INSTRUCTION 2: Slide down the battery case plate.

  5. QjHVCDNikpcpEv6E
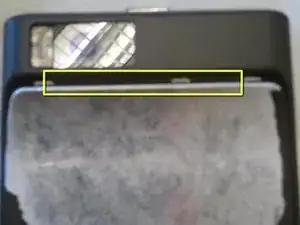
    • INSTRUCTION: Insert your finger tips into the edges of the opening and pull the casing off.

  6. RxNIFWytOWEmppoc
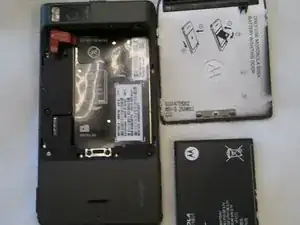
    • Objective: remove the battery from the battery compartment.

  7. UtQgrxYKxEOCpTGG
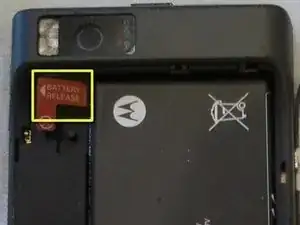
    • INSTRUCTION: Grab the red tab that says "Battery Release" and slowly lift it up. This will remove the battery.

  8. mumLf3eknAmu64qM
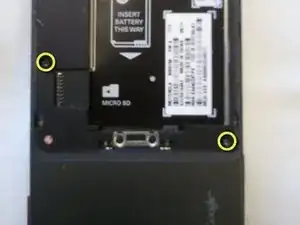
    • Objective: remove two small black screws from the back of the phone.

    • These two (2) screws help hold the phone together. They need to be removed by a Phillips Hex 2mm screwdriver,

  9. fl6qGseBqeVgySlb
    • INSTRUCTION: Remove two black screws from the back of the phone.

  10. QZfTprX1tw4Sh6yo
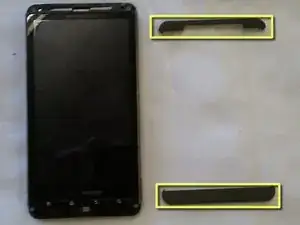
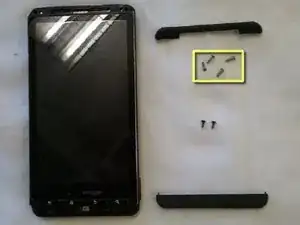
    • Objective: remove the two plastic pieces in front of the phone - they cover the remaining screws.

    • The two plastic pieces are clipped onto the phone as covers. They are located at the top and the bottom of the phone.

  11. 3oLb1gWRRclfT2rU
    • INSTRUCTION: Flip the phone over to the front side.

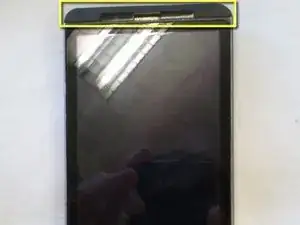
  12. GYAnSSoHMMoiIyv1
    • INSTRUCTION: Use the iFixit tool as a crowbar to pry the top plastic cover piece off of the phone. It will pop off.

  13. Wa2HwOwEKGyGocEe
    • INSTRUCTION: Use the iFixit tool as a crowbar to pry the bottom plastic piece off the phone.

  14. 3JCFVLRrqucHx3MA
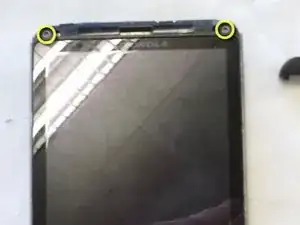
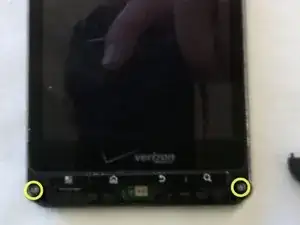
    • Objective: remove four white screws from the corners of the screen.

    • These four (4) screws help hold the phone together. Use a Phillips Hex 2mm screwdriver

  15. 4VRCydWdhLaJreyA
    • INSTRUCTION: remove the 2 white screws from the upper corners of the screen.

  16. WQkEqUkBVJWMQlqG
    • INSTRUCTION: remove the 2 white screws from the lower corners of the screen.

  17. GCVZroODPkL5XCic
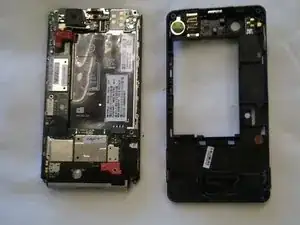
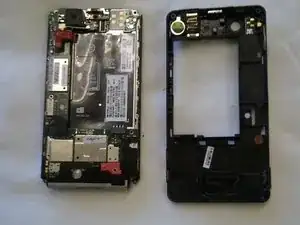
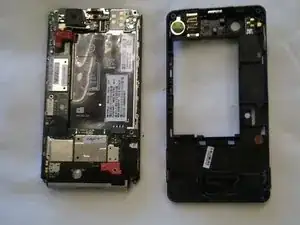
    • Objective: remove the rear case from the phone in order to provide access to inside the phone.

    • The phone is now held together by the casing alone. You need to pop the two halves apart.

  18. vIuAiIudFENvLsNU
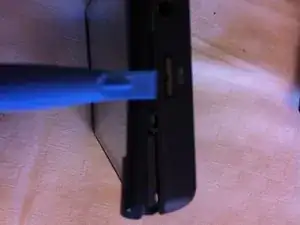
    • INSTRUCTION: Use the iFixit tool like a crowbar to pry apart the front and rear halves of the casing. They will pop apart.

  19. TH1PSDoRqCM33X4c
    • Now you are ready to access the internal circuits of the phone.

Conclusion

To reassemble your device, follow these instructions in reverse order.
Anna

Member since: 08/10/12

28 Reputation

0 comments