Introduction
Use this guide to replace the entire front panel assembly on your Motorola Droid RAZR HD. This includes the
Tools
-
-
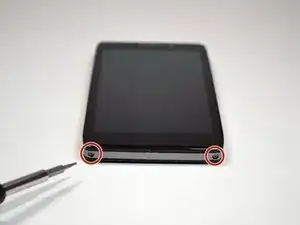
Remove the two 4.5mm screws in the bottom left and right corners of the device using a T4 Torx Screwdriver.
-
-
-
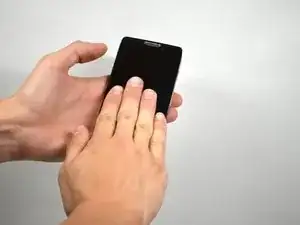
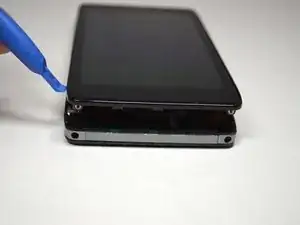
Holding the device in your hand, push the screen towards the top of the phone until it disconnects from the base of the phone.
-
-
-
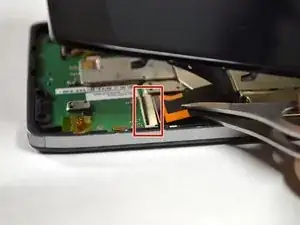
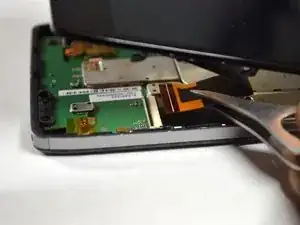
Use tweezers to remove the yellow tape covering the lcd/digitizer cable connector.
-
Carefully lift up the black locking tab to release the lcd/digitizer cable.
-
-
-
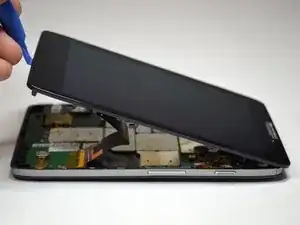
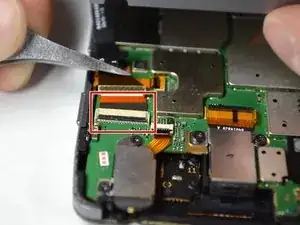
Lift up the screen further to reveal another cable at the top of the device connecting the motherboard to the screen.
-
Use tweezers to lift the black bar on top of the ZIF connector.
-
Pull the ribbon cable out of the connector with tweezers.
-
Now that there are no cables connecting the screen to the motherboard, remove the screen.
-
To reassemble your device, follow these instructions in reverse order.
