Introduction

Before continuing make sure you power down your device and work in a clean area. Also wear a static band to prevent damages to your device.

  1. jjZk36VvEuLuQsaL
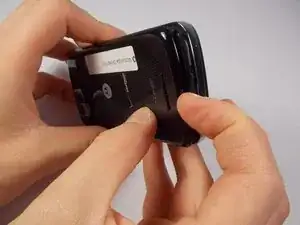
    • Remove the back cover using the thumb tab located on the bottom of the phone.

  2. oNCJjTkHNMIvMdEC
    oNCJjTkHNMIvMdEC
    L5odJeNFannATFdO
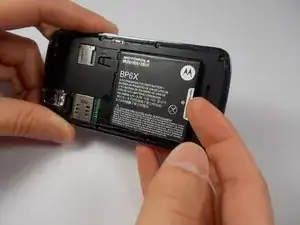
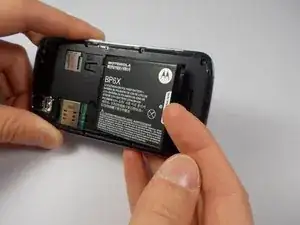
    • Remove the battery using the thumb tab.

  3. tKRs3wDitb5gs4EV
    tKRs3wDitb5gs4EV
    Nq34AeJWpIHOJjP2
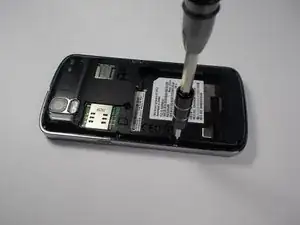
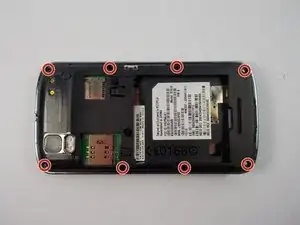
    • Using a T4 Torx driver, remove the eight 4 mm back panel screws.

  4. GbDgpdXcaaTdbKME
    GbDgpdXcaaTdbKME
    XsVPexLrXDJCImWR
    SNfnJQGVZuYDctRG
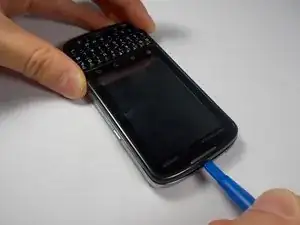
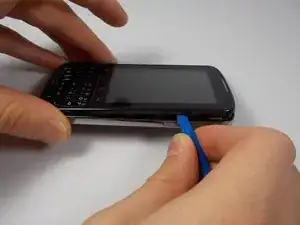
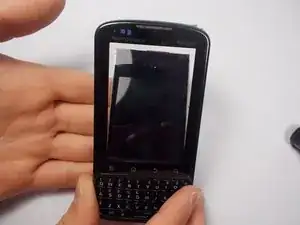
    • Use a plastic opening tool to open the phone along the sides between the front panel and the chrome trim.

    • It is held together by small clips that lock in. You may have to use extra force to unlock them.

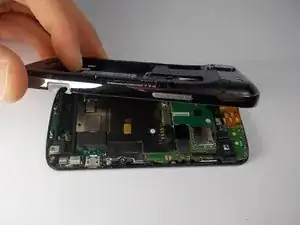
    • Go around on all sides of the phone, unlocking the clips. Then pull the back panel off.

  5. oAVSRQQlyFYXVFOr
    oAVSRQQlyFYXVFOr
    SgUAK1TLmeVBlLga
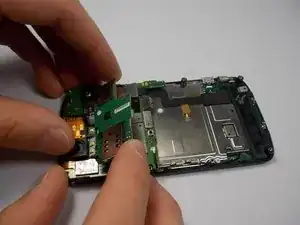
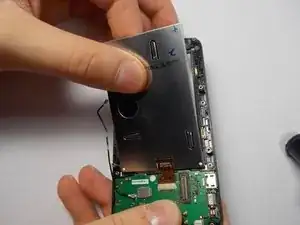
    • Gently lift the SD & SIM card board (PCB) as shown.

    • There is a ribbon cable attached underneath. Gently pull the PCB board away from the phone and it will detach easily.

  6. LgahaZ2DOHRDSLME
    LgahaZ2DOHRDSLME
    KESQ64W1WcvArWEp
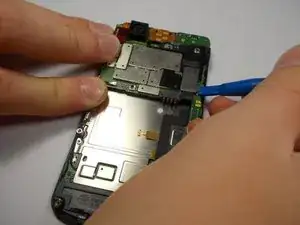
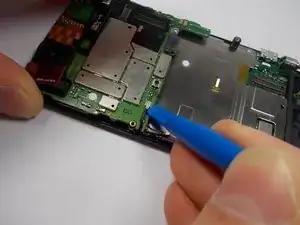
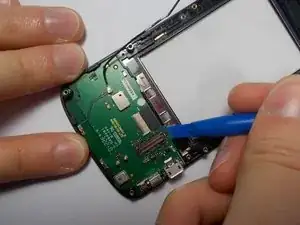
    • Use your plastic opening tool to disconnect the motherboard/keyboard ribbon cable.

    • There are small tabs on the side of the connectors to wedge your tool under.

  7. kaUaVKITZe4BerSK
    kaUaVKITZe4BerSK
    bXjWvDoLk61WVITA
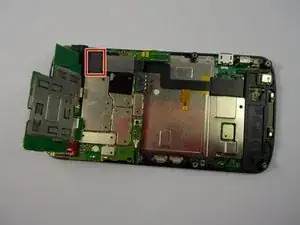
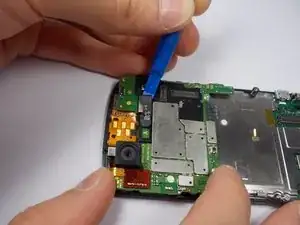
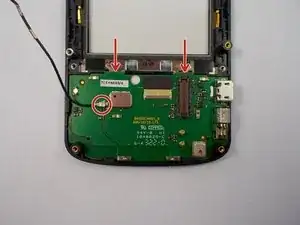
    • Use your plastic opening tool to disconnect the two ribbon cables at the top of the phone.

  8. CIBwA4Sygr3aKUH1
    CIBwA4Sygr3aKUH1
    psSBjQEPjOdLqYWS
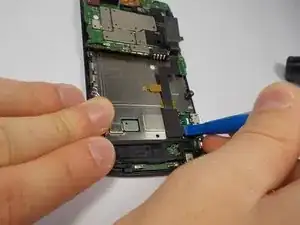
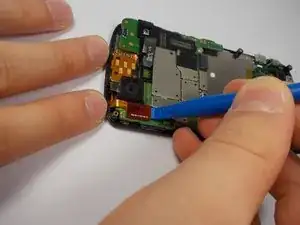
    • Disconnect the 2nd keyboard connector from the motherboard and remove it from its side holders.

    • This cable is fragile so be careful when disconnecting and moving it around.

  9. Is2IEEXpOCYAAA6y
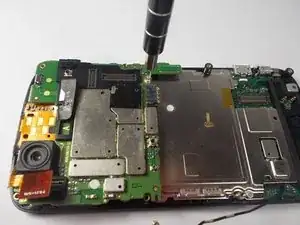
    • Use a T5 Torx Screwdriver to unscrew the 2mm screw.

  10. aOQiaW3VD4poeYCx
    aOQiaW3VD4poeYCx
    GRNJ1FPtXEclTPfv
    VFK1pCsYNWkPcl6J
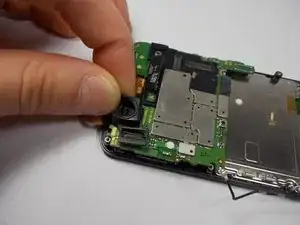
    • Remove the camera's rubber seal by pulling it off. It is not connected to anything.

  11. BCSwNPSsyo6Stqji
    BCSwNPSsyo6Stqji
    rGUbAULBbVbQWCBh
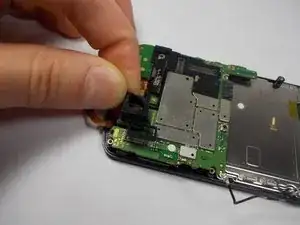
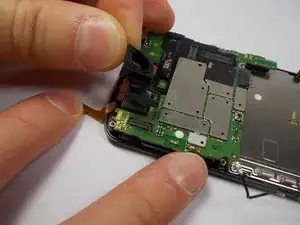
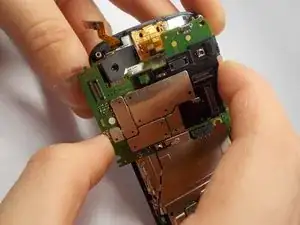
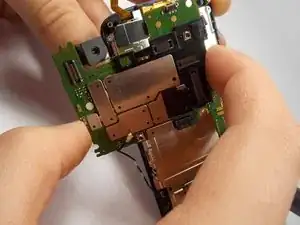
    • To remove the motherboard, pull it to the side. The camera that is connected to the motherboard does not pull straight up and out from its holder.

  12. pTBktydAAEFY1JED
    pTBktydAAEFY1JED
    AeESJU3IaGwHUD5Q
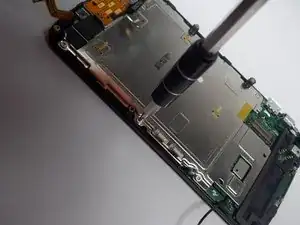
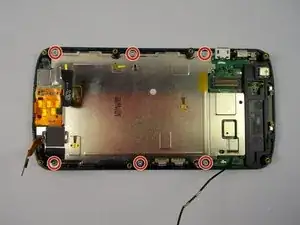
    • Use a T4 Torx Screwdriver to remove the (6) 1mm screws.

  13. iEx4FByCwq3VKUhN
    iEx4FByCwq3VKUhN
    vdg3BGHgM2OhrEK2
    3DdssC521UxLnGSp
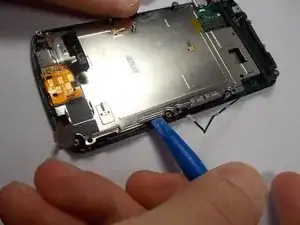
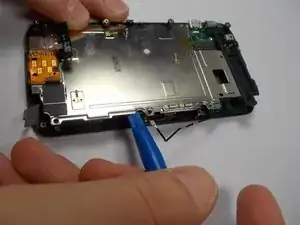
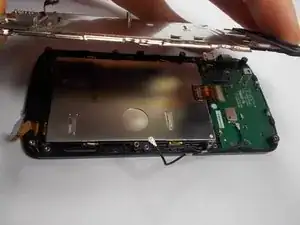
    • Using a plastic opening tool or spudger lift the rear screen plate up and pull it off.

  14. MK2utUxZgJmsUaxY
    MK2utUxZgJmsUaxY
    IbRlcGn1GAtAFebc
    sc6XoD5daColeHKl
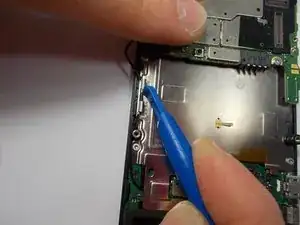
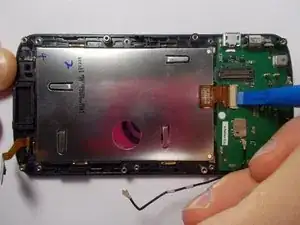
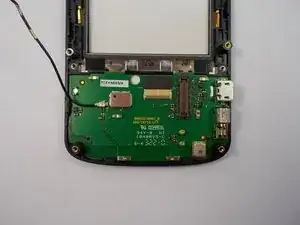
    • Unlock the screen's ribbon cable.

    • The mechanism that locks the ribbon cable in place for the screen is very weak, so be careful.

    • To remove the screen, you have to flip the phone over and let it fall out slowly into your hand. Be careful not to put any tension on the ribbon cable.

    • Then pull the screen away from the ribbon cable connector and it will slide out easily. Do not use excessive force.

  15. wemiVg2tmI3SsBYP
    wemiVg2tmI3SsBYP
    CZO4IWYFhgmANMUG
    • Disconnect the last cable.

    • Then use a plastic opening tool to pop out the keyboard.

Conclusion

To reassemble your device, follow these instructions in reverse order.
Kyle Shays

Member since: 28/10/15

836 Reputation

0 comments