Introduction

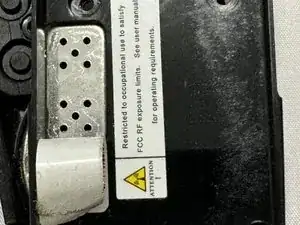
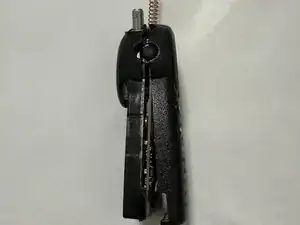
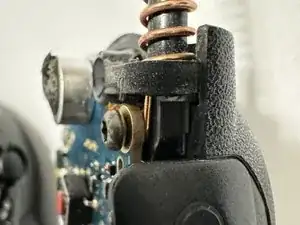
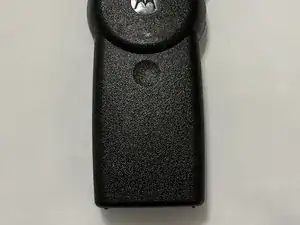
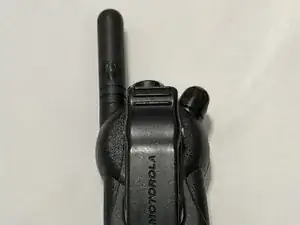
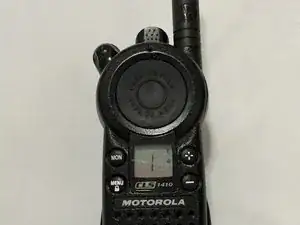
The Motorola CLS1410 is a fairly rugged, easy to use GMRS walkie talkie that is great for use in a warehouse or industrial environment. However, the rubber ducky antenna is not screw-on and has a tendency to get bent or break off. Fortunately, the process to replace the antenna is straightforward.

This model of walkie talkie requires an FCC license to use in the United States. The type of antenna and connector may be regulated in your country. Follow all applicable regulations and laws concerning replacing parts for this device.

In my experience, the original lithium ion batteries are prone to swelling with age. Swollen or damaged batteries can become a fire risk. Remove, replace, and dispose of damaged or dead batteries in accordance to local laws.

  1. NTCLeVktuggMtj4t
    NTCLeVktuggMtj4t
    DHaDCitBiFtpOocD
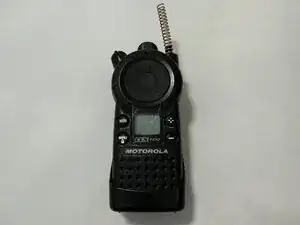
    • This Motorola CLS1410 has a damaged antenna where the rubber sheath has come off.

    • These steps also work for antennas that are bent.

    • It is recommended to discharge the battery to a safe level before attempting to replace the antenna.

    • Start by turning off the radio by twisting the volume knob.

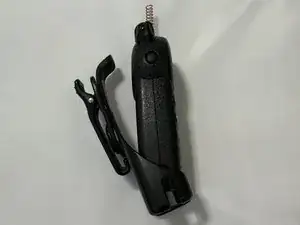
    • Remove the holster from the radio.

  2. EABAlsaELtpGTCCx
    EABAlsaELtpGTCCx
    irGcP4BdHPNJQKqV
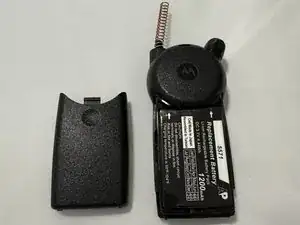
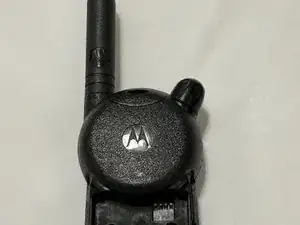
    • Remove the battery cover by pressing on the indentation and pushing down.

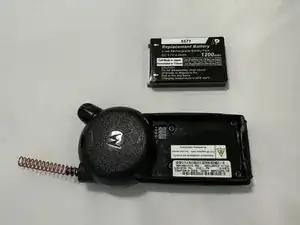
    • Remove the battery by pressing on the battery at the bottom of the radio and gently lift it away at an angle.

    • Place the battery in a safe location where the contacts cannot be shorted.

    • As with all lithium ion batteries, you must take care to not damage the battery when removing it. Do not use tools to pry the battery out.

    • If the battery is swollen, hot, or otherwise damaged, stop and place the device in a fireproof container for safe disposal in accordance to local laws.

  3. 4abOUinPhMCyj4Ox
    4abOUinPhMCyj4Ox
    SBI13RZsro1YsJyt
    BkEQrw6NAgjhGchc
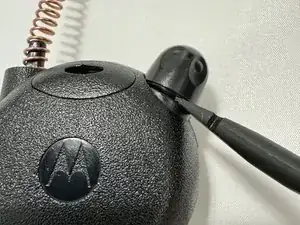
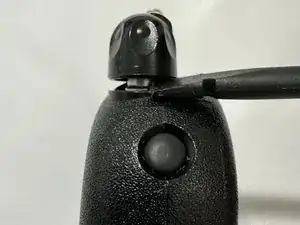
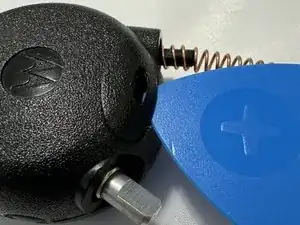
    • Insert a spudger between the body of the radio and the volume knob.

    • I've found that moving the spudger to the front of the device helps with leverage to remove the knob.

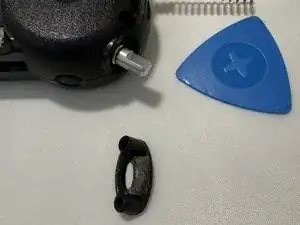
    • Use your fingers to pull the plastic knob off and set it aside.

  4. OQSMXoT1cONMK4Tw
    OQSMXoT1cONMK4Tw
    13De44q5l4SiECDY
    KkMPpINJVOU6sXyu
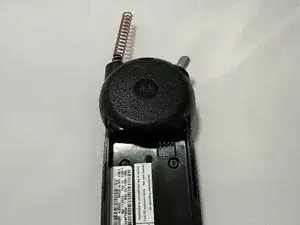
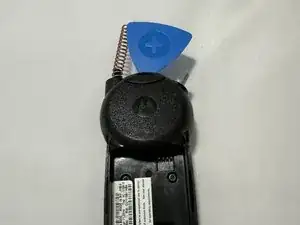
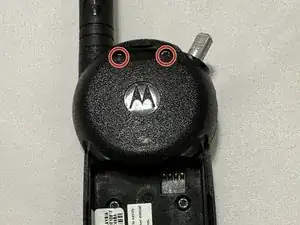
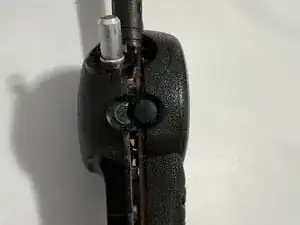
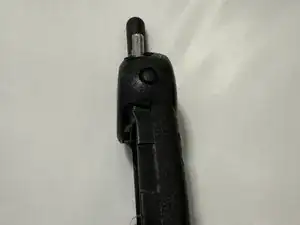
    • There are two T8 screws hidden under this strap hole at the top of the radio.

    • Use a thin tool, like a spudger or pick to gently pry this cover off and set it aside.

    • There may be some adhesive to hold this cover on and it may be tricky to get a spudger in. You may find it easier to use an inexpensive or disposable size 1 flathead to pop this part off.

  5. eh2smNXcJMFjrlhI
    eh2smNXcJMFjrlhI
    SCEeHVGLCIWsjmdi
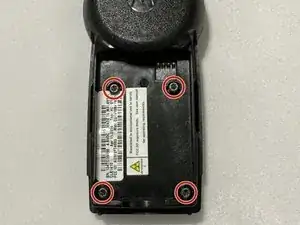
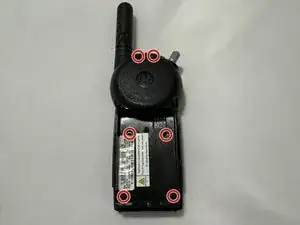
    • There are 6x T8 screws holding the back of the radio on.

    • I believe these are all the same size, but it is a good idea to set them aside so you match which screw goes to which hole.

    • Remove these 6x T8 screws.

  6. BcAiHLWP1Ju5qTQH
    BcAiHLWP1Ju5qTQH
    wMjNJmP1nxLNUEin
    QVU12WmOSKKCYtJf
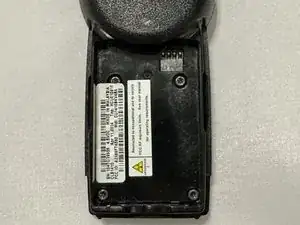
    • Peel back the serial number sticker from this plate in the battery compartment.

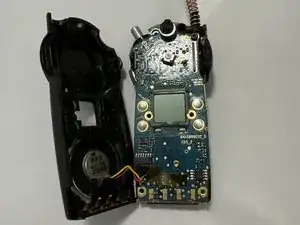
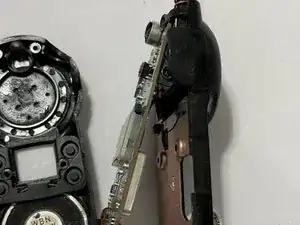
    • Starting at the bottom, gently use your fingers or a spudger to separate the front and back halves of the radio.

    • There are wires holding the speaker to the front of the case, so be careful to not pull too far.

    • Some versions of the CLS1410 use a spring connector instead of a wire.

    • Set the front half to the side of the radio.

  7. HYJWsbxF2CoVsl2w
    HYJWsbxF2CoVsl2w
    ADO14jO2ZpZtUTkL
    FOjOURoJMtUErWLh
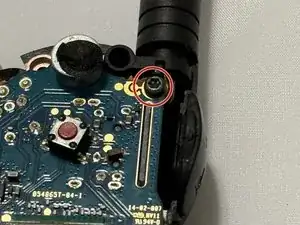
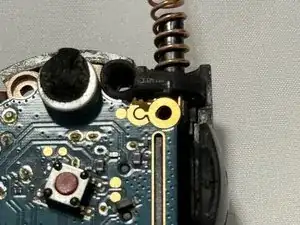
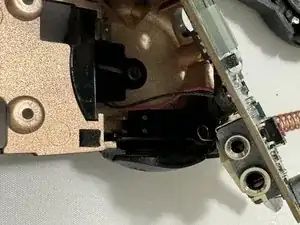
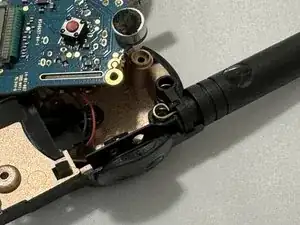
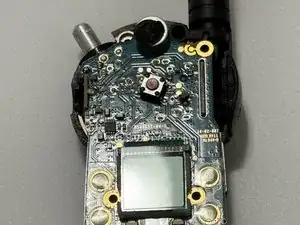
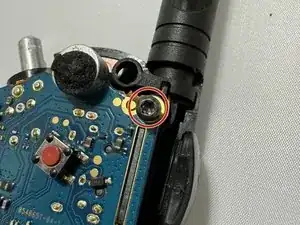
    • There is 1x T8 screw holding the antenna to the circuit board and the back of the case.

    • Remove this T8 screw and set it aside.

    • I believe this T8 screw is the same size, but continue to keep track of which one is which.

  8. iPCPfejqsZQtlOI5
    iPCPfejqsZQtlOI5
    fZXAWCa5KmFkFvJU
    YHiQhJPBvX4Thy4J
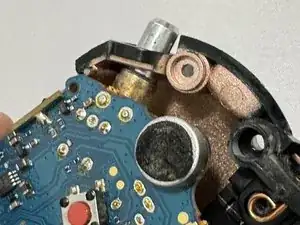
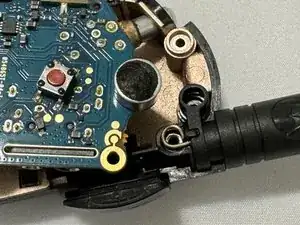
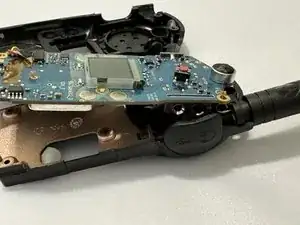
    • Gently lift the circuit board by the bottom and pivot it upwards slightly.

    • There is a small metal pin holding the board at the top left. Once you have lifted it enough to clear this, you can pull down so to remove the volume knob from its hole.

    • There are two wires from the back of the case to the circuit board. Take care to not break them when lifting the board up.

  9. SB365qUuqfQ6OqjL
    SB365qUuqfQ6OqjL
    dcbUsQDs2lCYH4KV
    HQOg2LRldbMksZKy
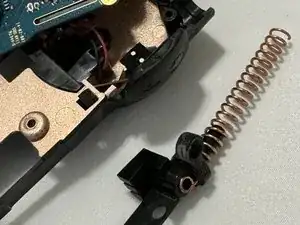
    • Lift the antenna straight up out of the back of the case and set it aside to be recycled or disposed of.

  10. XWXgi2GQWIkfsRcZ
    XWXgi2GQWIkfsRcZ
    axpiLO6iXNAZYnPw
    • Set the replacement antenna into the slot.

    • Only replace the antenna with one of the same size and type.

    • You are responsible to follow all laws and regulations governing your use of this radio. Modifying this radio to accept a different type of antenna or connector may not be legal in your jurisdiction.

  11. 5eQcHLNbgBHf3mRl
    5eQcHLNbgBHf3mRl
    nhYiULIJNC6T1v4K
    25IrbhThIdJ2OcbJ
    • Slide the circuit board back into the back of the case.

    • There's a small pin on the top left of the back of the case that slots into a hole in the board. This may be a little tricky to get it to fit back in while sliding the volume knob back in.

  12. sWJAsLMWqahXBwVP
    sWJAsLMWqahXBwVP
    ETFSyCy2EQJOFNTj
    ylCqtQQlmENsMNNg
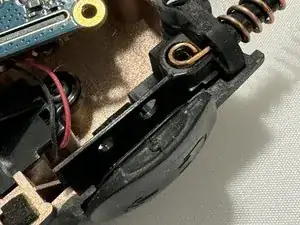
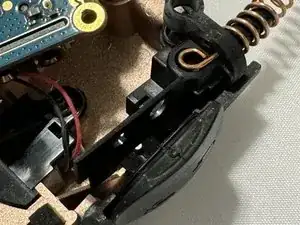
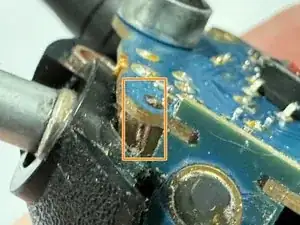
    • Reinstall the 1x T8 screw that holds the board to the back of the case through the antenna.

    • The antenna loop sits against the bottom of the board, not the top.

    • Set the front of the case on the rest of the radio and press together gently to get it to latch.

  13. Hstb1HnrMZdHDTvg
    Hstb1HnrMZdHDTvg
    p3ph5xO3phghdkAS
    tTOLU4AisErZDeno
    • Push the serial number sticker back down to the metal plate on the exposed section of the battery case.

    • Reinstall all 6x T8 screws, 2x in the top portion and 4x in the battery compartment.

    • Replace the strap cover at the top back of the radio.

    • The strap cover does not appear to be necessary to protect the radio. You may either choose to replace the adhesive, place it back without the adhesive, or not replace it at all.

    • Replace the volume knob.

    • The plastic volume knob has a flat section that aligns with the flat section of the metal.

  14. dX4wtOFXIIM2rDlJ
    dX4wtOFXIIM2rDlJ
    BtgFhwpgECXeC4yV
    3WMkaPpkDFVfPkcR
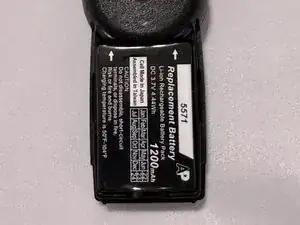
    • Replace the battery.

    • Put the battery against the contacts and pivot the other side down into the battery compartment. The fit is snug.

    • Replace the battery cover.

    • Replace the holster.

  15. qmfYZW6MbL3Vq6VO
    • Charge the battery and test transmitting and receiving.

drivec

Member since: 01/07/14

256 Reputation

0 comments