Introduction
This guide shows how to replace a USB Type-A cord in a Model O gaming mouse. Replacing the cord of the mouse, whether it’s for aesthetic or technical reasons, is much easier to do than it looks. This can be done almost anywhere, with just some screwdrivers and a clean flat surface to work on.
Parts
-
-
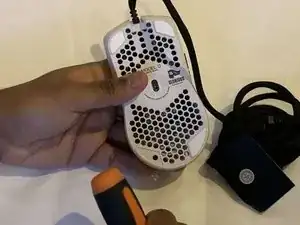
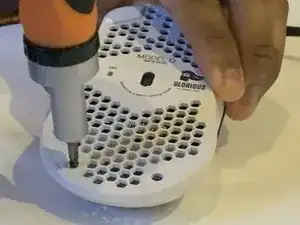
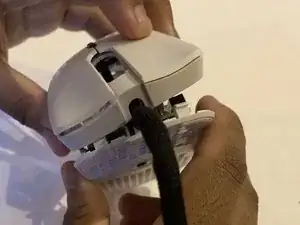
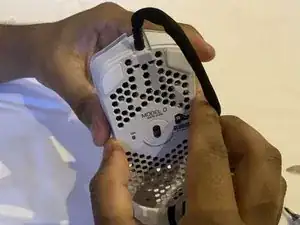
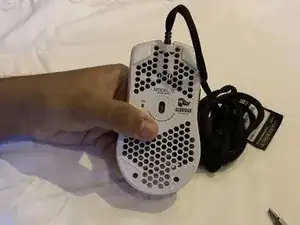
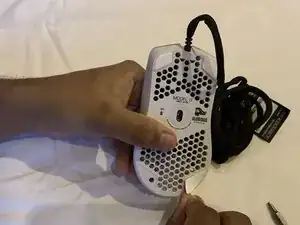
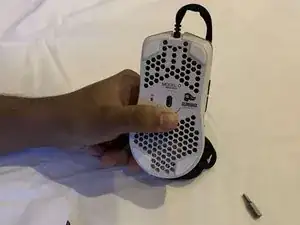
Hold the mouse so that the sensor on the bottom is facing you.
-
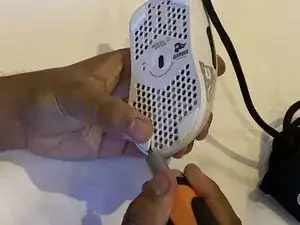
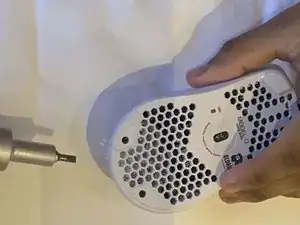
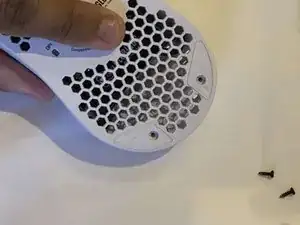
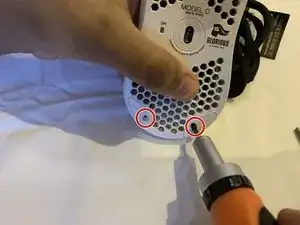
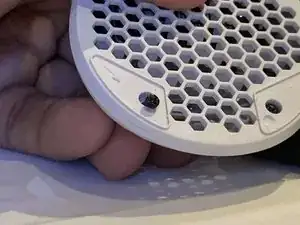
Using a spudger, remove the two large skates towards the bottom of the mouse.
-
-
-
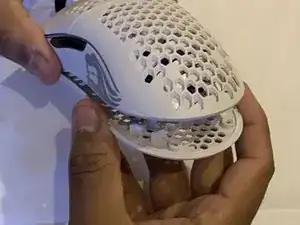
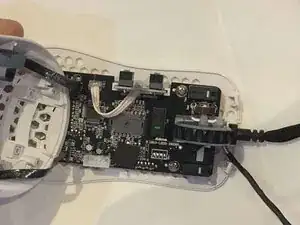
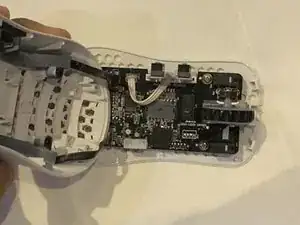
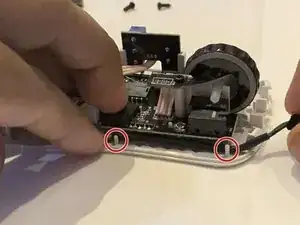
Place the mouse on a flat surface, and begin to gently lift the upper housing.
-
Two RGB ribbon cables still connect the two housings together, and the housings will not separate completely from each other.
-
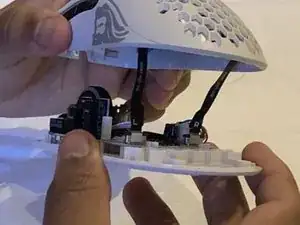
Lift the upper housing so that it is vertically standing, while the bottom housing rests on the flat surface.
-
-
-
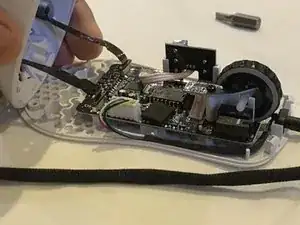
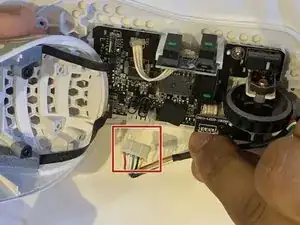
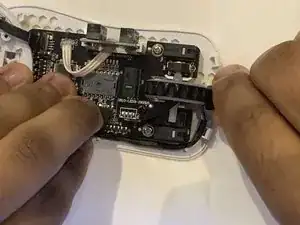
Using two fingers, grasp both sides of the upper half of the connector, and remove it gently.
-
Hold the tweezers horizontally and position the arms of the tweezers on both sides of the plug and pull up gently, until the plug comes out from the socket.
-
-
-
Remove the old USB A cord from the mouse's housing, leaving only the housings and circuit board.
-
-
-
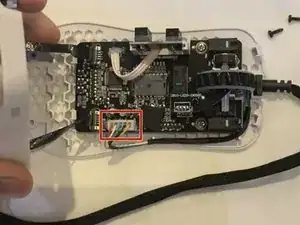
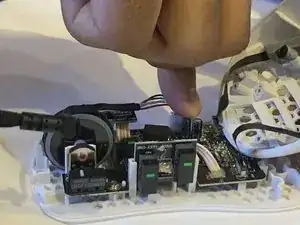
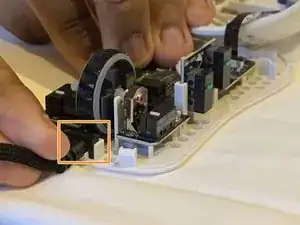
Position the plug head on the new cord so that the two vertical lines on the plug head face the inside of the mouse.
-
Once positioned, push the plug into the socket using your finger.
-
-
-
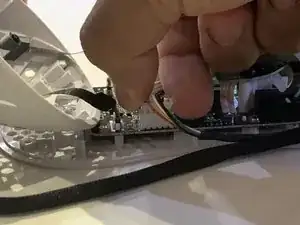
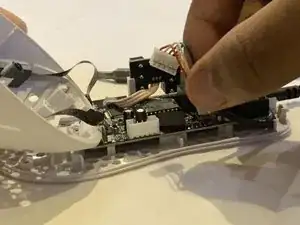
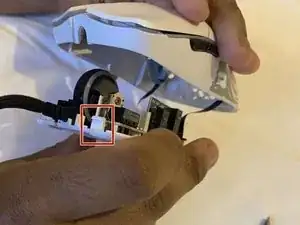
Take the excess cord of the plug and tuck it between the white indicators and the circuit board of the mouse.
-
Insert the plastic cube-shaped piece of the cord into the designated holder just in front of the scroll wheel.
-
-
-
Position the upper housing and clip it onto the claw-like handles.
-
Pull down the back end of the upper housing so that the two housings connect together.
-
Using your palm, hold the housings together.
-

Congratulations, you just repaired your Model O Gaming mouse.
One comment
¿Se puede reemplazar cables de cinta RGB de el glorius modelo O? Y si se puede ¿Cómo se cambia?