Introduction

If your Miyoo Mini Plus buttons aren't working well or just want to the replace them with different colors, this guide will help illustrate how to replace your old face buttons on your Miyoo Mini Plus with new buttons, this will give you the step-by-step process of taking your console apart to put in new buttons. We hope this helps!

Before beginning, make sure to power off the Miyoo Mini Plus and disconnect it from any external power source.

  1. SdYAhKRvc14KlQcc
    SdYAhKRvc14KlQcc
    ccHDAbKHZlvoDDQX
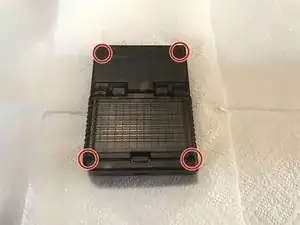
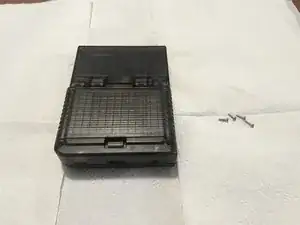
    • Place the device face down on your work surface.

    • Use a Phillips #00 screwdriver to remove the four 1.8 mm screws.

  2. snND1LWoevMWG1qY
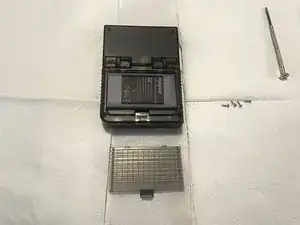
    • Remove the battery cover.

    • The battery plate can be tough, but using too much force can damage it.

  3. YGHwUYBnIac1HEbV
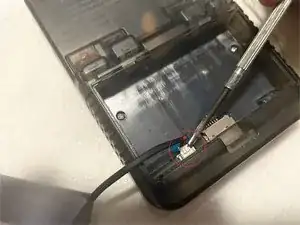
    • Carefully lift the battery from socket, but do not pull on the connection. The battery will still be connected to the console.

    • To remove the battery, follow the wires to the connecter slot and carefully pull out the connection directly from the socket.

    • Removing the battery from the connections can be difficult. DO NOT PULL ON THE WIRES. Pulling on the wires can damage the wires on the battery. It is recommended you use a thin, non-sharp object to pry the connection from the socket.

  4. rLkwJFrKmFYqKy5b
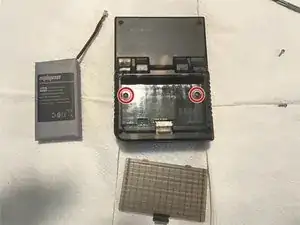
    • Remove the two Phillips screws to inside the battery compartment.

  5. WOZBiYQPXGQBYLYq
    WOZBiYQPXGQBYLYq
    jyAEMvNKJHLEFMKa
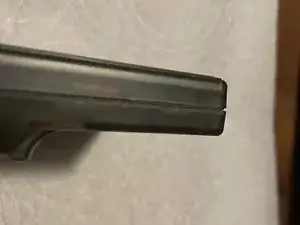
    • Insert a thin prying tool in the seam and pry around the perimeter until the case separates.

    • Using too much force can break the clips on the sides of console. Sometime separating the clips can be difficult, but using different angles can help instead of using more force.

  6. oyNkTuxbCPCpOtkv
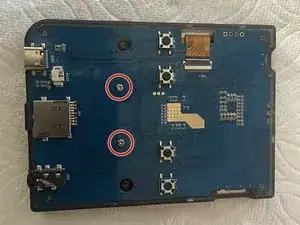
    • Remove the two Phillips screws on the motherboard.

  7. pSwSotRg6QJDy1Si
    pSwSotRg6QJDy1Si
    5f1OYB1OdYSYCtHL
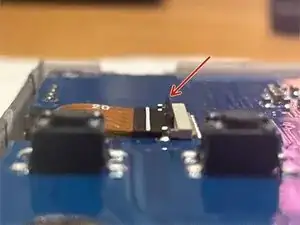
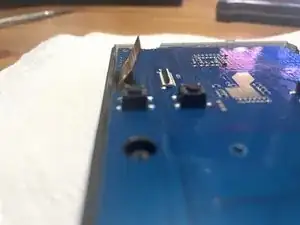
    • Remove the ribbon cable from the console. To do this, there is a small black clip that locks the ribbon cable in place. To unlock this clip, simply flip the black clip vertically.

    • Pull the cable to the left to remove it from the socket.

    • Do not pull on the ribbon cable with too much force as it can cause permanent damage to the console. When the black clip is unlocked, the ribbon cable should slide out easily.

  8. qZWmVNTTQFvDQU3S
    qZWmVNTTQFvDQU3S
    EXCVkGmnEbP1UY3Z
    gi2MEgyR3yZUcEms
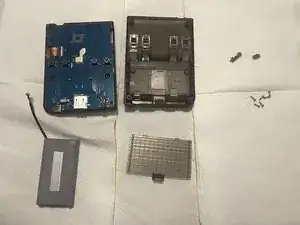
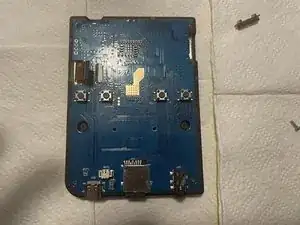
    • Remove the motherboard from the front housing. There may be some adhesive preventing you from pulling the motherboard out, but you can still remove the board by carefully pulling from the edges.

    • When removing the board, the power button and the volume buttons can fall out as it is not directly attached to any of the plates. To prevent losing these pieces, you can simply take these pieces out and store them safely before pulling out the motherboard.

  9. EJxkIntYUYZEDHqC
    EJxkIntYUYZEDHqC
    UUM3JVhK1EHldBME
    pIIiPiRdtSDSKroO
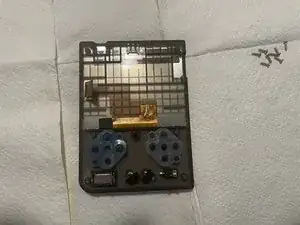
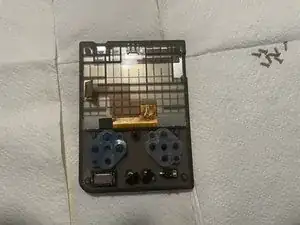
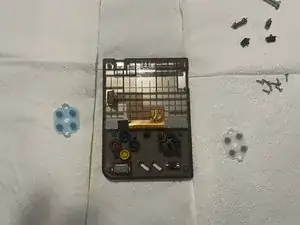
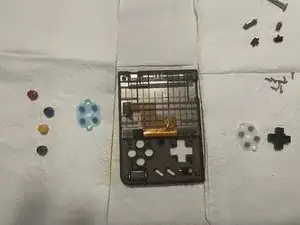
    • You can now see the backside of the face buttons. Pull out the center, start, and select buttons as they fall out easily and replace them with new buttons.

    • If you wish to replace the directional and action buttons, remove the silicon covers. Once they are removed, the buttons will easily fall out and are ready to be replaced with the new buttons.

Conclusion

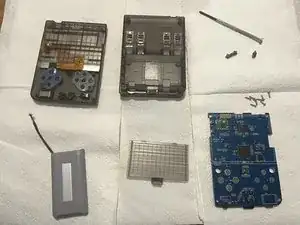
To reassemble your device, follow these instructions in reverse order.

Daniel Concepcion

Member since: 24/10/23

169 Reputation

One comment

The #00 Philips bit was too small for the screws on my device, and I found that the #1 Philips bit was the correct size. Also worth mentioning that the two motherboard screws were eventually eliminated from newer devices, so some users may not find screws in those two holes.
Tyler Brooks -