Introduction
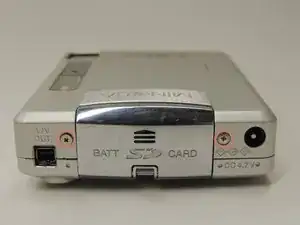
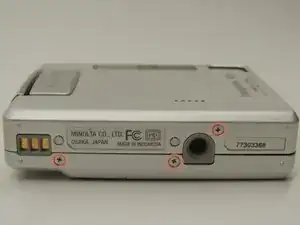
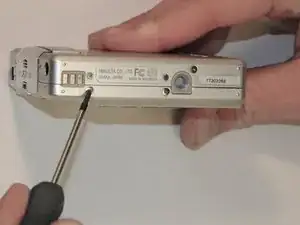
This guide disassembles the capture button, so the device can be checked for a broken spring or for debris blocking its movement.
Tools
-
-
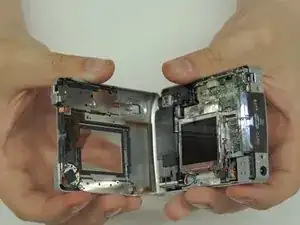
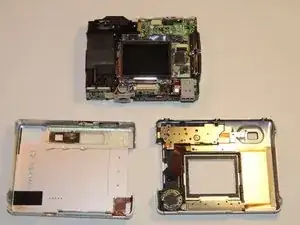
Choosing the front half of the casing, locate the capture button on the top.
-
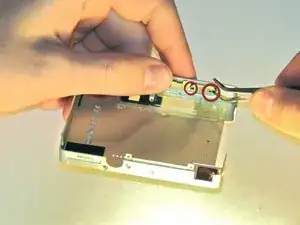
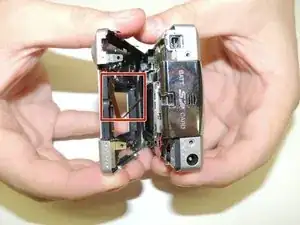
Using tweezers, apply pressure to the two black hooks (circled in red) while holding the button down from the outside of the case.
-
-
-
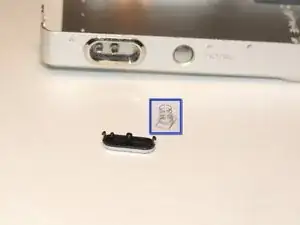
The button will spring free. The capture device consists of the plastic button and a small metal spring.
-
The button can be reassembled by using the tweezers to place the spring rectangle-side down on the button and snapping the button back into place.
-
Conclusion
Reassemble the casing by reversing steps 1 and 2.
