Introduction
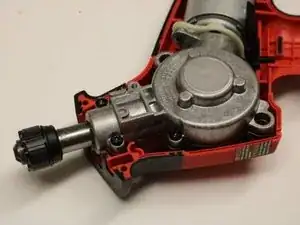
The Milwaukee Hackzall 2625-20 is a hand held cutting device that can cut a wide range of materials. The reciprocating head allows the user to hold the tool in on position while the cutting blade oscillates back and forth in a cutting motion. The Milwaukee Hackzall 2625-20 is a compact version of a larger saw called a Sawzall. This tool has the lowest vibration ratings on the market.
If your Milwaukee Hackzall 2625-20 is no longer holding a blade in the clamping mechanism, try following these steps to replace possible broken parts within the clamping mechanism.
Tools
-
-
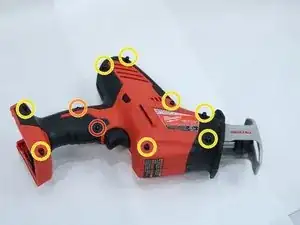
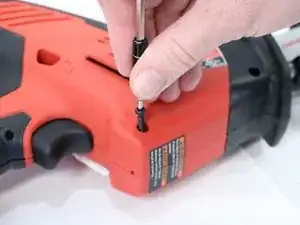
Remove the screws holding the shell of the device together. Each screw size varies; you will use a T9 Torx screwdriver for one size 7.0 mm.
-
Use a T10 Torx screwdriver to remove one 14.0 mm screw.
-
Use a T15 Torx screwdriver for the remaining eight screws that are 16.0 mm.
-
Remove the casing to reveal all of the internal components.
-
-
-
Open up the device.
-
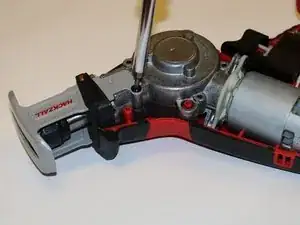
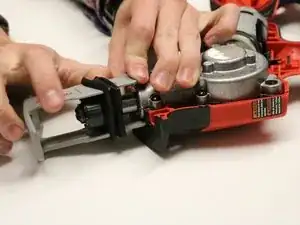
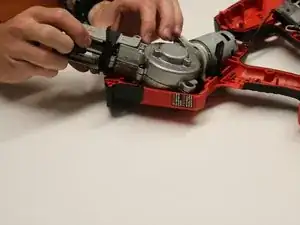
Remove the screws that are connecting the shoe to the gearbox using the T15 Torx screwdriver to remove 14.0 mm screws. You will need to pull out the shoe and gearbox to get to the screw on the other side.
-
-
-
Using your finger, push the rubber band up to allow you to slide the shoe off of the blade clamping mechanism.
-
-
-
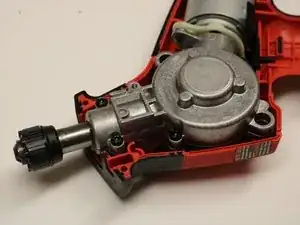
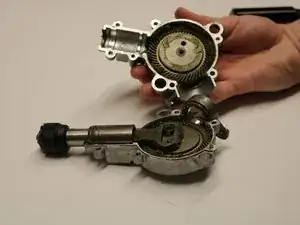
Detach the gearbox from the motor.
-
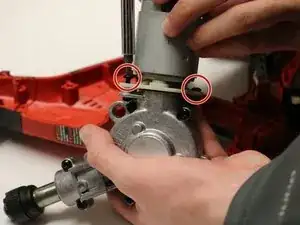
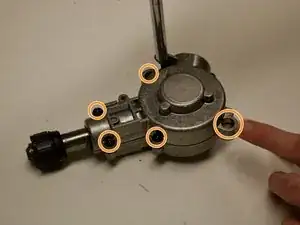
Remove the screws from the gearbox to expose the blade camping mechanism, then pull out the blade clamping mechanism from the gearbox. Use a T15 Torx screwdriver to remove five 14.0 mm screws.
-
-
-
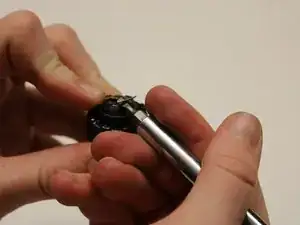
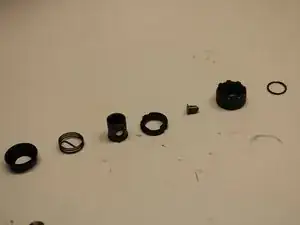
Remove the external retaining ring.
-
Next, remove the frontcam.
-
Then, take out the pin.
-
Remove the cam collar.
-
Remove the sleeve.
-
Remove the torsion spring.
-
Lastly, remove the spring cover.
-
To reassemble your device, follow these instructions in reverse order.
