Introduction
Do you know what happens when your grinder overheats? If not, this is a quick guide on how to change the ball bearings. A ball bearing is a ring consisting of small solid metal balls between a wheel and a fixed axle, in which the rotating parts and stationary parts are separated to reduce friction. A damaged or worn ball bearing will reduce the performance of your grinder and ultimately destroy it completely.
-
-
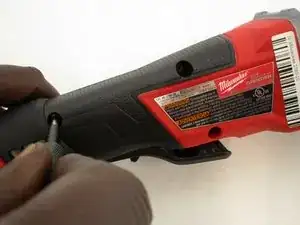
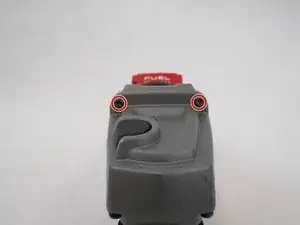
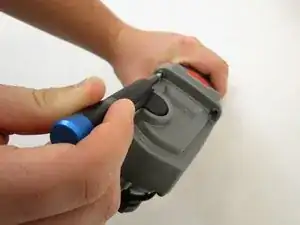
Using a Torx T20 screwdriver, unscrew the four 16mm screws from the case.
-
Switch to the Torx T10 screwdriver, and remove the last 16mm screw from the hilt.
-
-
-
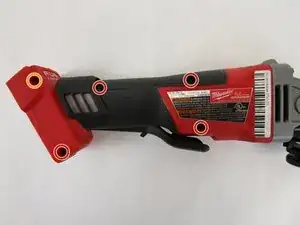
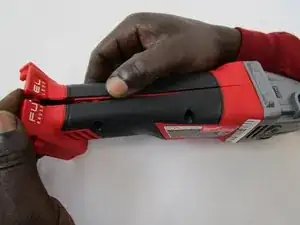
Using the Torx T20 screwdriver, unscrew the four 28mm screws located at the bottom (and top) of the gearcase assembly.
-
Remove the two 12mm screws with a Torx T20 screwdriver in order to get to the others.
-
-
-
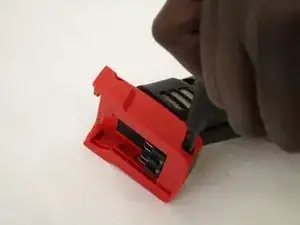
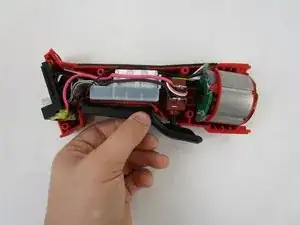
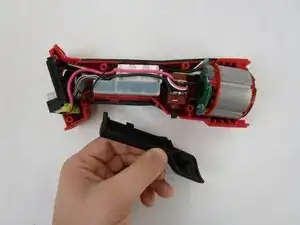
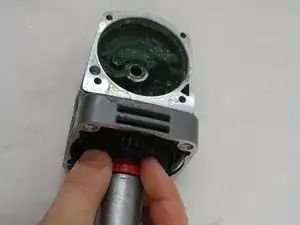
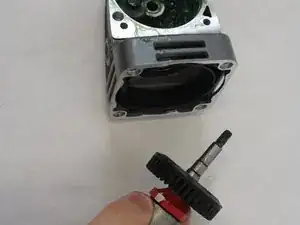
Lift the trigger assembly off of its mount.
-
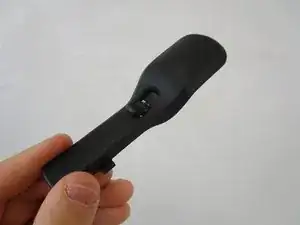
Dispose of the old trigger assembly and install the new one.
-
-
-
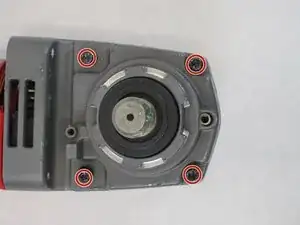
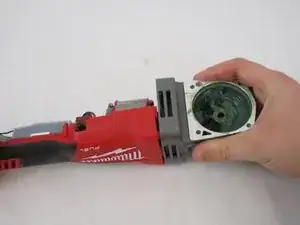
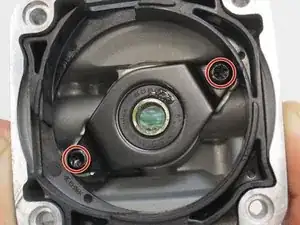
Using a Torx T20 screwdriver to remove four 6mm screws located on top of the gearcase assembly.
-
-
-
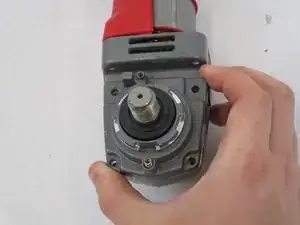
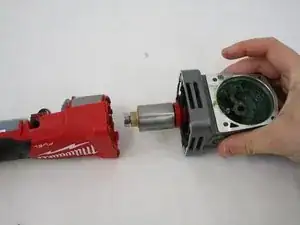
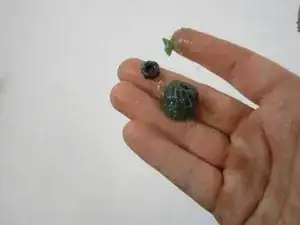
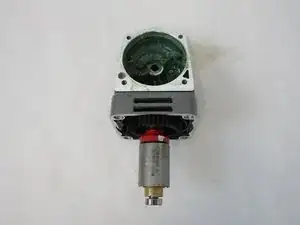
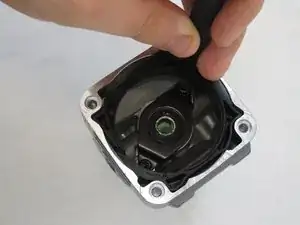
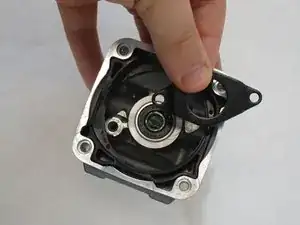
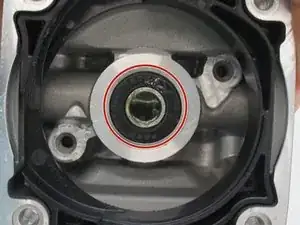
Using a 3/8 Wrench, Remove the nut located in the center of the Gearcase.
-
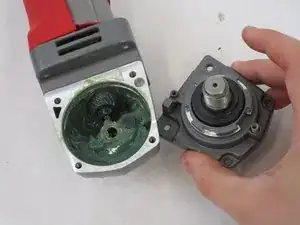
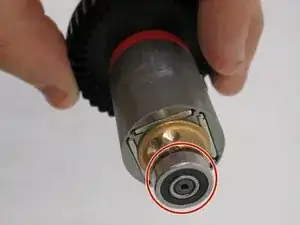
The nut and pinion should immediatley come apart from the rotor assembly.
-


To reassemble your device, follow these instructions in reverse order.