Introduction
This guide will display the step-by-step process of fixing and/or replacing a faulty antenna. Soldering may be involved, so be prepared!
Tools
-
-
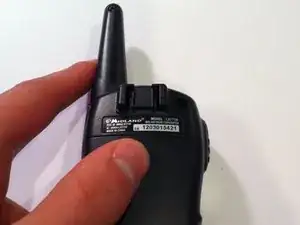
First, apply pressure with your thumb on the top of the battery cover.
-
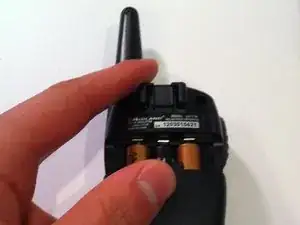
Next, pull down on the cover until it begins to slide.
-
-
-
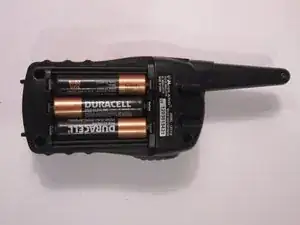
Finally, once the cover is completely off, pry up the old batteries with your finger or a strong, skinny tool (i.e. spudger).
-
-
-
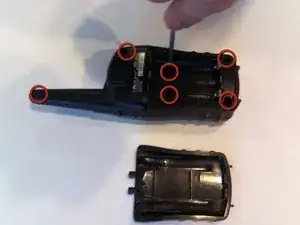
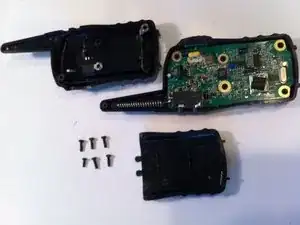
Unscrew the six 8.0 millimeter long, #0 screws on the backside of the case using the Phillips #0 screwdriver.
-
-
-
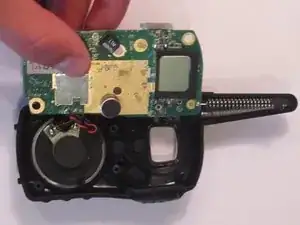
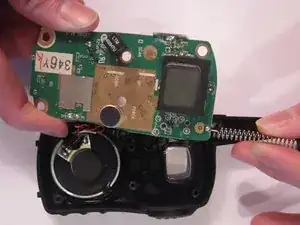
Carefully and slowly lift the motherboard away from the front case. The motherboard will be attached to the speaker, which is firmly glued onto the front case.
-
-
-
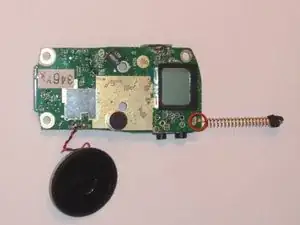
Check the connection of the antenna with your eyes and fingers. The connection should be firm and smooth where it was soldered.
-
Ensure that the spring of the antenna isn't crooked or damaged by rubbing your fingers along the length of the spring.
-
-
-
After obtaining a new or undamaged spring, solder it back onto the circuit board. Again, this is a delacate process as the soldering tool will be hot!
-
To reassemble your device, follow these instructions in reverse order.
What is the radius of these CBS
Boyd Ratley -