Introduction

This guide will show the owner of this scanner how to remove and replace a broken or damaged ribbon cable.

  1. ZKKD2ODgdNE6ycPL
    ZKKD2ODgdNE6ycPL
    b3GsvWC5ZEMIYNKA
    kbNJVPUgVaKWgf3t
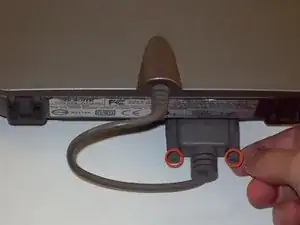
    • Loosen the screws on the serial port by turning them counter clockwise by hand.

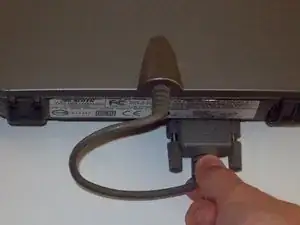
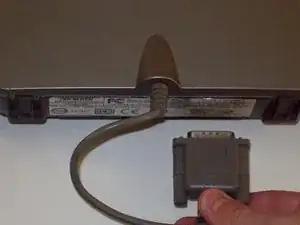
    • After loosening the screws, pull the serial port out.

  2. dkFDbiKh1FEcQKJK
    dkFDbiKh1FEcQKJK
    n3WnQouIh6cnqyS2
    EnTuXlHFPdBOoHty
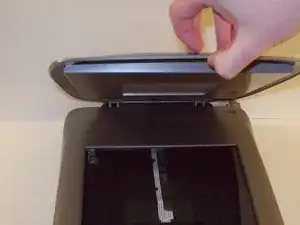
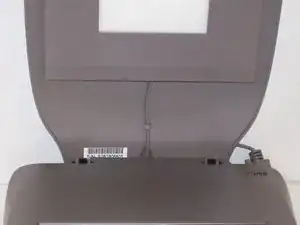
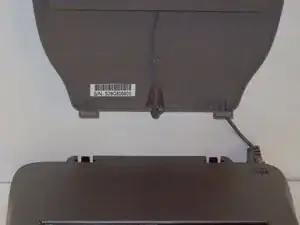
    • Lift lid to its vertical position.

    • Pull lid straight up to remove it from the scanner.

  3. wLDWDV2XaeuNmpR5
    wLDWDV2XaeuNmpR5
    jZnPhPqcLxoDQkg5
    HXGHaRfAp22jpQku
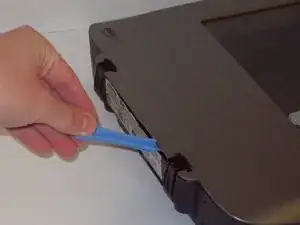
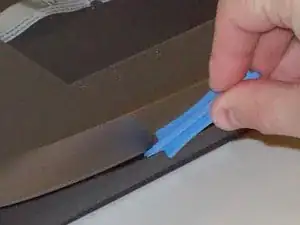
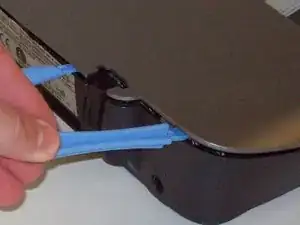
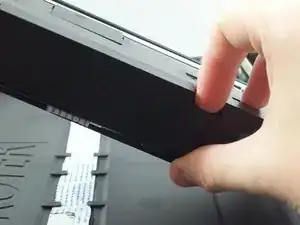
    • Push the plastic opening tools into the crack between the top and the bottom of the chassis.

  4. nSCVSiNHmwuLSBUr
    nSCVSiNHmwuLSBUr
    cXOp6JdrHXFk6vmy
    DKBPirTImIWRYKAS
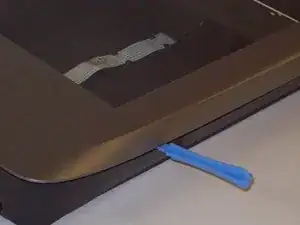
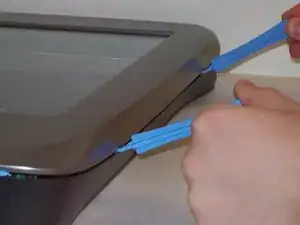
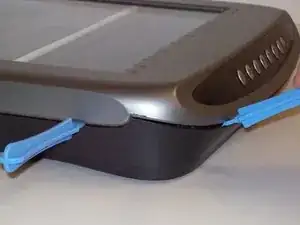
    • After placing one plastic opening tool into the slit, slide other plastic opening tools along the slit to detach the top from the bottom of the chassis.

    • Go all the way along the chassis until you can lift the upper lid.

  5. 5qZS4ybAA1THHcEQ
    5qZS4ybAA1THHcEQ
    w2IceuWIHWxxNUHs
    nYJWZ5uCTvfc1UsO
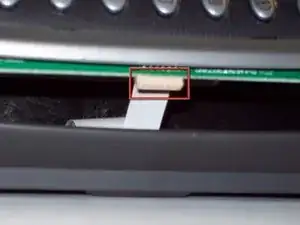
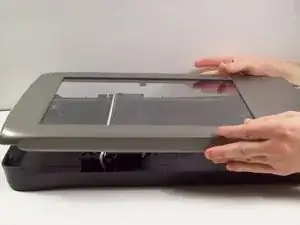
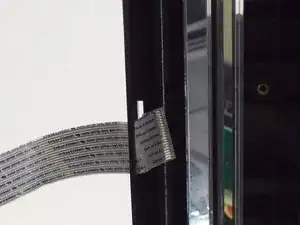
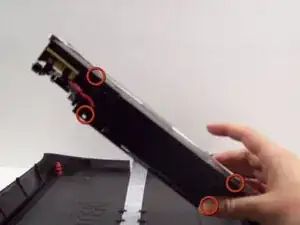
    • Do not fully remove the lid until you remove the ribbon cable attached to the front of the upper lid.

    • Do this by grabbing the upper lid from the sides and rotating it ninety degrees so it is perpendicular to the bottom lid.

    • Grab the ribbon cable and gently pull it out of its slot with your fingers.

    • The upper lid can now safely be removed from the bottom lid.

  6. dsrVHilYWlXRSPA5
    dsrVHilYWlXRSPA5
    4hCH2GuxyH6RerDH
    2TQKCRuvajKammWl
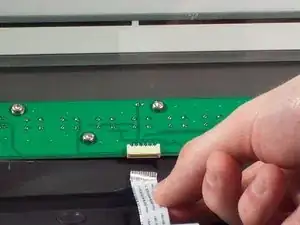
    • Lift up the central plastic housing inside the scanner.

    • There are four plastic tabs located on the outer plastic housing. Push on each of these and pull to remove it.

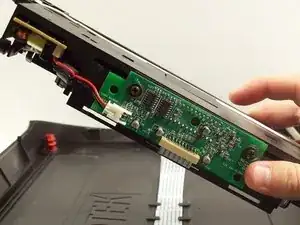
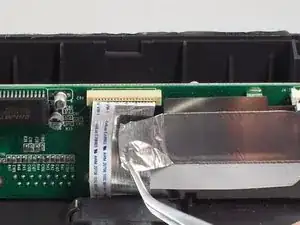
    • Underneath you will see that the ribbon cable is attached to the circuit board.

  7. OZfItWIe1ucxlGCk
    OZfItWIe1ucxlGCk
    FPEtlLJVAKiXj5tj
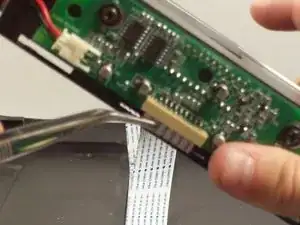
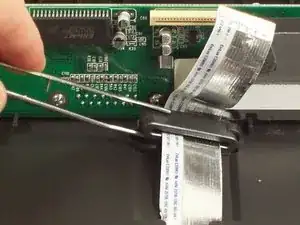
    • Grab onto ribbon cable with tweezers and gently pull until it come outs.

  8. Nj6ShAnDppnbEABH
    Nj6ShAnDppnbEABH
    oIN1QuRlGNgGFWMY
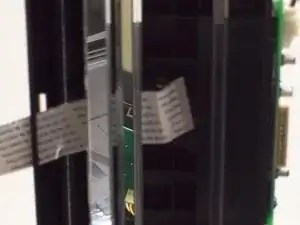
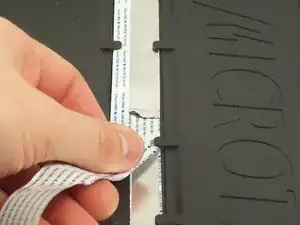
    • Simply remove the ribbon cable from within the holes it is wrapped through.

  9. v3oEWrucubX2J1Qr
    • Grab the ribbon cable, and gently pull it off of the bottom of the scanner.

  10. DHXrOljRQ5UoudIW
    DHXrOljRQ5UoudIW
    PjV3wXgMUROJy1Ip
    XpNJ32GptpPdhCkH
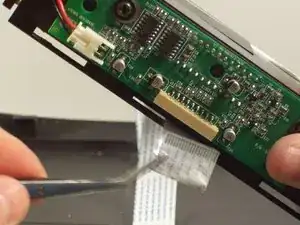
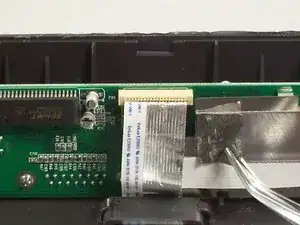
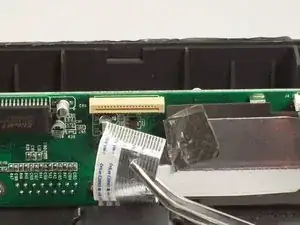
    • Peel back the sticky metal from the other side of the ribbon cable.

    • Use tweezers to gently remove the ribbon cable from the circuit board.

  11. yT5RZ5HDd1AyDC1R
    yT5RZ5HDd1AyDC1R
    ubxgAfmnT5HY3kkN
    wkhRGI4LHOae2OII
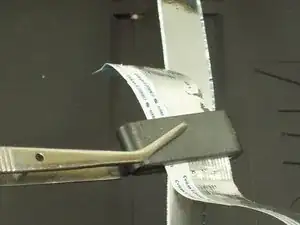
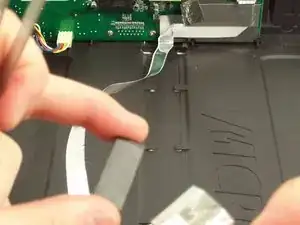
    • Remove the metal housing for the ribbon cable at the base of the scanner.

    • Use the tweezers to slide off the metal housing.

    • The ribbon cable is now completely free to be replaced.

Conclusion

To reassemble your device, follow these instructions in reverse order.
Taylor Nesheim

Member since: 12/10/11

59 Reputation

0 comments