Introduction
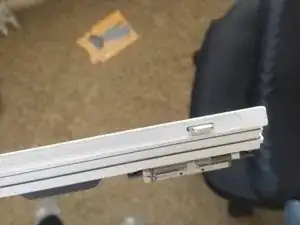
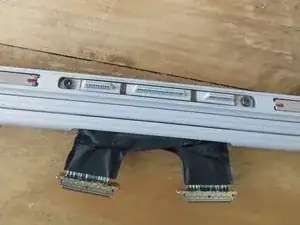
Replacing the cable that connects the base to the tablet.
You may also need to buy new Rubber Feet for your surface book be sure to buy the correct size. If you can live without them great. I had to buy my parts from eBay.
I suggest having the iFixit Pro Tech Tool kit. As it will have the bits you need to get into the machine, as well as other useful tools for ensuring the least amount of surface scratches and/or dmg to the machine.
This guide was done on the Surface Book 2 15" 1TB model.
Tools
Parts
-
-
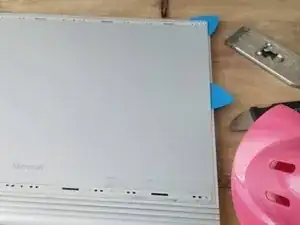
Detach screen first, and set aside. Using the hair dryer heat up the side you're going to start with. Remember to move the hair dryer up and down the side. Don't let it heat one spot for too long.
-
Using the Razer Scraper, you can heat the tool up if you'd like, put in the crevice between the back plate and the edge.
-
Gently pry the back plate up.
-
TIP: Having isopropyl alcohol and a toothbrush may come in handy. Dip toothbrush into the alcohol, don't let it be dripping wet, and scrub the edges you're working on to help dry the glue.
-
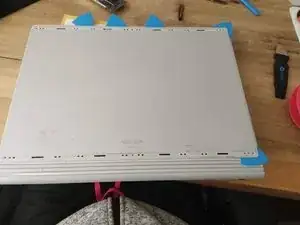
Once you have an opening put one of the open picks in point side first and using the hair dryer heating the edge and slowly slide and turn the opening pick so that the large part is in and the point is out.
-
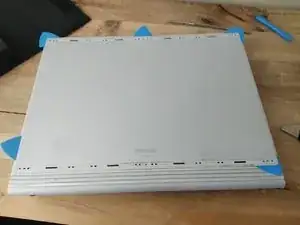
At this point you can sacrifice one of your open picks, and use it to slowly work your way through the glue, remember to heat the edges as you work your way along the edge. When you get to a corner be sure to leave a an open pick there. You may need to use the Razer Scraper but just be careful so you don't leave scratches.
-
TIP: Take your time and don't force it. Use your hair dryer to your advantage. You will get it eventually. I used the Razer Scraper to get my first 2 open picks in and then for the most part used an open pick and alcohol to cut through the glue.
-
-
-
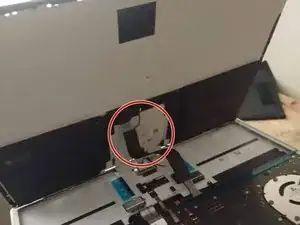
Open it slowly with the "binding" to the touch pad to avoid issues with the ribbon cable
-
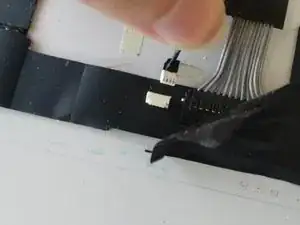
You should be able to gently bring the touch pad in so that you can lay the back plate flat and remove the two connectors connecting to the touch pad.
-
-
-
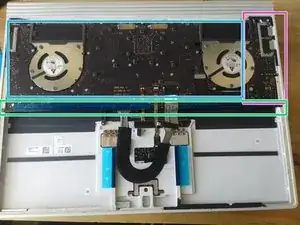
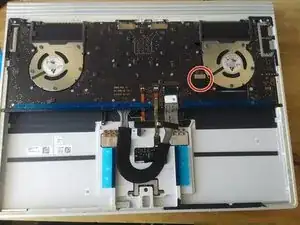
Begin by removing ribbon cables but be careful and use plastic tools if you need help.
-
TIP: Review the Video to understand how to remove the cables. It was tough getting them out but working it slowly I eventually got them all free.
-
-
-
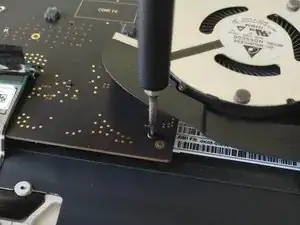
Remove all the screws From the Boards and plastic protector. (Torx T3)
-
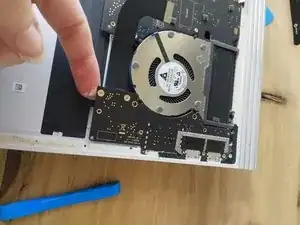
Be sure to pop off the connector to the second board, as there is a screw hiding beneath it.
-
-
-
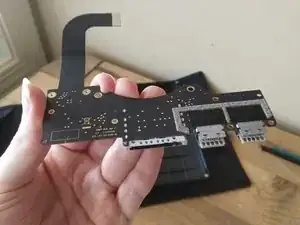
This part is a little difficult since it's a tight fit you may want to get a piece of plastic to gently, DO NOT FORCE, push the usb port in while you pull the board out.
-
-
-
Ensure cables are disconnected, screws are out. The dGPU board should slide out pretty easily
-
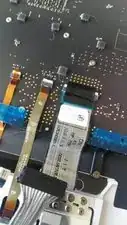
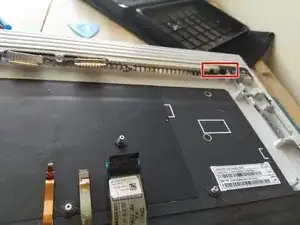
To remove the Dock cable you will need to remove the metal sticker with model information covering the screws holding the cable in place.
-
Remove the screws from the dock cable and it should be fairly easy to slide out. (Torx T4)
-
Now add in your new dock port connector, and reassemble your device following these instructions in reverse order.
TIP: Don't forget to clean the old tape residue up before applying new tape.
One comment
This was most helpful! I got the connector cable for around 17€. Finally the base holds its connection and doesn't disconnect all the time. Take your time while opening as urged by the guide, the rest is fairly easy.
