Introduction
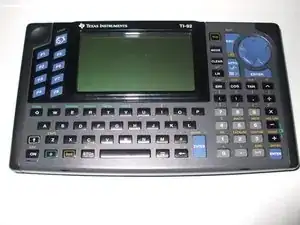
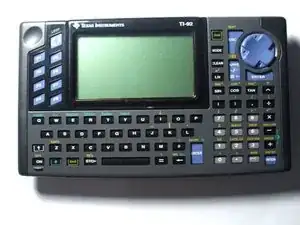
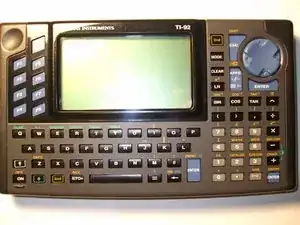
In this guide we will show you how to access the keyboard.
Tools
-
-
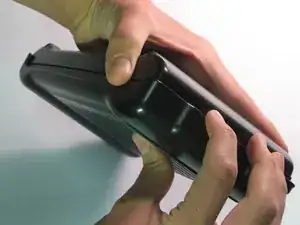
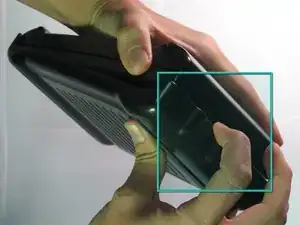
Grab the back of the calculator with one hand and the cover with the other.
-
Pull the cover off from one of the sides for easy removal.
-
-
-
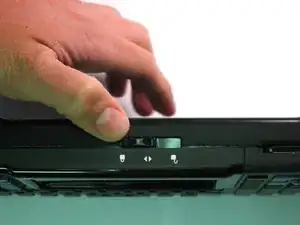
Orientate the calculator with the top facing towards you.
-
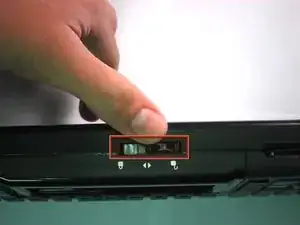
Slide the locking tab,found on the top part of the calculator, to the unlock position.
-
-
-
"Locking Tab"
-
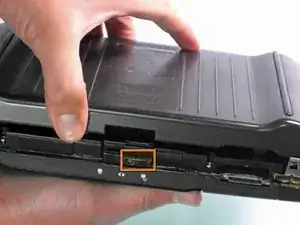
To remove the back cover, slide the cover away from the locking tab towards the bottom of the calculator until the cover no longer slides.
-
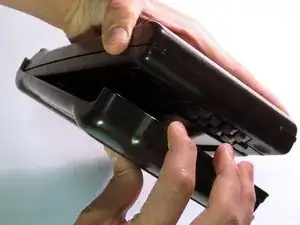
Then with the front of the calculator facing down, pull up on the back cover.
-
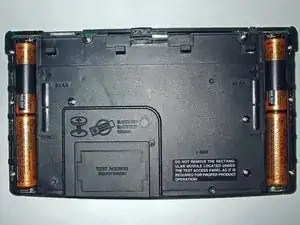
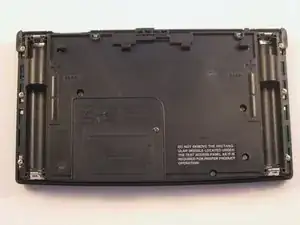
The calculator should now be orientated with the front facing down, as shown in picture 2.
-
-
-
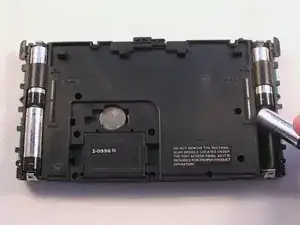
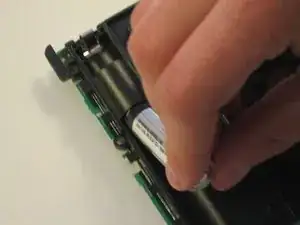
Remove the bottom batteries by pressing the battery towards you while pulling it out from the far end.
-
After the bottom battery has been removed push or slide the other(top) battery towards you until it is fully exposed in the battery slot.
-
Now simply remove the battery.
-
-
-
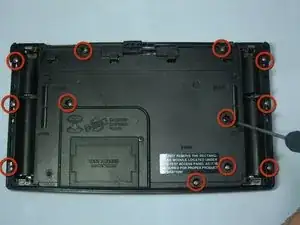
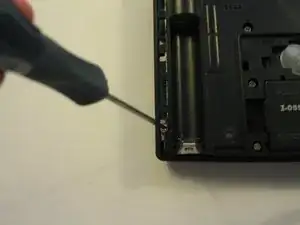
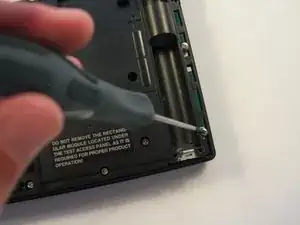
Using a Philips Screwdriver #00 unscrew the twelve 11.8mm screws shown in the picture and located on the back of the calculator.
-
-
-
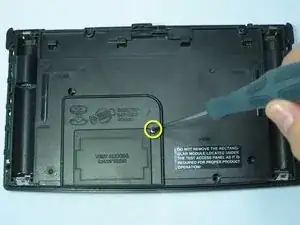
Unscrew the 19mm screw located near center of the back of the calculator.
-
Remove the panel being held by the screw.
-
-
-
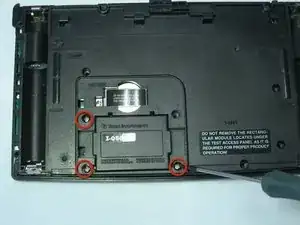
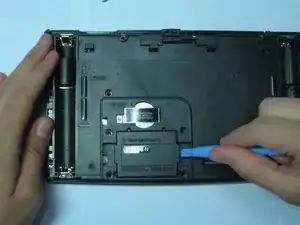
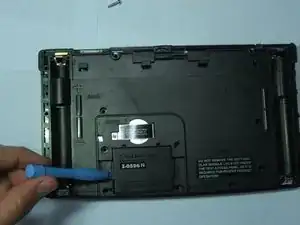
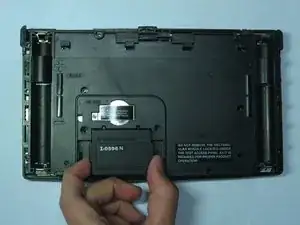
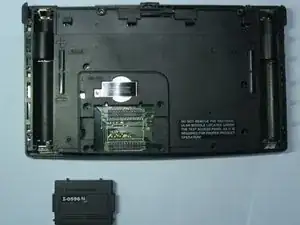
Using the Ipod Opening Tool pull up on both sides of the rectangular module while keeping the rest of the calculator flat on a surface face down
-
-
-
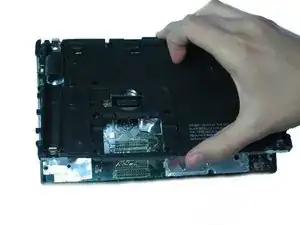
Now pull up on the back cover of the calculator while holding the rest of it flat on a surface.
-
-
-
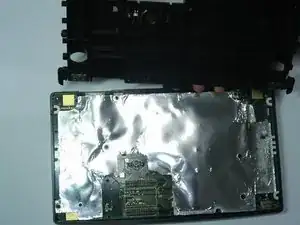
Here we will use the front panel, separate from the motherboard
-
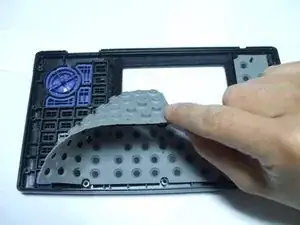
Remove the rubber contact lying on top of the keys.
-
-
-
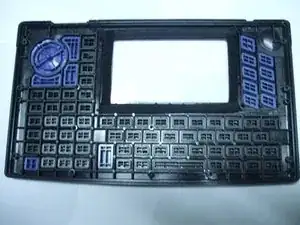
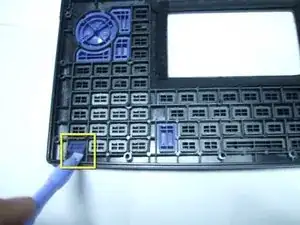
With the rubber contact removed the keys can now be removed to be replaced, cleaned, or manipulated in other ways.
-
To aid the removal of individual keys you can use the Ipod Opening Tool or preferably a pair of tweezers.
-
-
-
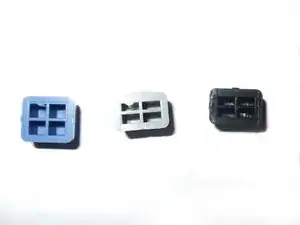
When placing the keys back into the faceplate you have to make sure that they are going in the right direction.
-
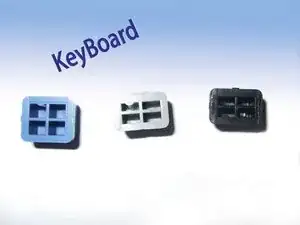
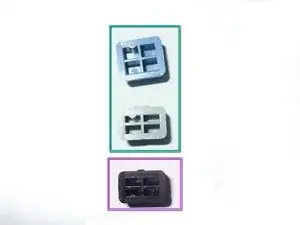
You can tell which way is up by a semicircular extrusion on the back of a key.
-
The gray and blue keys have the extrusion on the upper left hole looking at the back of the key.
-
The black keys on the other hand have the extrusions on the lower left hole looking at the back of the key.
-
To reassemble your device, follow these instructions in reverse order.
