Introduction
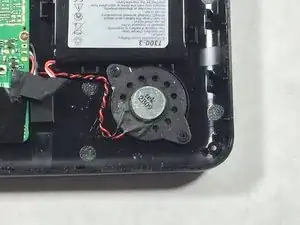
In this replacement guide you're going to learn how to replace a faulty speaker. It's important to go to the trouble shooting page first in order to know that you need to replace the speaker and it's not some other issue that you actually need to solve first.
Tools
-
-
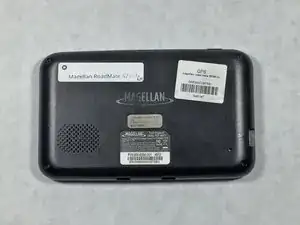
Place the device face down on a flat surface.
-
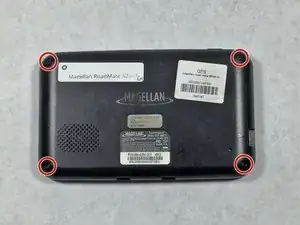
Remove the four 5mm screws at each corner using a #000 Phillips head screwdriver.
-
-
-
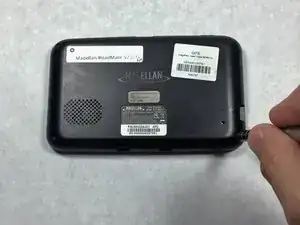
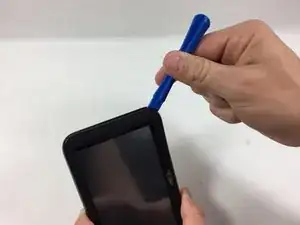
Gently wedge a plastic opening tool into the seam along the side of the device.
-
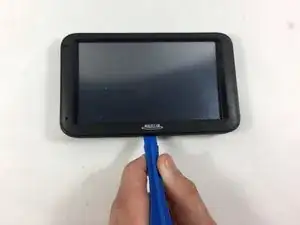
Slide the tool along the seam to pry apart the front and back covers.
-
-
-
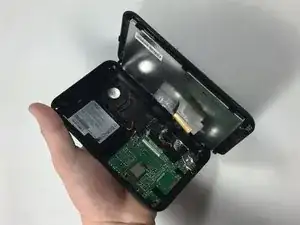
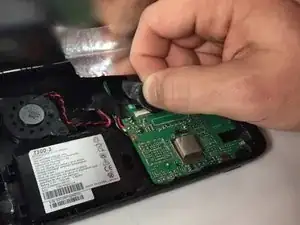
A ribbon cable attaches the display screen and the motherboard via a ZIF connector. Remove the tape covering where the ZIF connector connects to the mother board.
-
Use tweezers to disconnect the ZIF connector from the motherboard.
-
-
-
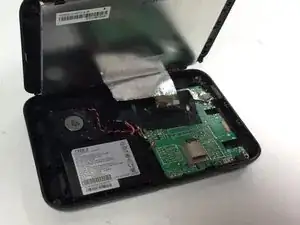
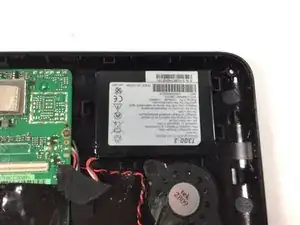
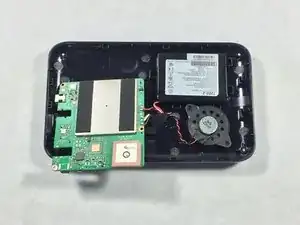
Lay the back panel on a flat surface with the battery, motherboard, and speaker facing up.
-
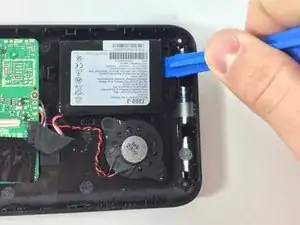
Use a plastic opening tool to gently pull the battery away from the back panel in order to remove the adhesive that helps the battery stick to the panel.
-
-
-
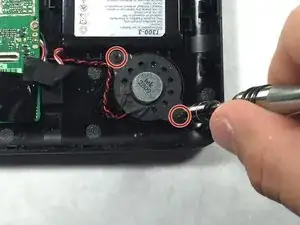
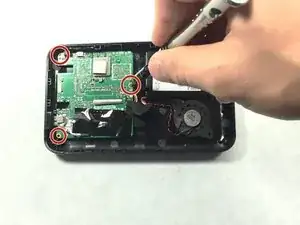
Use a Phillips #000 screwdriver to remove three 5mm screws that hold the motherboard down to the the back panel.
-
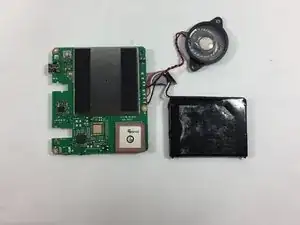
Remove the battery, speaker and motherboard. Place them on a flat surface upside down.
-
-
-
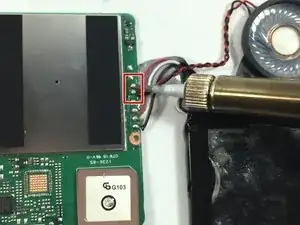
Use a soldering iron to desolder the two wires that connect the speaker to the motherboard.
-
Follow the How to Solder and Desolder Connections guide for help.
-
To reassemble your device, follow these instructions in reverse order.
One comment
Where can I find a replacement speaker?
