Introduction
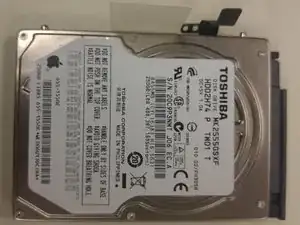
First, we will remove the two 1GB RAM sticks. Then, we will remove the stock 500GB, 5400 RPM HDD.
Parts
-
-
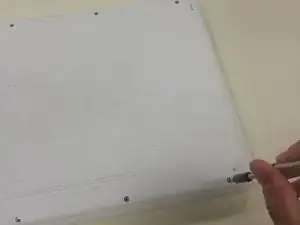
Using a PH00 bit, remove the eight 4 mm Phillips screws securing the lower case to the MacBook.
-
-
-
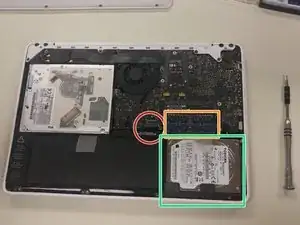
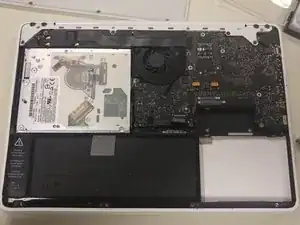
Identify the parts we need to remove. Start with unplugging the battery (circled in red), followed by removing the RAM sticks (circled in orange), and lastly removing the hard drive (circled in green).
-
-
-
Use the flat end of a spudger to lift the battery connector up out of its socket on the logic board.
-
-
-
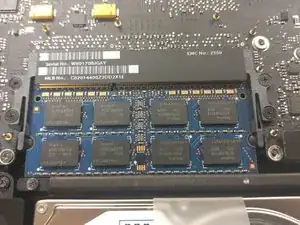
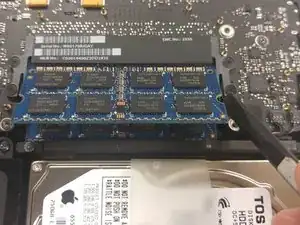
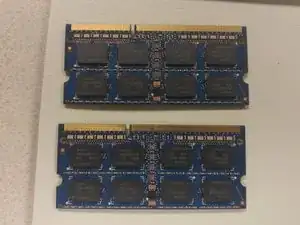
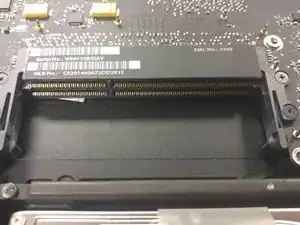
Release the tabs on each side of the chip by simultaneously pushing each tab away from the RAM.
-
-
-
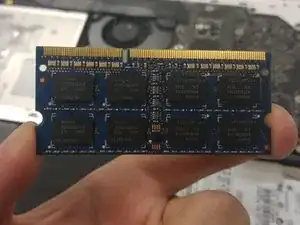
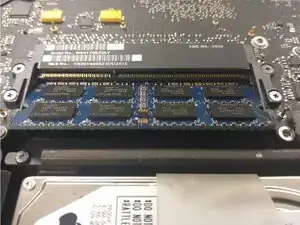
After the RAM chip has popped up, pull it straight out of its socket.
-
BE SURE TO HANDLE THE RAM STICK BY THE EDGES. DO NOT TOUCH THE CIRCUITRY.
-
-
-
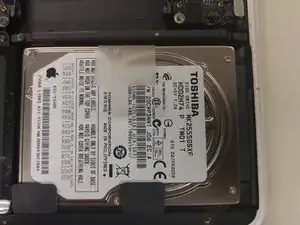
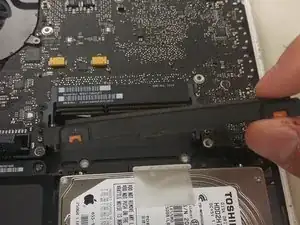
Using a PH00 bit, remove two 11 mm Phillips screws securing the hard drive bracket to the upper case.
-
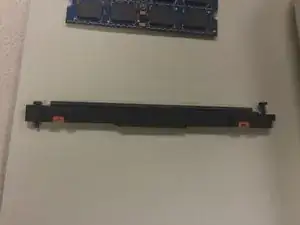
Lift the retaining bracket out of the upper case.
-
-
-
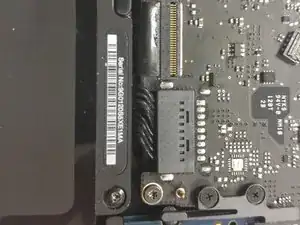
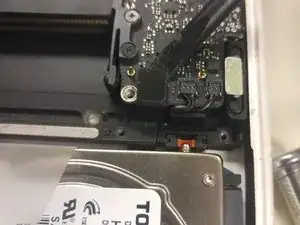
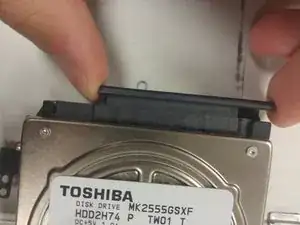
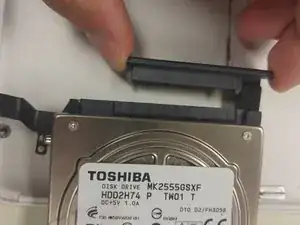
Using PH00 bit, unscrew the 4mm Phillips screw holding down the ribbon attaching the HDD to the motherboard.
-
-
-
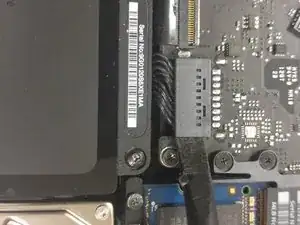
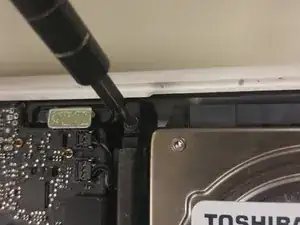
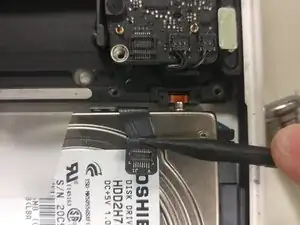
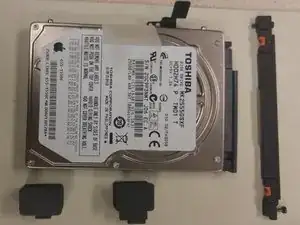
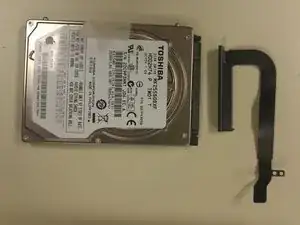
Remove the SATA cable from the hard drive by gently pulling the connector away from the body of the hard drive.
-


To reassemble your device, follow these instructions in reverse order.