Introduction
Maybe it's cracked. Maybe it's old. Either way, a nasty looking clutch cover is not good. Use this guide to replace the clutch/hinge cover.
Tools
-
-
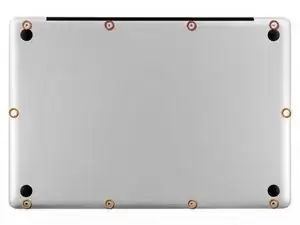
Remove the following ten screws securing the lower case to the upper case:
-
Three 13.5 mm Phillips screws.
-
Seven 3 mm Phillips screws.
-
-
-
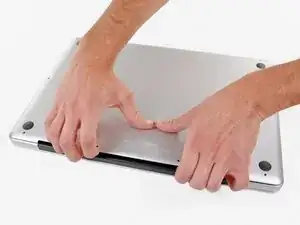
Wedge your fingers between the lower case and the vent, and lift upward to release the two clips holding the lower case to the upper case.
-
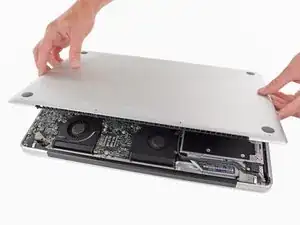
Remove the lower case.
-
-
-
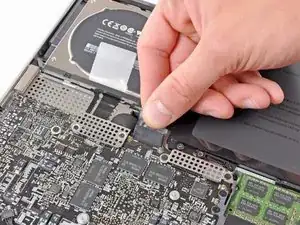
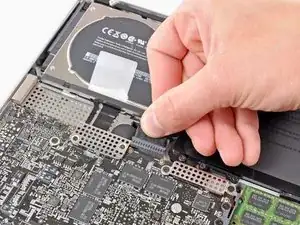
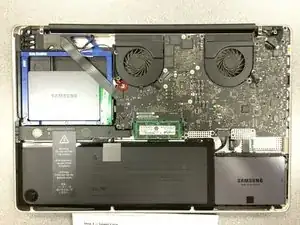
If present, grab the plastic tab attached to the battery connector and pull it toward the front edge of the device. For Late-2011 models the battery connector will not have a tab and is simply a plug that inserts straight down into the motherboard--to remove pry the plug straight up.
-
-
-
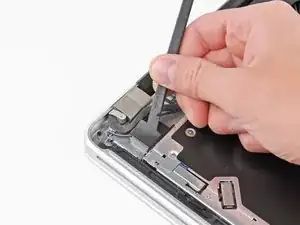
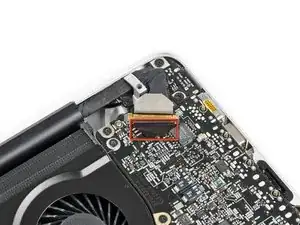
Use the tip of a spudger to push the small plastic cable retainer away from the camera cable socket for enough clearance to remove the camera cable.
-
-
-
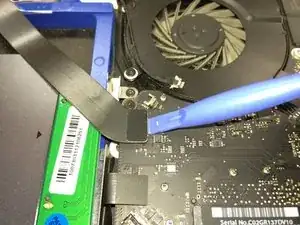
Pull the camera cable toward the optical drive opening to disconnect it from the logic board.
-
-
-
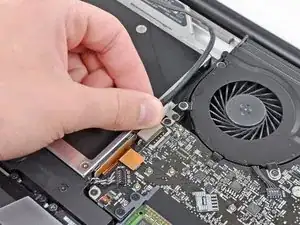
Carefully pull the Bluetooth cable toward the fans to disconnect it from the Bluetooth board.
-
-
-
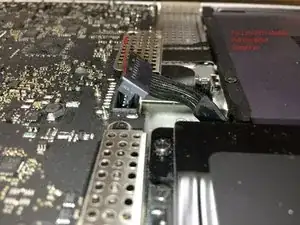
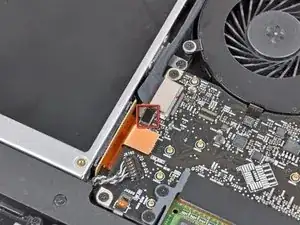
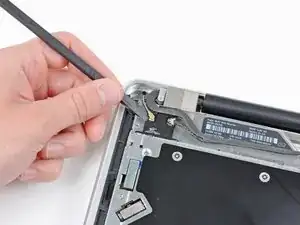
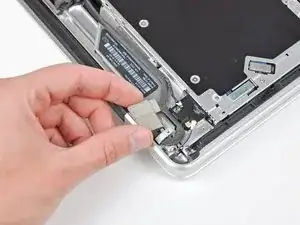
Use the flat end of a spudger to peel the thin plastic cover off the top and sides of the Bluetooth board housing. For late-2011 models check out the other picture because the connector location is in a totally different location.
-
-
-
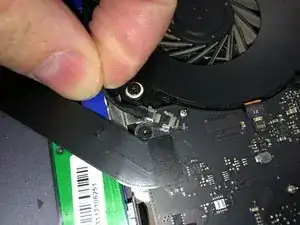
Use the flat end of a spudger to pry the Bluetooth antenna connector up and off its socket on the Bluetooth board.
-
-
-
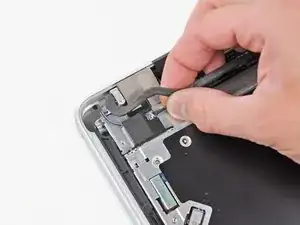
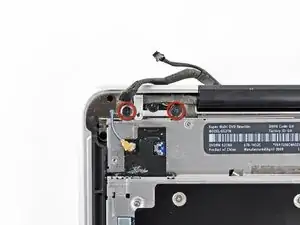
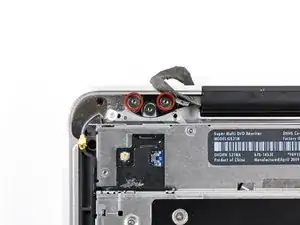
Remove the two 7.1 mm Phillips screws securing the camera cable retainer to the upper case.
-
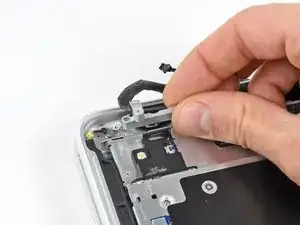
Remove the camera cable retainer from the upper case.
-
-
-
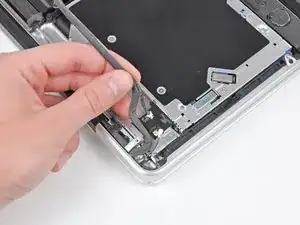
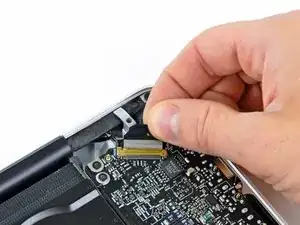
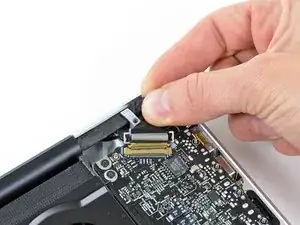
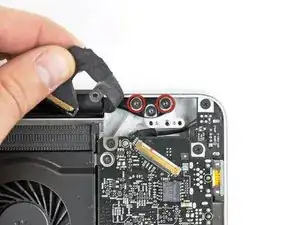
Lift the black plastic flap attached to the display data cable retainer and rotate it toward the DC-In side of the MacBook.
-
Pull the display data cable out of its socket.
-
-
-
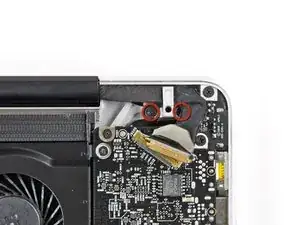
Remove the two 7.1 mm Phillips screws securing the display data cable retainer to the upper case.
-
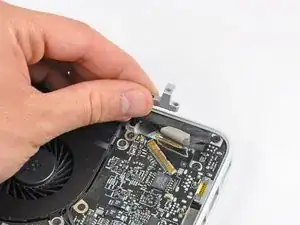
Remove the display data cable retainer.
-
-
-
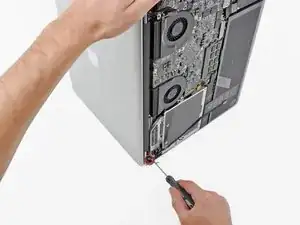
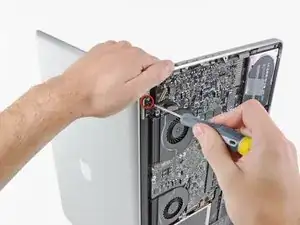
Remove the two outer 6.8 mm T6 Torx screws from each of the two display brackets (four screws total).
-
-
-
While holding the display and upper case together with your left hand, remove the remaining T6 Torx screw from the lower display bracket.
-
-
-
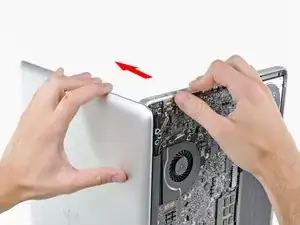
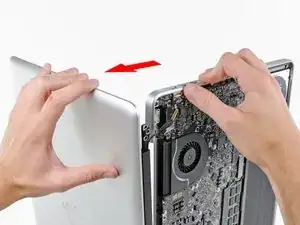
Grab the upper case with your right hand and rotate it slightly toward the top of the display so the upper display bracket clears the edge of the upper case.
-
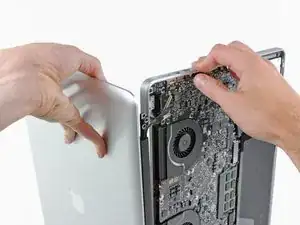
Rotate the display slightly away from the upper case.
-
Lift the display up and away from the upper case, minding any brackets or cables that may get caught.
-
-
-
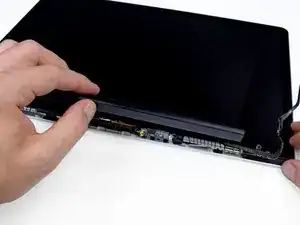
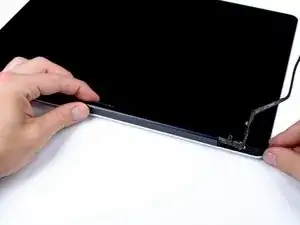
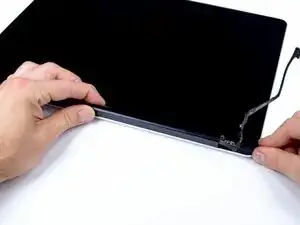
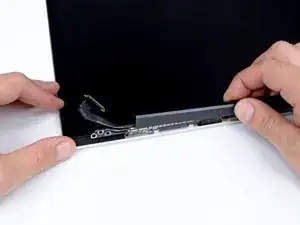
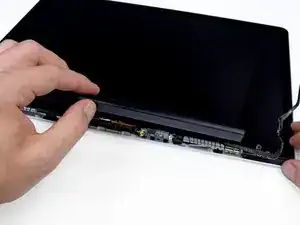
Lifting the left edge of the clutch cover, gently rock it back and forth on its long axis while pulling it away from the display.
-
Remove the clutch cover from the display, minding any cables that may get caught.
-
To reassemble your device, follow these instructions in reverse order.

important to reassemble the "lower case" successfully: the threads of the seven 3mm phillips screws are drilled at an angle :-/
mysterioes -
Same issue with me. After reassembling my 13-inch and my 17-inch, one of the screws are sticking out ever so slightly. Very annoying, especially since I scratch whatever surface I'm on now.
Kyle Spadaro -