Introduction
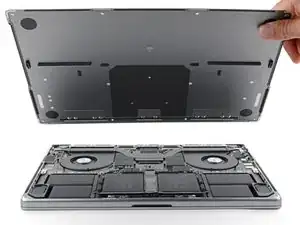
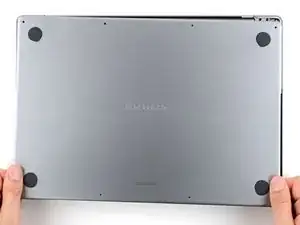
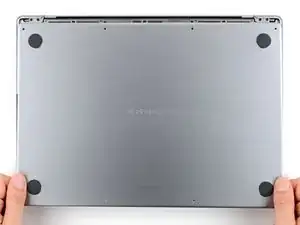
Use this guide to replace the lower case on your MacBook Pro 16" 2023.
Tools
-
-
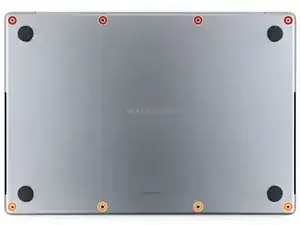
Use a P5 pentalobe driver to remove the eight screws securing the lower case:
-
Four 9.1 mm‑long screws
-
Four 6 mm‑long screws
-
-
-
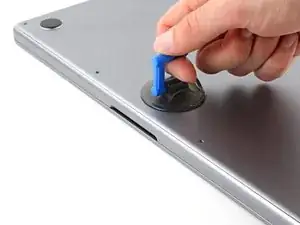
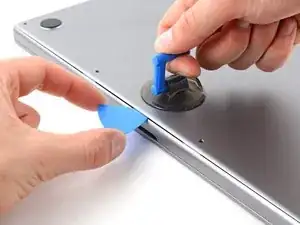
Apply a suction handle to the center of the lower case's front edge.
-
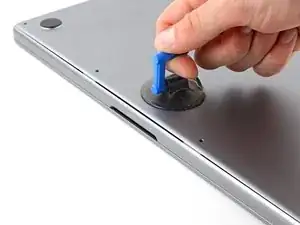
Pull up on the suction handle to create a gap between the lower case and the frame.
-
Insert an opening pick into the gap.
-
-
-
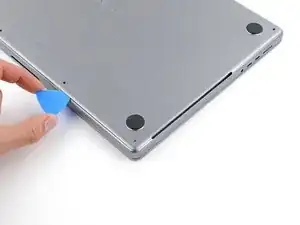
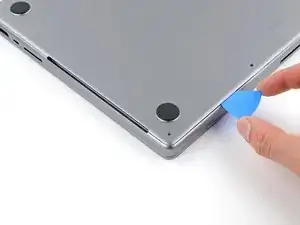
Slide your opening pick around the bottom right corner and up the right edge of the lower case.
-
Slide your pick until it reaches the middle of the cutout, or until the rightmost clip stops it from sliding.
-
Twist your pick to release the two right clips.
-
-
-
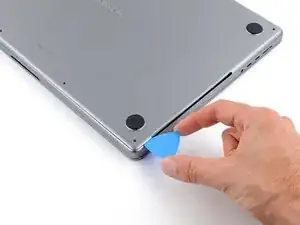
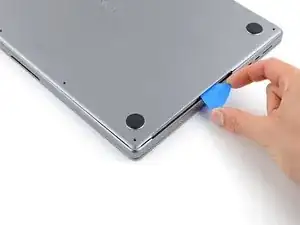
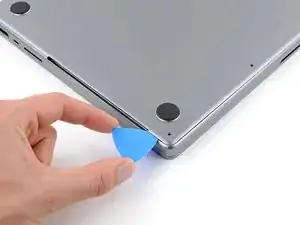
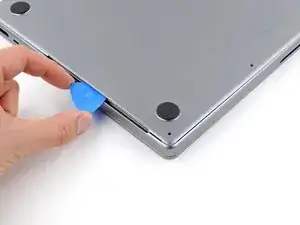
Slide your opening pick around the bottom left corner and up the left edge of the lower case.
-
Slide your pick until it reaches the middle of the cutout, or until the leftmost clip stops it from sliding.
-
Twist your pick to release the left two clips.
-
-
-
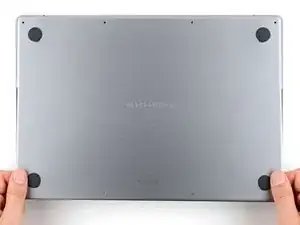
Firmly pull the lower case away from the back edge, one corner at a time, to disengage the sliding clips.
-
-
-
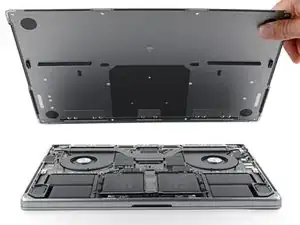
Remove the lower case.
-
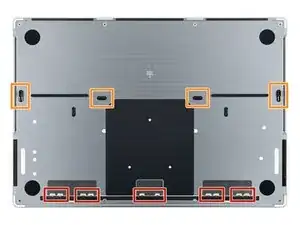
Lay it down and align the sliding clips with the back edge of the MacBook. Press down on the lower case and slide it toward the back edge to engage the clips.
-
Once the back corners of the lower case are secured and flush with the frame, press down along the middle of the lower case to engage the four remaining clips.
-
To reassemble your device, follow these instructions in reverse order.
Repair didn’t go as planned? Try some basic troubleshooting, or ask our Answers community for help.
