
Introduction
Replace the feet for the early 2011 MacBook Pro 15".
-
-
Remove the following ten screws securing the lower case to the upper case:
-
Three 13.5 mm (14.1 mm) Phillips screws.
-
Seven 3 mm Phillips screws.
-
-
-
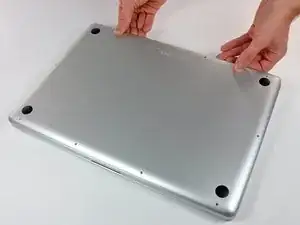
Using both hands, lift the lower case near the vent to pop it off two clips securing it to the upper case.
-
Remove the lower case and set it aside.
-
-
-
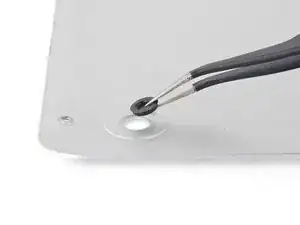
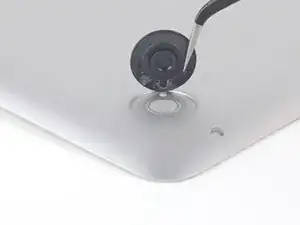
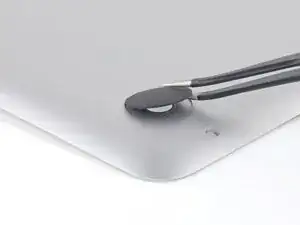
Remove any broken or damaged feet.
-
Remove any pieces from the old foot that may have broken off in the foot hole.
-
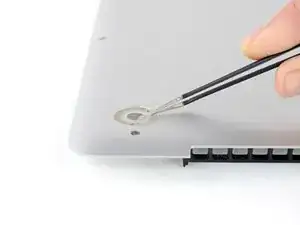
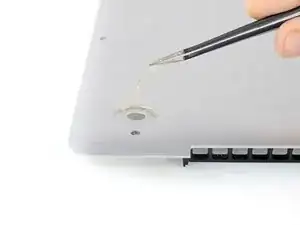
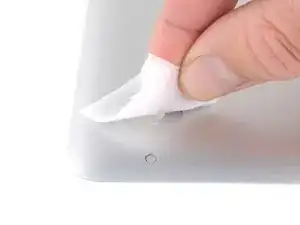
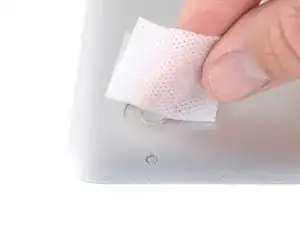
Use tweezers to peel up and remove the old adhesive tape from the foot pad.
-
-
-
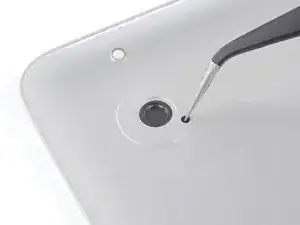
Align the new foot inside the foot pad.
-
Make sure the alignment nub on the foot is lined up with the small hole near the perimeter of the pad.
-
Lay the foot down while keeping it properly aligned.
-
Check for proper alignment from the inside of the lower case. Use tweezers to slide the alignment nub so it lines up with the hole.
-
-
-
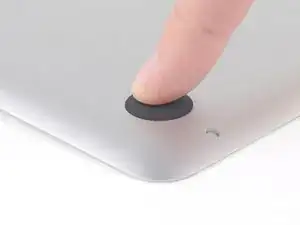
Press the new foot down firmly with your finger and maintain pressure for 30 seconds to set the pressure sensitive adhesive. Support the other side of the cover while you press the foot down.
-
Repeat the last six steps for any broken or damaged feet.
-


To reassemble your device, follow these instructions in reverse order.

One comment
These are nice rubber feet that are identical to the original in look and feel. Be wary of cheaper versions that are made of hard slippery plastic.
Step 1 (technically step 9 - replacing the base plate) Apparently one of my screws was a micron or two smaller than the others. This screw belongs to the hole above the optical drive, which is also apparently a couple of microns smaller than the others. It took seven attempts to figure which screw had originally been in that hole; all the other screws were too large, but fitted perfectly everywhere else.
Bizarre much?
Will -
It might be a matter of how the screws are driven in, and not that they're slightly different sizes. When I reassembled my MacBook, a couple of the screws, including the one over the optical drive you mention, were hard to drive in and jutted up a little bit instead of sitting entirely flush. Swapping screws didn't help. The solution was to unscrew them and drive them in at a bit of an angle - perpendicular to the slightly curved surface of the back plate where the screw holes were, instead of fully vertical with respect to the ground the Macbook is sitting on. Doing it that way, the screws were easier to drive in and they all ended up flush in their holes. Didn't matter which screws they were. (I swapped a few around just to check after reading this.)
Andrew Janke -
I had no such screw issues. Either there are differences in manufacturing lots or I just got incredibly lucky during reassembly!
xtophr -