
Introduction
Restore sound to your laptop by replacing the speakers.
Parts
-
-
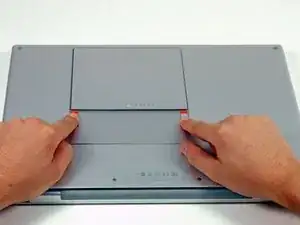
Use your fingers to push both battery release tabs away from the battery, and lift the battery out of the computer.
-
-
-
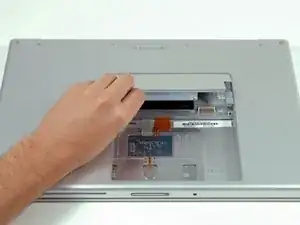
Lift the memory door up enough to get a grip on it, and slide it toward you, pulling it away from the casing.
-
-
-
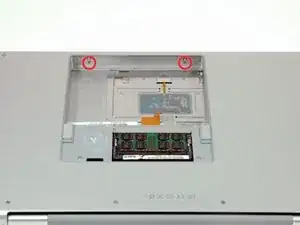
Remove the following 6 screws:
-
Two 10 mm T6 Torx screws on either side of the RAM slot.
-
Four 14.5 mm Phillips screws along the hinge.
-
-
-
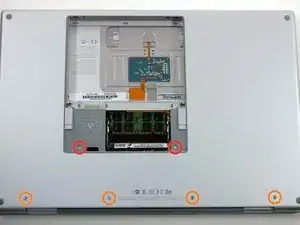
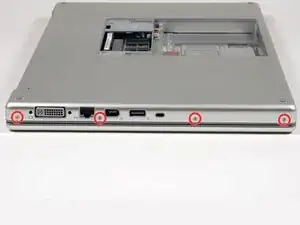
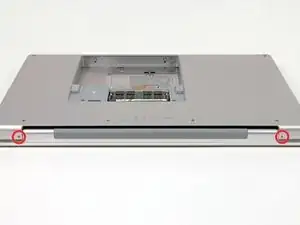
Rotate the computer 90 degrees and remove the two Phillips screws from the rear of the computer.
-
-
-
Rotate the computer 90 degrees again and remove the four Phillips screws from the side of the computer.
-
-
-
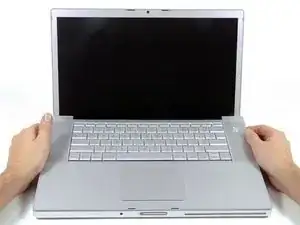
Lift up at the rear of the case and work your fingers along the sides, freeing the case as you go. Once you have freed the sides, you may need to rock the case up and down to free the front of the upper case. This stage can be quite tricky. Over the DVD reader are 4 tabs set back which pull out vertically.
-
Note that the two small tongues on the left hand front of the upper case may bend while you remove the upper case. When re-installing, you may need to bend them back to fit in the grooves in the lower case.
-
-
-
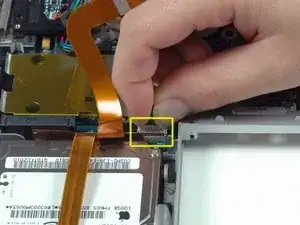
Disconnect the trackpad and keyboard ribbon cable from the logic board, removing tape as necessary.
-
Remove the upper case.
-
-
-
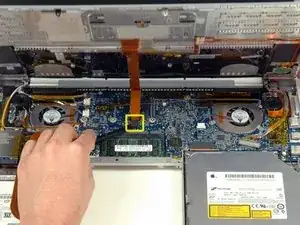
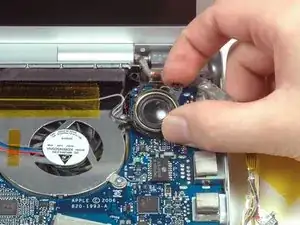
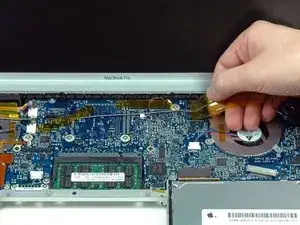
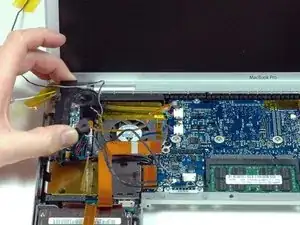
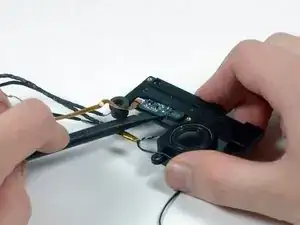
Rotate the speaker clockwise approximately 30 degrees until it comes free from the logic board.
-
-
-
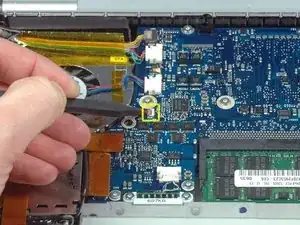
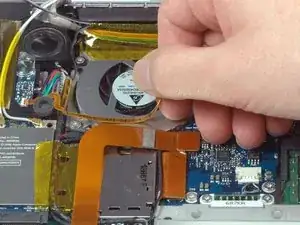
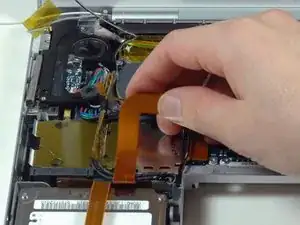
Peel up the gray and black speaker wires from the top of the logic board, removing tape as necessary.
-
-
-
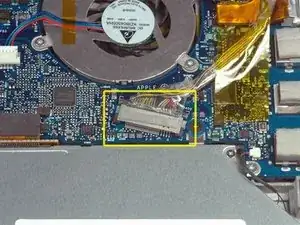
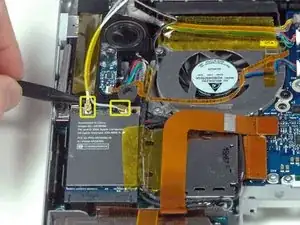
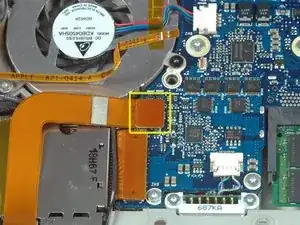
Use a spudger to flip up the brown plastic flap securing the left ambient light sensor cable to the logic board.
-
Slide the left ambient light sensor cable to the left and out of its connector.
-
-
-
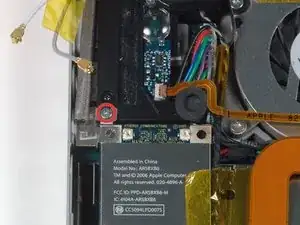
Remove the single silver Phillips screw located just above the Airport Extreme card.
-
Lift the small silver metal retaining bracket up and out of the computer.
-
-
-
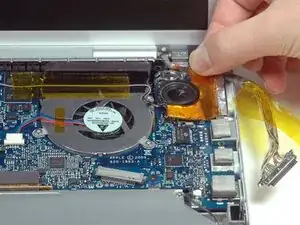
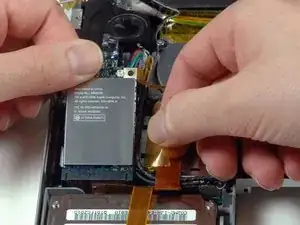
Peel back the orange tape on the right side of the Airport Extreme card.
-
Lift the Airport Extreme card up and slide it out of its connector.
-
-
-
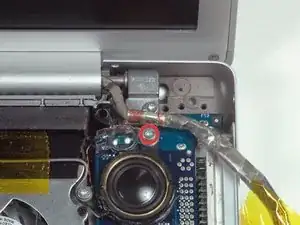
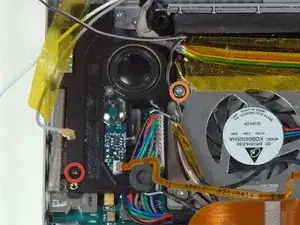
Remove the following 2 screws:
-
One 4.3 mm black T6 Torx screw on the left side of the speaker.
-
One 9.4 mm silver T6 Torx screw on the right side of the speaker.
-
-
-
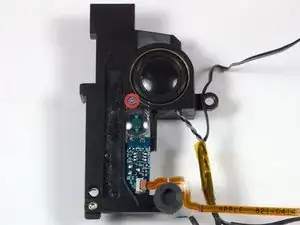
Remove the single silver Phillips screw securing the left ambient light sensor cover to the speaker.
-
Remove the clear plastic ambient light sensor cover.
-
-
-
Use a spudger to pry the left ambient light sensor board out of its housing on the left speaker.
-


To reassemble your device, follow these instructions in reverse order.

One comment
Step 14 was a bit tricky for me. Before you can rotate the speaker clockwise you need to lift up the transparent plastic cover so it's free from the speaker. Otherwise it was hard to turn it. If it has been there for a long time it can be jammed. Be careful.
Fredrik -
Before beginning, I found some small plastic bags and labeled each of the with the location the screws would come from once removed and the appropriate step number. Once the screws were removed I placed them in the labeled bags and did not have to worry about mixing screws up. Also, provided a good way to insure that no steps were skipped in the reverse process
rpbetancourt -