
Introduction
Update an aging MacBook Pro with a new set of feet.
-
-
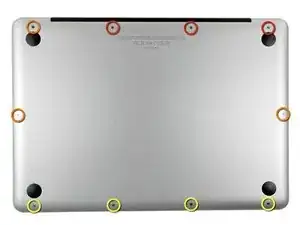
Remove the following ten screws:
-
Three 14.4 mm Phillips #00 screws
-
Three 3.5 mm Phillips #00 screws
-
Four 3.5 mm shouldered Phillips #00 screws
-
-
-
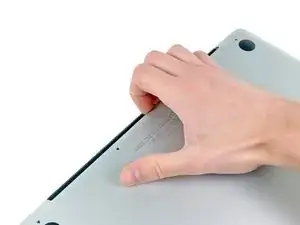
Use your fingers to pry the lower case away from the body of the MacBook near the vent.
-
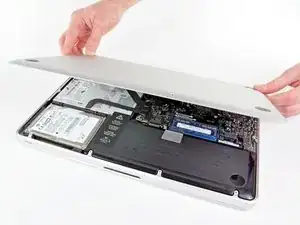
Remove the lower case.
-
-
-
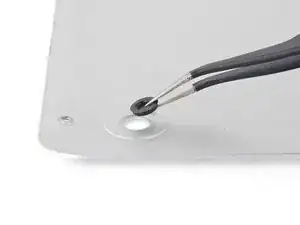
Remove any broken or damaged feet.
-
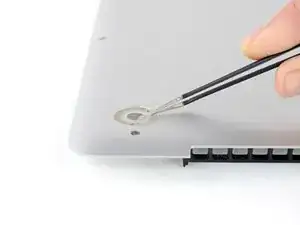
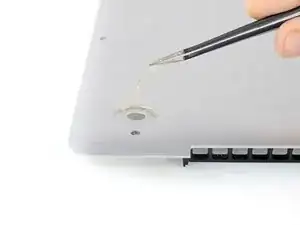
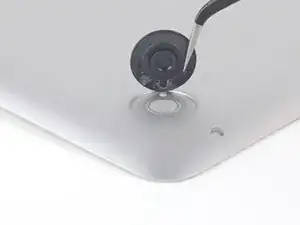
Remove any pieces from the old foot that may have broken off in the foot hole.
-
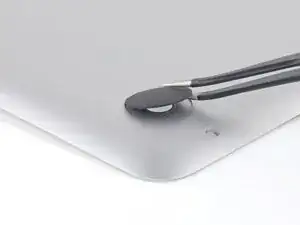
Use tweezers to peel up and remove the old adhesive tape from the foot pad.
-
-
-
Align the new foot inside the foot pad.
-
Make sure the alignment nub on the foot is lined up with the small hole near the perimeter of the pad.
-
Lay the foot down while keeping it properly aligned.
-
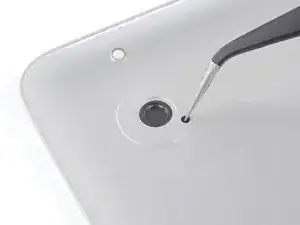
Check for proper alignment from the inside of the lower case. Use tweezers to slide the alignment nub so it lines up with the hole.
-
-
-
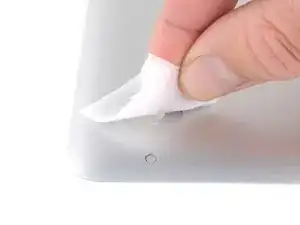
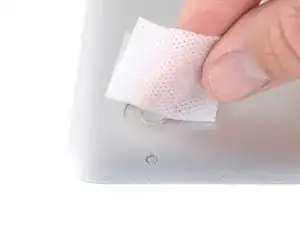
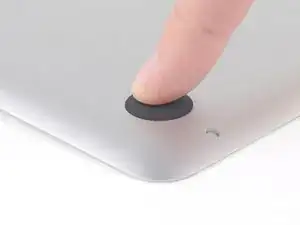
Press the new foot down firmly with your finger and maintain pressure for 30 seconds to set the pressure sensitive adhesive. Support the other side of the cover while you press the foot down.
-
Repeat the last six steps for any broken or damaged feet.
-

To reassemble your device, follow these instructions in reverse order.

How much weight can I save by removing the optical drive?
gunes314 -
You can save a lot of weight if lets say your installing a solid state drive or putting in a second hard drive but if you know that you use the CD/DVD disc drive a lot then you might just want to leave the drive alone.
Marshall WahlstromHelgren -