Introduction

Prereq only.

  1. VjHPHC5XpI5lyEU2
    VjHPHC5XpI5lyEU2
    YLwqCMl14OpjFG6c
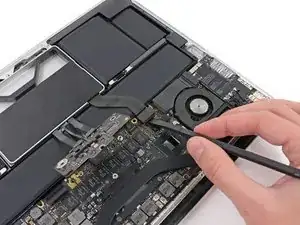
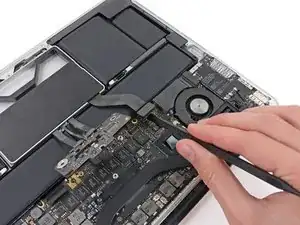
    • Use the flat end of a spudger to pry the SSD cable connector up from its socket on the logic board.

  2. MUtvMWqeoeVRNXgU
    MUtvMWqeoeVRNXgU
    1MmiJVae2W62kGCd
    i6Vtm3oAeyeI34BK
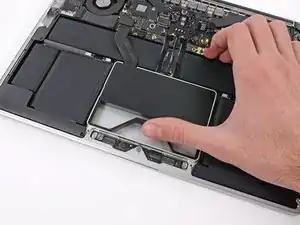
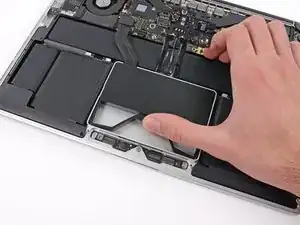
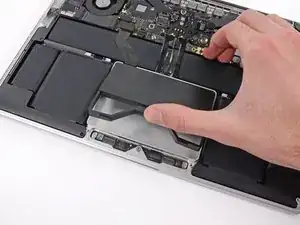
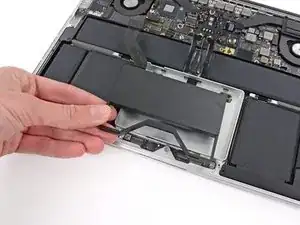
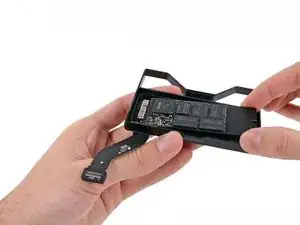
    • Use your thumb or finger to bend the plastic spring bar on the SSD tray, freeing the two clips at the front side of the device.

    • While holding the spring bar depressed, tilt the SSD assembly up out of its cavity.

  3. XNPcBcAJFlwmMOW3
    • Remove the SSD assembly from the upper case.

  4. bnHSZLCMEdST1Uh1
    • Remove the single 2.9 mm T5 Torx screw securing the SSD to the SSD tray.

  5. mJmLhQUw3uMNrOkr
    mJmLhQUw3uMNrOkr
    5J5PTAGiQZlhAwOl
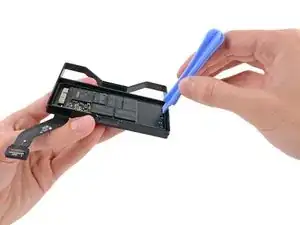
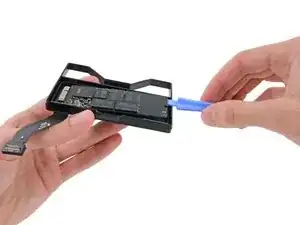
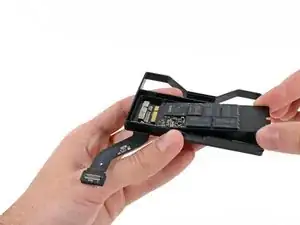
    • Insert the edge of plastic opening tool between the SSD and the SSD tray, opposite to the socket side of SSD tray.

    • Pry the side of the SSD opposite the SSD tray socket out of the SSD tray.

    • Only lift the SSD up far enough to grab the sides of it with your fingers. Lifting it any more may damage the card or socket.

  6. FXSmWRFFRG1BBvja
    FXSmWRFFRG1BBvja
    IdDkqa4yg2sTXgWB
    • Carefully pull the SSD straight out of its socket on the SSD tray.

Conclusion

To reassemble your device, follow these instructions in reverse order.

Walter Galan

694047 Reputation

0 comments