Introduction
Prereq for upper case.
-
-
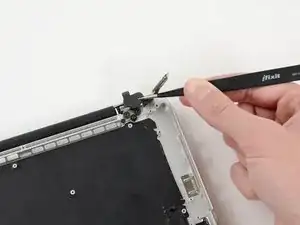
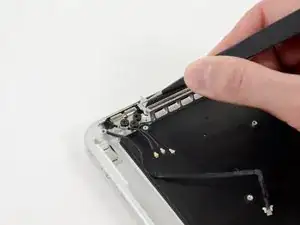
Use a pair of tweezers to lift the rubber hinge covers up off the right and left display hinges.
-
-
-
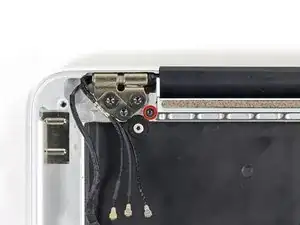
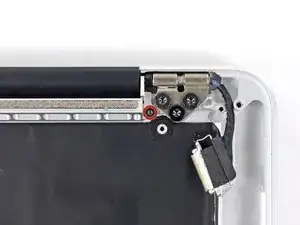
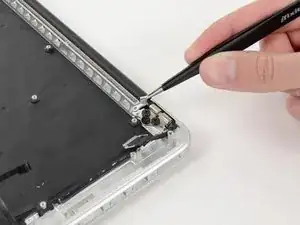
Remove the 3.2 mm T5 Torx screws (one on each side) securing the aluminum hinge brackets to the upper case.
-
-
-
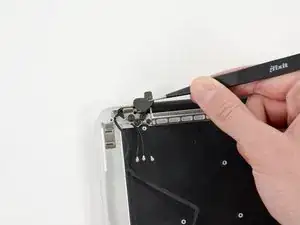
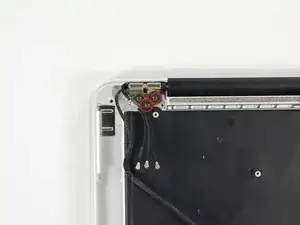
Use a pair of tweezers to lift aluminum hinge brackets off the right and left display hinges.
-
-
-
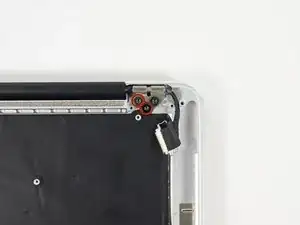
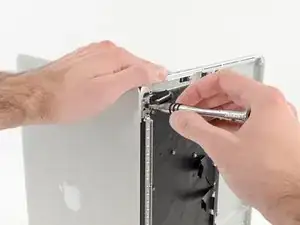
Remove the four inner 5.3 mm T8 Torx screws (two on each side) securing the display to the upper case.
-
-
-
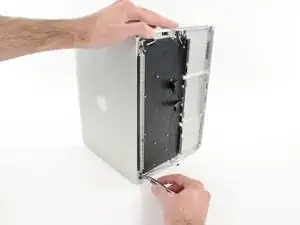
While holding the display and upper case together with your left hand, remove the remaining T8 Torx screw from the lower display bracket.
-
Remove the last remaining T8 Torx screw securing the display to the upper case.
-
-
-
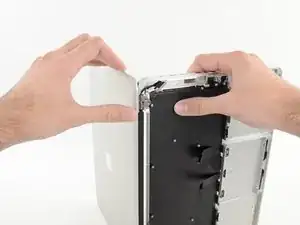
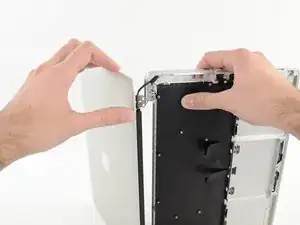
Grip both halves of the device, one in each hand.
-
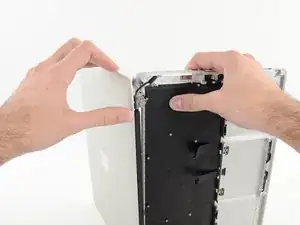
Gently push forward on the bottom half of the device to detach it from the display assembly.
-
Carefully set each component aside, making sure to set down the lower half keyboard-side down.
-
To reassemble your device, follow these instructions in reverse order.
